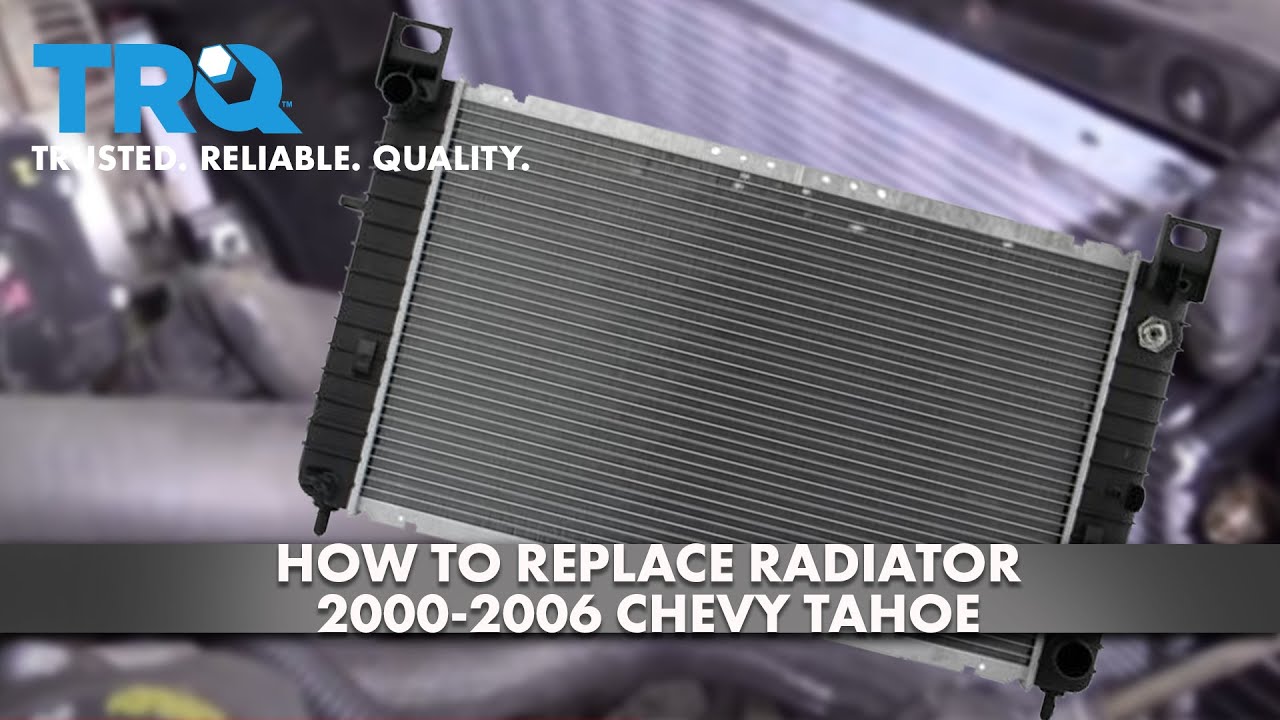
How To Replace Radiator 2000-06 Chevy Tahoe
Created on: 2020-11-10
This video shows you how to install a new radiator in your 2000-2006 Chevy Tahoe.
Tools needed
-
13mm Socket
Socket Extensions
Pry Bar
Jack Stands
8mm Wrench
Trim Tool Set
Pick
Socket Driver
8mm Socket
Wheel Chocks
Hose Clamp Pliers
Drain Pan
Ratchet
Floor Jack
Disconnect the battery. We'll disconnect the negative terminal using an eight millimeter wrench. Loosen this up and take that off. Set it aside.
I'm gonna remove this cover using an eight millimeter socket. Loosen this bolt up and slide this cover up and out.
Now we're gonna take this intake snorkel off. I'm gonna loosen up the clamp right here. It needs an eight millimeter socket or a straight-blade screwdriver. And then same over here.
And there's a bracket right here that holds the coolant hose on. This one is broken, but just take a pry tool and just pry that away. And just slide this off, wiggle it out, and take it out.
Now I'm going to remove the airbox. Disconnect the connector on the mass airflow sensor. Just pull this tab back a little bit and push down on the connector. Now just grab the box and pull straight up and out. Some retainers right there that hold it down.
You don't have to remove the tire to access the lower radiator hose, but we took it off so you can see. Lower radiator hose is right here.
Now there's no drain on this radiator, so we're gonna have to take off that hose. Just gonna use a hose clamp tool. Just move this wire out of my way. I'm just gonna use a trim tool just to remove this retainer for this wire, and just slide that out of the way. Now I can access the clamp.
And slide the hose clamp tool over the clamp. Make sure you have a drain bucket underneath. Loosen that up and just try to twist the hose back and forth. I'm just gonna use a pry bar just to pry it out a little. You can use a straight-blade screwdriver. Just going back and forth. There we go.
And one thing I forgot to mention, make sure you do this while the engine's cool. You don't want to do this with hot coolant.
And just slide this off, and there we go.
Use some hose clamp pliers to take this hose clamp off, and twist the hose, slide the hose off. Do the same to this one. Slide that down. Now just take a pick to just try to get underneath it and pry that off.
Now disconnect this hose. And twist it and take it off. Some coolant may spill out. Not too much. And then there's a retainer right here that was holding that to the shroud. Just slide that out of the way.
Now we're gonna disconnect the transmission cooler lines. There's one here and one down there. Take this little plastic retainer off this little cap. And then they make special tools you can use to remove those clips, or you can just use a pick and just slide this in here, and remove that little clip just like that. Save that for later.
And just take that off. Slide it out. Now you're gonna do the same for the lower one.
Now disconnect the electrical connector for the fan. Just push down on the terminal on the tab. Same on this one.
And then the wiring harness right here, I'm just gonna use a pick. Just take off...open up the retainer that holds that and slide that harness out of the way.
Now take these two bolts out. There's one on this side, one on the other. Use a 13 millimeter socket. And grab the fan shroud and just slide it straight up.
Now take this bolt out and same on the other side. Use a 13 millimeter socket. Now just grab the radiator, slide it back, and just slide it up.
Now we're gonna install the radiator. If these feet came off of the old radiator or if they stayed in the crossmember, take those out. Put these in like this and just slide it back in place. That looks good.
And then these rubber grommets go in here. I just took the centerpiece out just to make this a little bit easier. Just try to press that down. Push that in like that and then take that piece, slide it in the center. Do the same for the other side.
Now take the bolts, get those started, and snug those down.
Now, this radiator has an oil cooler, which this vehicle doesn't have one, which it is okay, it's not gonna affect anything. Coolants not gonna come out of here. That's not gonna affect it. If you had a vehicle with an oil cooler, you'd wanna hook those up right now.
And slide the fan back in position. Just line it up. Has a tab over here and a tab on the other side. That looks good. And put the bolts back in and tighten them down.
Now plug in the electrical connector for the fan, lock it in place, reattach this harness clip, and plug in the other fan.
Now we can hook up these tranny cooler lines. Just slide those in. The new radiator already has those clips on the fittings. And slide this clip down. Do the same on the bottom one.
And hook up these hoses. Move the hose clamp. All right, that looks good.
Now put this hose on. Move the hose clamp.
Now hook up the upper radiator hose. Take this little cap off. Slide that over. Looks good.
Now take this cap off the lower radiator and put the hose back on. I'm gonna use my hose clamp tool. And yep, looks good. Put this wiring harness back in its spot.
And line the airbox back up. It's lined up. Just push it down. Lock it in place.
Connect the mass air flow sensor, lock it down.
And slide the snorkel in position over the throttle body and over the airbox. Tighten down the worm clamp. Just snug it down. Same with this one. And re-secure this bracket. This one's broken.
And take the engine cover and slide it over. Get it started and tighten it down.
Now hook the battery up, the negative cable, and snug it down.
Now you're ready to add the coolant. Take the cap off the reservoir. You're gonna put the appropriate coolant 50/50 mix. Once you get it up to the level where it's supposed to be, you're gonna want to start the vehicle with the heat on low and monitor the temp gauge while you're letting the vehicle run for about 10 minutes, and monitor the level of the coolant and adjust accordingly. After about 10 minutes, everything should be warmed up. You can shut the vehicle off. Let the coolant suck its way into the engine. Put the cap back on. Once it's cooled down, adjust accordingly, and then go test drive the vehicle.


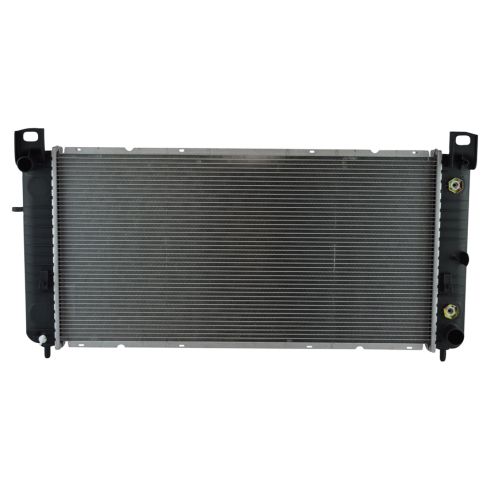
Chevrolet GMC Cadillac Hummer Radiator TRQ RDA82669
Part Details:
- Left & Right
- No
- Yes
- Plastic
- Plated
- Yes
- Female
- Aluminum
- 6
- Cross Flow
- 1
- No
- Bottom Right
- Top Left
- No
- 17.25 in
- 34 in
- 1.56 in
- 1.31 in
- 1 in

How to Replace Radiator 2001-05 Honda Civic
Check out this video to learn how to replace the radiator in your 01-05 Honda Civic. You can do it yourself with this step by step guide from 1A Auto.
