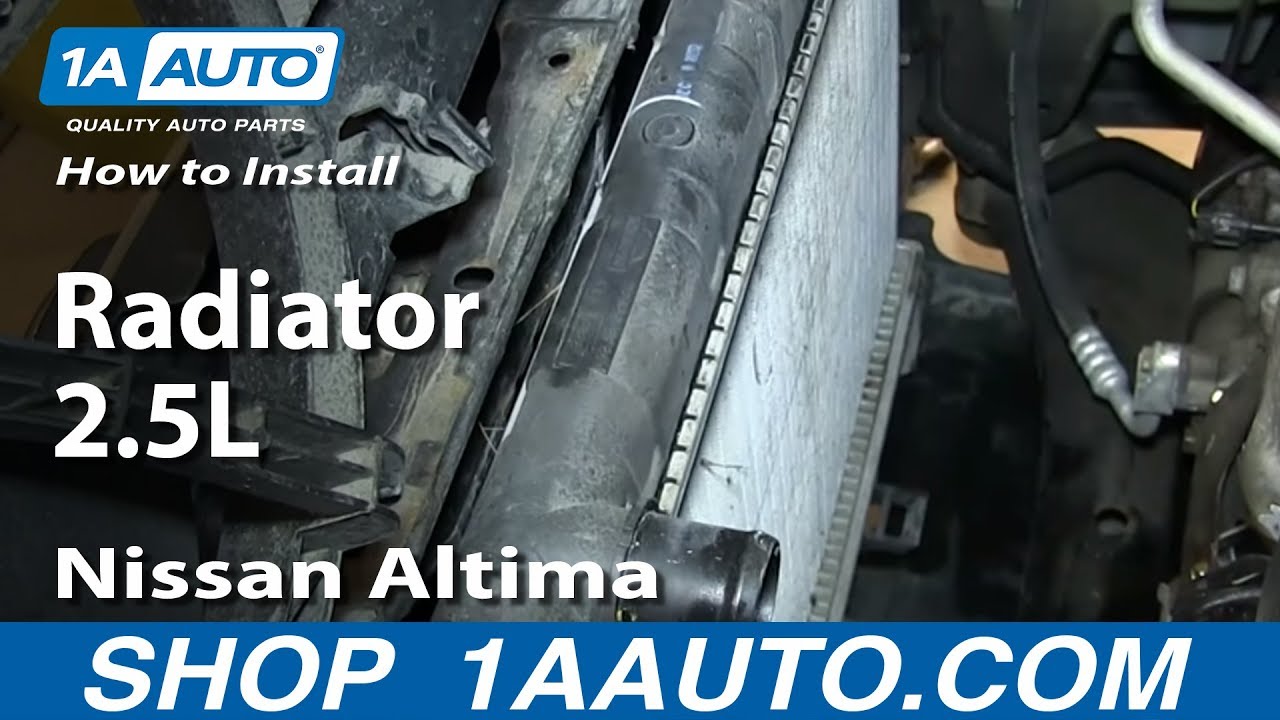
How to Replace Radiator 2002-06 Nissan Altima
Created on: 2013-11-26
In this video, 1A Auto shows you how to replace a leaking, broken, ruptured or old radiator in a 02-06 Nissan Altima.
-
step 1 :Draining the Radiator
- Twist off the radiator fill cap
- Twist off the coolant overflow bottle cap
- Have a drain pan ready
- Remove the coolant drain plug with a Phillips head screwdriver
- Allow the coolant to drain
- Reinsert the coolant drain plug
-
step 2 :Removing the Radiator Fan
- Remove the plastic clips from the top of the radiator cover
- Loosen the upper radiator hose clamp with a pair of pliers
- Remove the upper radiator hose
- Disconnect the radiator fan wiring harnesses with a flat blade screwdriver
- Remove the two 10mm bolts from the radiator fan
- Pull the lower radiator hose off of the radiator fan
- Pull the radiator fan up and out
-
step 3 :Removing the Radiator
- Raise and secure the vehicle
- Remove the four plastic clips from the splash shield
- Have a drain pan ready
- Loosen the transmission fluid hose clamps with a pair of pliers
- Disconnect the transmission fluid hoses
- Lift the hoses to prevent fluid from draining
- Loosen the lower radiator hose clamp with a pair of pliers
- Remove the lower radiator hose
- Remove the small hose from the top of the radiator
- Remove the two 10mm bolts from the radiator brackets
- Pull off the radiator brackets
- Lift the radiator up and out
-
step 4 :Installing the New Radiator
- Line up the radiator locating pegs
- Push the radiator down into place
- Put on the radiator brackets
- Insert the two 10mm bolts into the radiator brackets
- Connect the small hose at the top of the radiator
- Reconnect the transmission fluid hoses and fasten the clamps
- Reconnect the lower radiator hose and fasten the clamp
- Push the splash shield into place
- Insert the four plastic clips into the splash shield
-
step 5 :Reinstalling the Radiator Fan
- Lower the vehicle to the ground
- Push the radiator fan into place using the locating tabs
- Clip the lower radiator hose into the radiator fan
- Install the two 10mm bolts into the top of the radiator fan
- Reconnect the upper radiator hose and fasten the clamp
- Connect the radiator fan wiring harnesses
- Put the radiator cover into place
- Insert the four plastic clips into the radiator cover
-
step 6 :Refilling the Radiator
- Add coolant to the radiator using a funnel with a screen
- Twist on the radiator fill cap
- Twist on the coolant overflow bottle cap
Tools needed
-
Funnel
Flat Blade Screwdriver
Phillips Head Screwdriver
Jack Stands
7mm Socket
Drain Pan
10mm Socket
Ratchet
Floor Jack
Wire Cutters
Brought to you by 1AAuto.com, your source for quality replacement parts and the best service on the Internet.
Hi, I'm Don from 1A Auto. I hope this how-to video helps you out, and next time you need parts for your vehicle, think of 1AAuto.com. Thanks.
In this video, we're going to show you how to replace the radiator on this 2003 Nissan Altima with the 2.5-liter, 4-cylinder engine and it's the same process on these Altimas from 2002 to 2004. The items you'll need for this repair are a new radiator from 1AAuto.com, flat blade screwdriver, Phillips screwdriver, a 10 millimeter socket and ratchet, pliers, a funnel with a screen, a drain pan and jack and jack stands.
Start off by removing the radiator fill cap as well as your overflow bottle cap. Now, under the vehicle in this hole right here, you'll see this is your coolant drain. Using a Phillips screwdriver, just twist that plug out and make sure you have a drain pan that's clean to collect all that coolant. Once the coolant stops pouring out, replace the plug.
Next, you want to remove this plastic panel here by removing these four clips, just use a flat blade screwdriver to pry out the center of the clips and then the clip will just pull right out. Now, using a pair of pliers, push the teeth together on this hose clamp and pull it back and just remove that hose. On the back of the radiator fan, you'll see this harness and it's got two connectors, one on the back of each fan. You just want to push in the tab on the top and pull up on the harness. The harness itself is actually held in with several clips that clip to the radiator fan. You just want to pry out each one of these clips. The radiator fan is held in by these two 10 millimeter bolts and we'll just fast forward as Don removes these. With those bolts removed, you can pull the radiator fan up and out. You can see him reach down right now to remove something on the bottom of the radiator fan and the clip to the fan is actually a hose right here and you can see it clips in right there. You want to make sure you remove that.
Now, jack your vehicle up and remove the four clips on the panel here. As you can see, we're missing a couple, but to remove them, all you need to do is pry them out using a pair of pliers. You can use wire cutters and we don't actually cut the clip but they just help to get underneath it. Now underneath this panel, you'll see these three hoses. Use a pair of pliers on the hose clamps and just slide those clamps back. Now, just twist those hoses and pull them free. You'll get some transmission fluid that comes out so if you just tuck them up higher, the transmission fluid will stop flowing and you won't have to worry about it leaking out, but you will want to have a drain pan underneath you. On this larger hose, do the same thing. Slide the hose clamp back and pull the hose free. Make sure your drip pan is underneath this. Now, back at the top of the radiator, there is this little hose. Do the same thing. Pull the clamp back and remove the hose and then you just want to remove these two 10 millimeter bolts. Once the bolts are removed, those brackets should lift right up and off and you can pull your radiator right out.
Now, to install your new radiator, you want these two pegs to go down into these two holes, so just line it up and push your radiator down into place. Now, replace those two brackets and the 10 millimeter bolts to secure them. We'll just fast forward as Don tightens those up. Now, put that small hose at the top of the radiator back into place and slide the clamp forward. Now back under the car, you want to replace all these hoses and you can see that we got new clamps. You can buy these clamps at any hardware store and these will work a lot better than the corroded ones we had before. With this style of clamp, it's actually a 7 millimeter bolt that you tighten on each of them and it tightens the clamp. We'll just fast forward as Don does this and we'll continue to fast forward as he puts that plastic panel back into place and replaces those two clips.
Now, take your radiator fan and push it down into these two slots right here. We're going to fast forward as Don feeds the fan down into place. Just be careful when you're replacing this not to pinch any of the hoses. Once that's back in place, replace the hose back into the clip at the bottom and replace those two 10 millimeter bolts at the top of the fan. Now, put the large radiator hose back into place and just slide the hose clamp forward to secure the hose. Reconnect your radiator fan harness and push the clips on the wires back into the fan. Now, replace the plastic panel and the four clips. Push them in with the center still up and push the center down to lock them.
Using a funnel with a screen, you pour your coolant back into the radiator and replace your radiator cap.
We hope this video helps you out. Brought to you by www.1AAuto.com, your source for quality replacement parts and the best service on the Internet. Please feel free to call us toll-free, 888-844-3393. We're the company that's here for you on the Internet and in person.
Shop Products
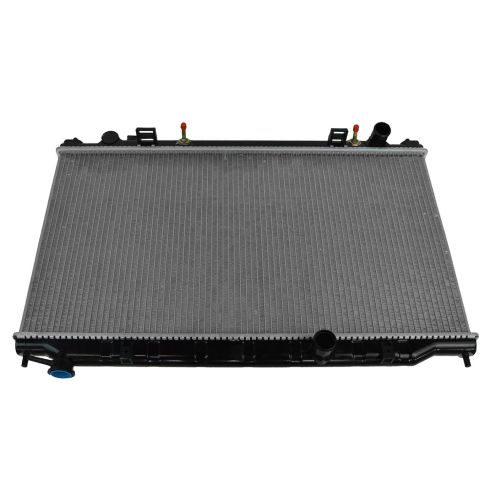
2002-06 Nissan Altima L4 2.5L Radiator TRQ RDA82691
Part Details:
- No
- Down Flow
- Upper & Lower
- Yes
- Plastic
- Male
- Yes
- Aluminum
- Concentric
- 1
- No
- Bottom Left
- Top Left
- No
- 402 mm
- 15.69 in
- 28.63 in
- 1.38 in
- 1.38 in
- 0.63 in

How to Replace Radiator Cap 1994-2002 Dodge Ram 1500
Check out this video to learn how to replace the radiator cap on your 94-02 Dodge Ram!
