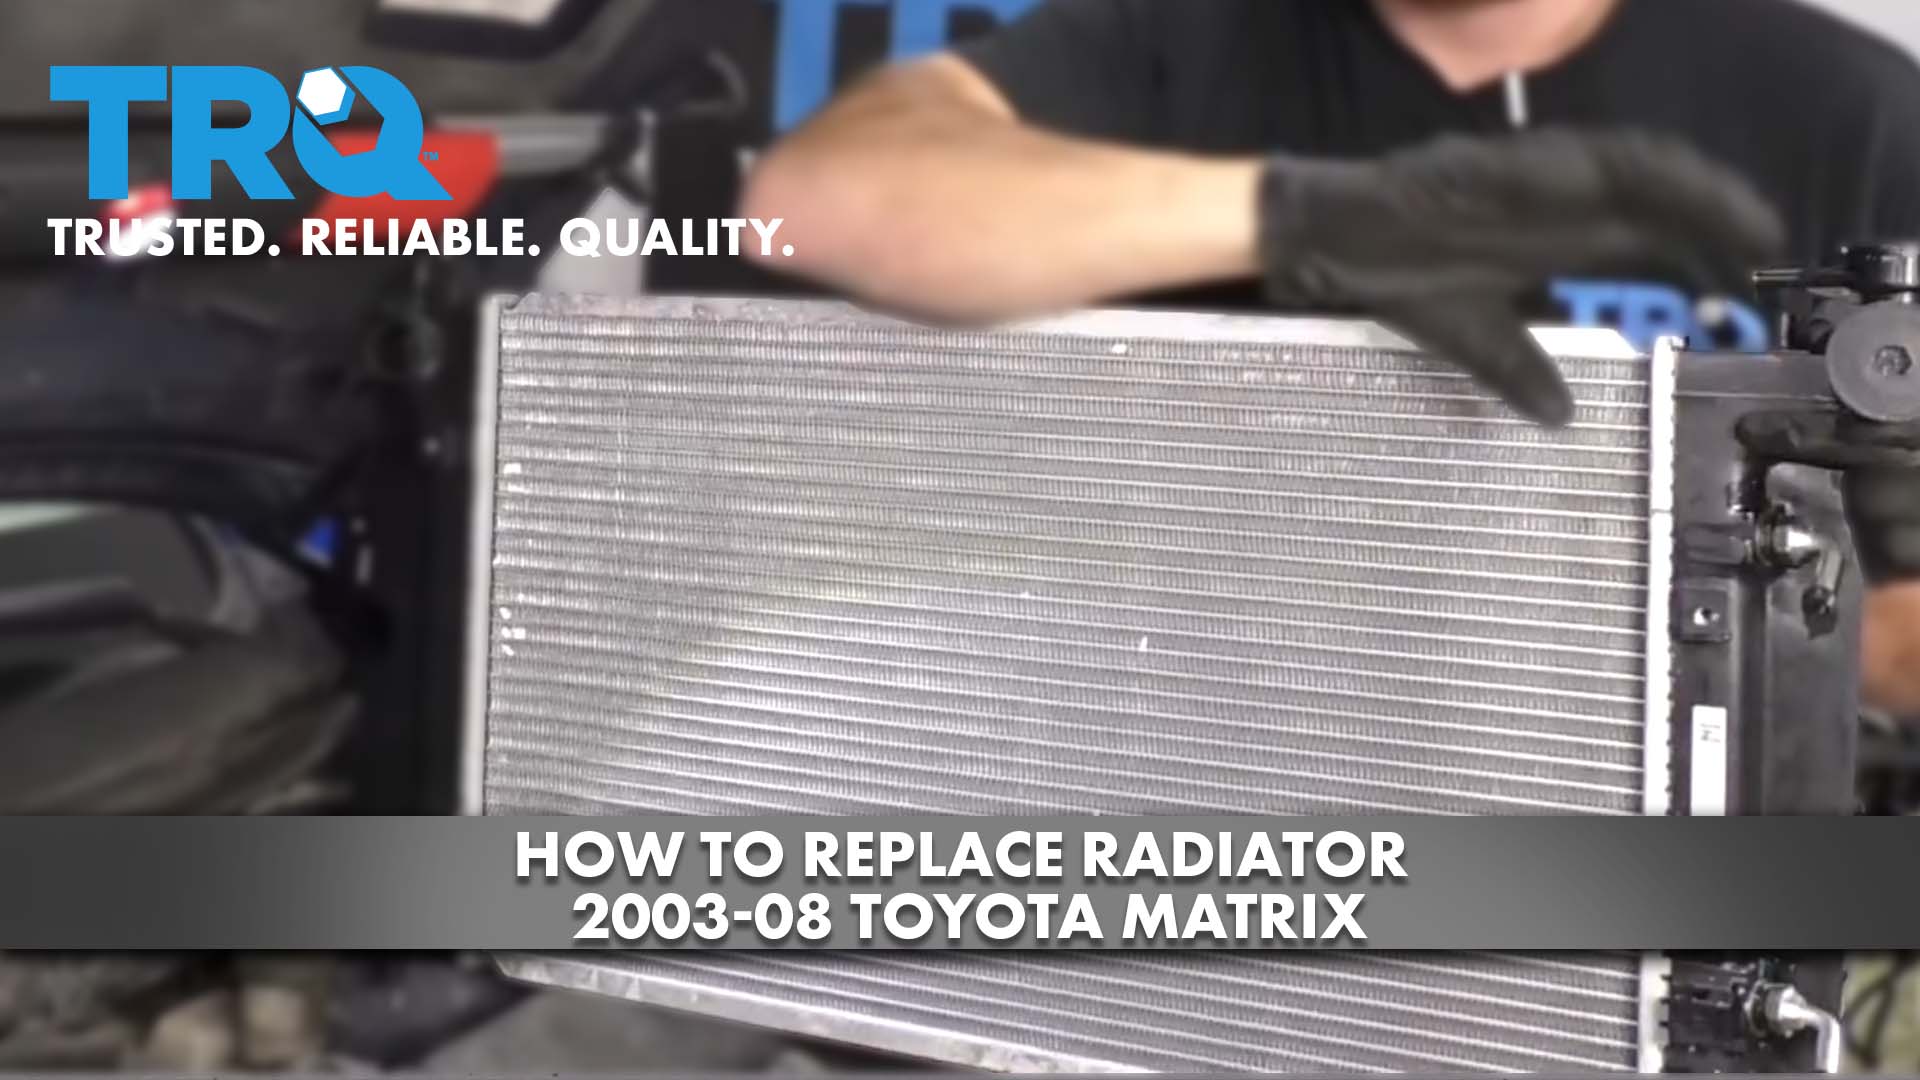
How to Replace Radiator 2003-08 Toyota Matrix
Created on: 2020-08-24
This video shows you how to install a new radiator in your 2003-2013 Toyota Matrix.
Tools needed
-
Funnel
Gloves
10mm Socket
Drain Pan
Safety Glasses
Pliers
Pocket Screwdriver
Okay, friends, to get started on doing this job, there's something that I like to mention right off the bat. You wanna be as safe as possible. You wanna make sure you have hand protection and eye protection. Something else that I also like to mention, is you're gonna wanna have a nice collection bucket to collect your coolant that comes out of the radiator. When you do this job, you wanna make sure you recycle the coolant properly.
Go ahead and take this collection bucket, and we're gonna put it right underneath the petcock on this. To explain where the petcock is, if you were to look down along the driver's side of the radiator, you're gonna see a little white twisty knob on the bottom corner of the radiator. Right below that is where the drain hole's gonna be, and that's also where the mount is for the radiator where it goes into the mount on the bottom.
So put your collection bucket so it's directly underneath it. Go ahead and reach down and turn this counterclockwise. Let's go ahead and open up our radiator cap. Okay. It's gonna start draining much faster now. It's always a great idea to check your cap. Generally speaking, I like to replace them whenever I'm replacing a radiator. I'll just leave this on the radiator just hanging out. Go ahead and get this off of here.
Now, the next thing we need to do is get the wiring off of the fan shroud itself. You can do that with something as simple as one of these little forky tools, get in behind there and pop it off. There should be one over here as well. This one's already off. After that, we wanna disconnect the wiring from the actual motor. So let's go ahead and push in on the center and then draw this right off of there. I always like to take a peek to make sure there's no funny colors. The next thing we need to do is remove our mounting bolts down here. Use a 10-millimeter. There's one on this side and there's one on the driver's side. Now that we have those out, give it a little wiggle. As you can tell, it's pretty much ready to come out. What we need to do next is just lift straight up and out. You might notice that the ear gets caught on here, but just kind of weasel it over to the side and it should come up. There it is, friends.
All right. So we have the majority of our coolant drained out of our system at this point. What I like to do next is just go ahead and close up this petcock and then I'm gonna move that collection bucket over towards the passenger side. And I wanna get it right underneath this coolant hose here. The reason why I'm gonna do that is because as you can tell, the coolant hose is the lowest point of the cooling system right here, so of course, it's gonna hold coolant. When I take this off, we wanna be able to collect any coolant that's gonna come out of this.
Now it's gonna be time to go ahead and squeeze this clamp and slide it away so we can get the radiator hose off. So if your clamp is broken like ours, what I usually like to try to do is just kind of loosen up the ears and make the clamp as loose as possible. Once I've done that, I'm gonna try to slip the hose off of the radiator, and then of course I'll get the remainder of the clamp off. There it is. Let's just get this clamp off of here. Check your hose, make sure it's not damaged in any way. This one looks great. Let's get this clamp off of here now. Set this aside.
Now we're gonna take off our mounting bolts that hold the radiator to the body of the vehicle. Grab onto it. Lift it up at an angle. There it is, friends. Now, all we need to do is make sure we continue emptying this out into our collection bucket.
Now let's look along the bottom here, along the radiator support and just make sure you have those mounts still on there. These look great. So let's continue.
Okay, friends, now it's gonna be time to put our radiator in here. Something that I like to mention before we get started, if you happen to notice that your old radiator didn't have these right here, well, that's okay. If you have a manual transmission, you don't necessarily need to worry about these. If you have an automatic transmission, that's where the cooler hoses are gonna go. If you have the manual transmission, just go ahead and leave these little covers on there. All right?
Let's carefully slide this right down in here. We wanna line those pitons up with the mounts down along the bottom there. Make sure they slide right in. That's good. That one's good. It sits right down. Perfect. When you have any copper Never-Seez, I always like to put a little bit in these threads. It'd be time to get our mounts back on here, let's go ahead and line it up with the radiator. And then of course, line the bolt up with the hole. Start it in there, do the same to the other side, and then we'll go ahead and snug them up.
Now let's get our hose on here. Just be careful as you bring it down, not to damage any of the fins on your brand new radiator. Some coolant might come out, keep that in mind. If you have a new clamp, now's the perfect time to go ahead and put that on there as well. Okay. This looks good. Now I'm gonna snug it up. I like to put these so they're easily accessible even if the fan shroud is on there. All right. Give it a nice tug. Make sure it's secure. Also wiggle the radiator around just to make sure it's sitting the way that it needs to. This looks great. Let's continue.
Let's get this upper hose on here. Go ahead and squeeze that. We're gonna bring this all the way up and try to sit it exactly where we removed it from on the hose originally. Now let's move on down to that petcock. Just give it a little turn, make sure it's nice and tight. You don't wanna leave that loose. Go ahead and slide it in.
What we wanna pay attention to is those bottom areas, right down here. You wanna make sure those fit into the hooky-dos that are down on the radiator. All right. We'll just have to move it around, up and down a little bit. We should be able to get it to fit in. Once you're sure you have those lower pitons situated into the radiator as they should be, let's go ahead and put in our mounting bolts. I like to start them both in before I snug either of them up. That's tight. Do the same to the other side. Let's get our wiring harness connected into the fan. Click. Give it a nice tug. Make sure it's secured. Go ahead and pop these into the shroud. Awesome. We definitely don't want this flopping around. If anything's broken, just go ahead and use a wire tie to make sure it's secured.
To connect our overflow hose, slide it right onto that radiator. This looks good. Make sure it's not kinked in any way. If you made it too long, there's a possibility that it could kink and then you won't have flow like you need.
Now, the next thing we need to do is fill the cooling system. Get yourself a nice funnel with of course an adapter, it's gonna make it the easiest. Put it right on there. Put the funnel, and now we're gonna fill the cooling system. Toyota recommends using Super Long Life Pink Coolant. You definitely don't wanna use green or anything of the like. Go with what's recommended. If you don't have access to that, you can use universal coolant, that should work. I'm just gonna go ahead and fill this up, using the universal here. Once it's full, you wanna run the vehicle and let it continue burping out until there's no more air bubbles coming out of your system.
Okay. So we just finished running this vehicle and we filled up the cooling system completely. Carefully lift this up because the coolant could be hot. Now we're gonna open up our coolant reservoir here. So now we're gonna take our coolant that's left inside of our funnel and we're gonna fill up the overflow system. When you fill this, you wanna make sure that you only fill it up approximately halfway and never all the way to the top. I'm gonna do this slowly because it likes to make a mess. Once you have that, so it's halfway full, go ahead and close this up, and then of course install your radiator cap. All right. Clean everything up. Make sure you spray down the areas in case you spilled any coolant. Of course, pick up your bucket, close the hood, take it for a road test.
Shop Products
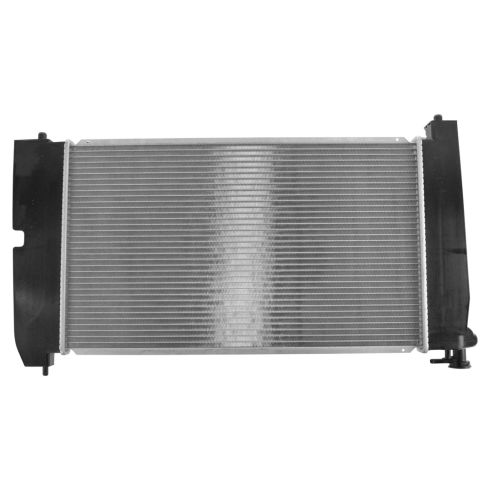
2003-08 Toyota Corolla Matrix Pontiac Vibe Radiator TRQ RDA82874
Part Details:
- No
- Left & Right
- Yes
- Plastic
- Male
- Yes
- Aluminum
- Cross Flow
- Concentric
- 1
- 0.63 in
- No
- Bottom Right
- Top Left
- No
- 13.69 in
- 23.5 in
- 1.38 in
- 1.38 in

How to Replace Radiator 2005-10 Chrysler 300
Watch the steps involved in replacing the radiator in a 05-10 Chrysler 300.
