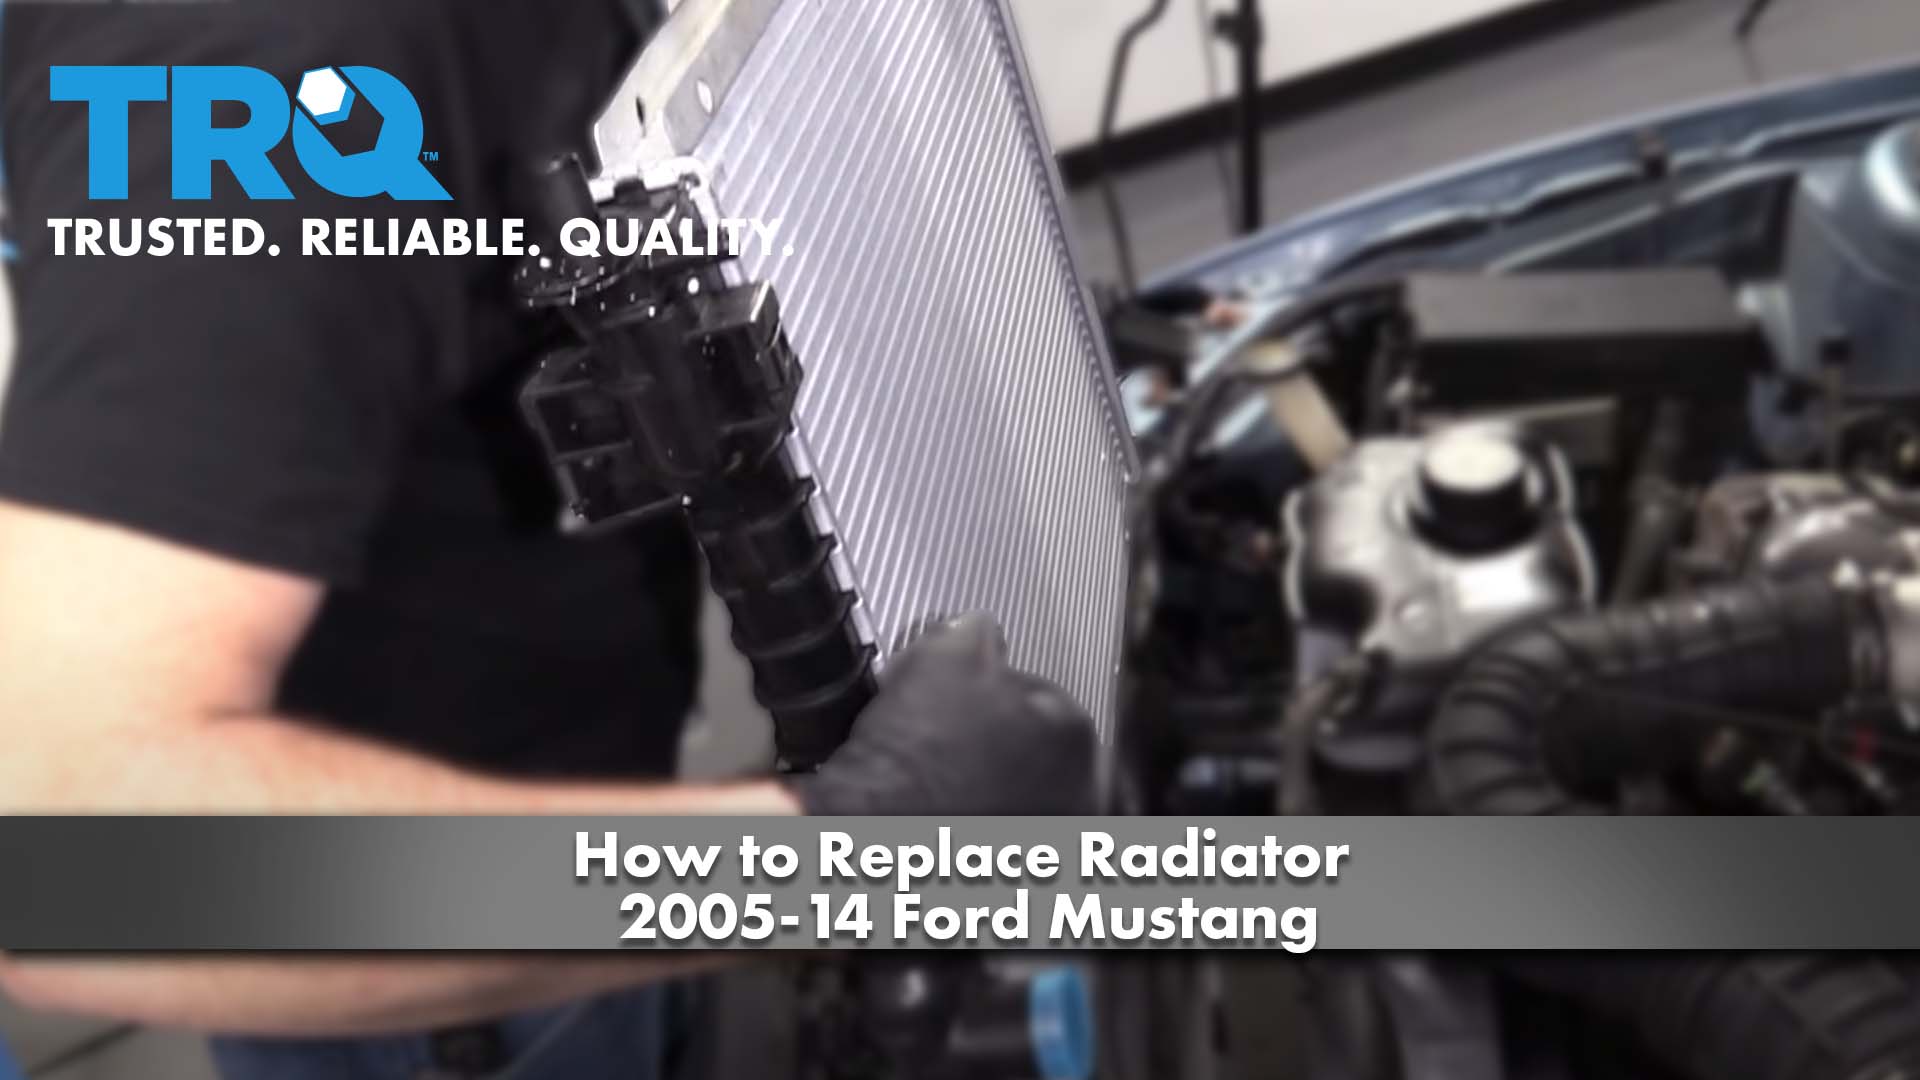
How to Replace Radiator 2005-14 Ford Mustang
Created on: 2020-04-09
Watch this video to learn how to install a new TRQ radiator engineered to fit your 2005-16 Ford Mustang, just like the one from the factory!
Tools needed
-
Torque Wrench
Socket Extensions
Channel-Lock Pliers
Jack Stands
Safety Glasses
Gloves
Socket Driver
8mm Socket
Wheel Chocks
Hose Clamp Pliers
10mm Socket
Drain Pan
Ratchet
Floor Jack
So, one of the first things we want to do is make sure that our vehicle's nice and cool to the touch. You didn't just come back from a nice long drive. Once you're sure it's cool, turn your cap to the left until it comes unscrewed and lift it up and away from your face.
So, making sure that we're wearing our hand and eye protection, we're going to come right underneath to the passenger side of the radiator and you're going to see the petcock area. There's a little spout that's going to come out and that needs to go into a collection receptacle so you can properly recycle your fluid. At this point, we're going to turn the bottom petcock area counterclockwise until fluid starts coming out, and then we'll let it fully drain. Once it's pretty much done dripping, go ahead and close that petcock. That's nice. You can wipe down the area a little bit if you're worried about it and then we'll continue.
So, while we're still underneath the vehicle, we're going to take a look at the radiator, which is right here. You can see where your lower hose is connected with this clamp right there. You can also see where your AC condenser is bolted on right here. If you look right up here, you're going to see a smaller bolt, and that's the area that holds the transmission cooler to the radiator. We're going to take all this side out right now. There we go. You'll notice that this bolt stays right on the condenser, just like that. We're going to move up there using our 8-millimeter. Now, we'll do the same on the passenger side, removing these bolts. All right. We got both those bolts out. Let's head over to the other side, we're going to remove this coolant hose. To do that, squeeze this clamp and get the hose off.
I'm just gonna take this cap, start it on here a little bit, and then we're going to remove this plastic right across the front. It has little push tabs. You can either try to lift it, or you can use one of these little forkey tools and try your hardest to get under there and pop them out. Whatever you have to do. They usually come up fairly easily. Now that we have a clear view, remove your 8-millimeter bolts that hold the fan shroud to the radiator. Lift this up. Should slide away from the radiator. Next we're going to come over here, grab this clamp for the upper hose, remove this hose as well. Got it. Let's remove the four bolts that hold the brackets on, that hold the radiator to the body. Now, we're just to pull up on that trany cooler and slide it out of its little hooky areas. Same on both sides. This clamp off of here. All right. If you move the radiator, you can see right up here there's a bracket with an 8-millimeter and there's also one on the other side. Remove those brackets. There it is. We'll do the same for the other side. Now, if you were to look at these two brackets, you're going to see the driver side is much smaller than the passenger side. In case you happen to mix them up, just remember the passenger side is the larger. I'm just pushing the fan shroud away from the radiator and trying to draw the radiator up and out. Just pay special attention to anything it might be getting caught on. I usually like to come up on the driver side and then work my way to the passenger side. Lift this right up right here. Like I said, just be careful for what you might be getting caught on. We have AC lines on the driver side, and, of course, the trany cooler on the passenger side. There we are.
It's time to install this. When we do, we want to pay special attention to all these cooling fins that come along the forward and the rear of the radiator. It's very important you don't pin those over because it will restrict air flow. Let's carefully try to slide this down and in. We've got our transmission cooler on this side. Don't forget about it. All right. So, that's looking great. Let's start getting this fan shroud back onto the radiator now. Get the fan shroud up and over. Come on. Nice. This is coming along good. We're gonna try to get the fan shroud lower ears into the resting brackets on the radiator now. Let's get the bolt in that holds the fan shroud to the radiator. One here and one on the other side of the vehicle, snug them right up. Get the trany cooler into those little slots on the bottom there that are going to hold the bottom area, both sides, of course, and then anchor it in. Make sure you snug up those bolts. Do the same to the other side.
Now, it's going to be time to get these brackets on here. I'm going to start with the passenger side one, which is the larger of the two. I've got my bolt. It's going to go just like this so the little cuppy face is facing down. So, now if you look down along here, you're going to see this nice rubber bushing should be pressed right into the lower part of the frame. That's where the little piton on the radiator is going to set down into. Let's line that up on both sides, set the radiator right in there. Okay. Wiggle it around. Looks great. Next, let's move along to putting on these brackets. Next, we're going to get this hose on here. Slide it right on. And then a lot of times these clamps, they can be kind of a pain, just going to make sure I get that all the way up closest to the radiator as possible without necessarily going past the hose. There we are. That's right where I got it from. It looks great. Next, let's get the upper hose on here. That clamp back on there where we got it from, give it a nice tug. That feels great. You remember the rubber bushing that we mounted to the top of the radiator, well, we want to pay special attention to the AC condenser part that goes up into it. When we're lining this up from the bottom, you need to make sure the AC condenser slides up on both sides into that rubber mount. So, what I'm doing is I'm just trying to wiggle this around until I can get it lined up with its spot up top, and then I'll take my bolts and start them right in here. Do the same to the other side as well, of course, before I tighten anything down. Let's get this lower hose on here now, slide it all the way up to the radiator, and then get this clamp back into its original position. Let's get this cover back on here. Got our little push clips, put them all back in there.
Now it's going to become time to fill the system. To do that, it's best to use a vacuum system. What that's going to do is it's going to draw as much air out of the cooling system as possible. It's going to hold the pressure, negative pressure. It's going to give us a little bit of time to be able to check to make sure we have a leak before we put any fluid in. Once we're sure we have no leaks and the pressure holds, we'll go ahead and fill it up and the pressure or vacuum pressure of the system will actually draw the coolant in
All right. So, now, we'll just turn these, take the air off of here. And we're just going to watch this gauge just to make sure it doesn't drop below the 25. Now, we're just going to open this up and this is drawing the manufacturer-specific coolant into the cooling system for us. So, we have no more pressure left. So, now, we're just going to get this up to the maximum line and then we'll run the vehicle and make sure that we get all the air out of there.
So, the next thing we want to do is set our heat gauges so they're all the way on hot. Put the blower motor on high, and then go ahead and put this on feet or if you needed to, you put it on defroster. But I generally speaking, like to have it on something besides defrost. Let's go ahead and start it up. All right. Now that we have the vehicle running, we're going to let it get hot. Pay attention to the fluid level. Make sure if it goes low, you add a little bit. If it starts coming up, make sure you have a bucket underneath to catch any fluid that might expel. Now that we know it's full, it's all burped out, let's take it for a road test.
Shop Products
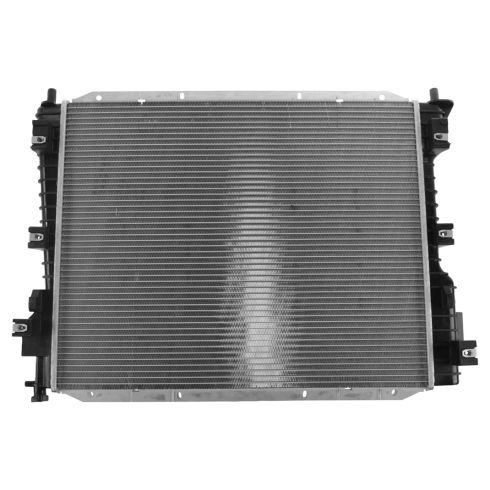
Ford Mustang Radiator TRQ RDA82740
Part Details:
- Left & Right
- No
- No
- Plastic
- No
- Aluminum
- Cross Flow
- 1
- 1.5 in
- No
- 1.5 in
- Top Right
- Bottom Left
- No
- 19.5 in
- 24.13 in
- 1 in

How To Replace Radiator 1992-2001 Chevy Suburban PART 2
Learn how to replace the radiator in your 92-01 Chevy Suburban with this step by step video from 1A Auto. This is part 2.
