How to Replace Radiator Coolant Overflow Bottle 1998-99 Dodge Durango
Created on: 2010-12-29
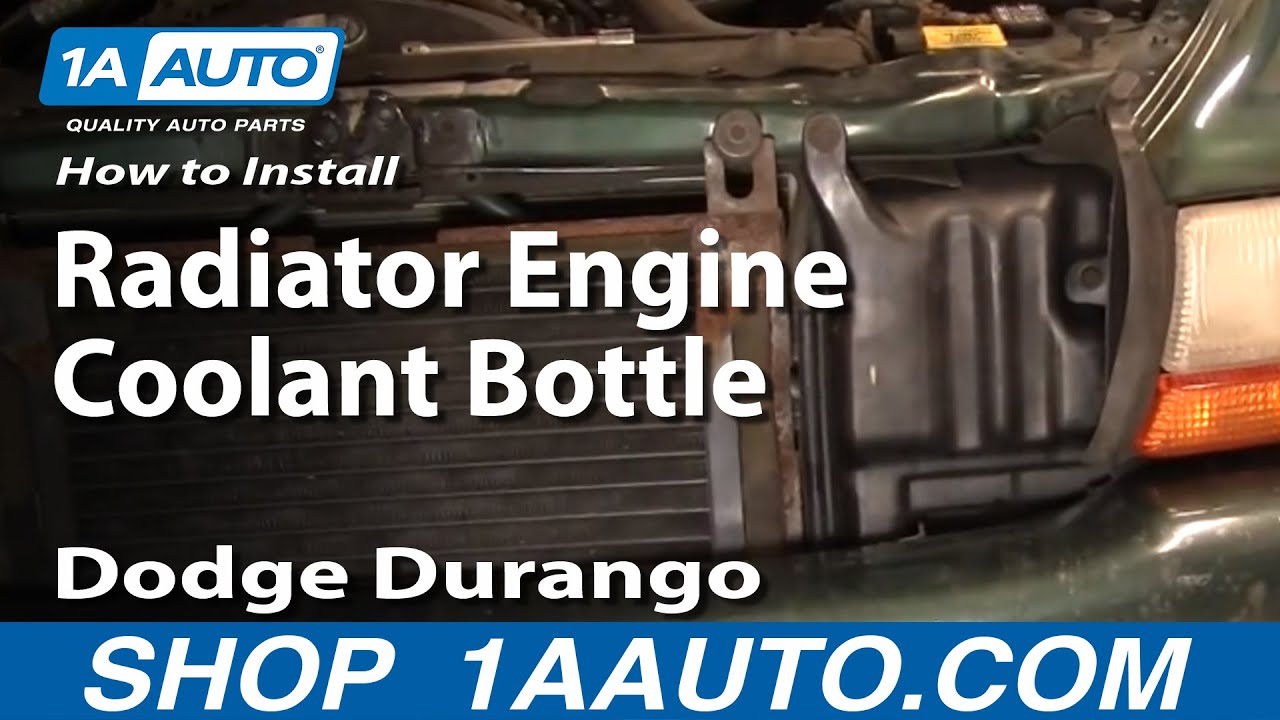
This video will show how to remove and reinstall the front bumper and the coolant overflow bottle on the 98-99 Dodge Durango
-
step 1 :Removing the Front Bumper
- Disconnect the fog light wires
- Apply penetrating oil to the bumper bolts
- Remove the eight 18mm bolts from the bumper with the socket, extension, and breaker bar
- Pull the bumper off
-
step 2 :Removing the Radiator Bottle
- Remove the radiator bottle cap and the dipstick
- Unclamp and detach the fill hose
- Remove the top two 13mm bolts from the radiator bottle
- Loosen the bottom 13mm bolt from the radiator bottle
- Pull off the radiator bottle
-
step 3 :Installing the New Radiator Bottle
- Put the new radiator bottle in place
- Start the bolts by hand
- Tighten the 13mm bolts with a socket
- Insert the dipstick
- Put the cap on
- Reattach and clamp the fill hose
-
step 4 :Reattaching the Bumper
- Push the bumper into place
- Start the eight 18mm bolts by hand
- Tighten the 18mm bolts with the socket and extension
- Reconnect the fog lights
Tools needed
-
13mm Socket
A Piece of Pipe (for leverage)
Socket Extensions
Rust Penetrant
18mm Socket
Slip-Joint Pliers
Ratchet
1/2 Inch Breaker Bar
Brought to you by 1AAuto.com, your source for quality replacement parts and the best service on the Internet.
Hi, I'm Mike Green. I'm one of the owners of 1A Auto. I want to help you save time and money repairing or maintaining your vehicle. I'm going to use my 20-plus years experience restoring and repairing cars and trucks like this to show you the correct way to install parts from 1AAuto.com. The right parts installed correctly: that's going to save you time and money. Thank you and enjoy the video.
In this video we're going to show you how to replace the radiator overflow bottle on this 1998 Dodge Durango.
Tools you'll need are 13 and 18 millimeter sockets with your ratchet and extension. You'll also need a breaker bar or a pipe for leverage for the bumper bolts because they are a little tough when you first pull them, and then a pair of pliers as well. To remove you radiator fluid bottle, you can see it's right here. It is locked in by the bumper so you're going to have to remove your front bumper, which sounds a little daunting but it's actually not all that bad.
There are eight bolts that hold it: two there right in front of the washer, two here on the other side, and then two down below. I can film them pretty easy from here because it has aftermarket fog lights. You can see one of the bolts and then there's another one in behind. Then there are the same two bolts on this side which I can't quite see. Those are 18 millimeter bolts.
OK, you're going to want an eighteen millimeter socket. You're going to want a nice big breaker bar or a pipe to put on your ratchet for some extra leverage and to put the socket and extension right down in there. You're going to have to pull really, really pretty hard I've already actually loosened them on this truck so it kind of looked easy there. You do have to pull hard to get them loose the first time. You probably want to shoot some penetrating oil on them.
You can get them from down below and then down underneath. Before you remove those bolts all the way you'll want to unplug your fog lights by reaching up and in. Then go from there. Then, before you remove all the bolts and pull the bumper off you'll want to reach behind and disconnect your fog lights. Once you've removed those eight bolts, as I just removed the last one there, you just pull on the bumper and it'll pull out of the inner fenders a little bit. Pull it out and you can just put it right down underneath.
Once the bumper's out then you're going to want to remove your cap and the dipstick. Then there's three bolts: one here, one there, and then one right down here. You also going to want to remove this clamp and pull the fill tube up and off. OK. I'm just going to fast forward removing that clamp and that hose. Then these are three 13 millimeter bolts. Remove the top two and then you just loosen the bottom one.
Once you have the upper bolts out and the fill tube off, pull this up and then you're going to pull it right out.
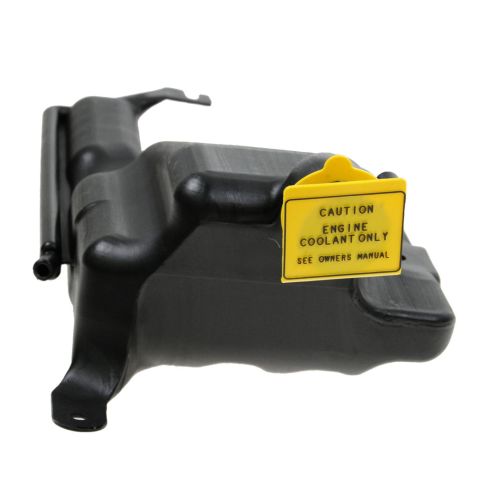
So, here's the original. Here's the new bottle from 1A Auto. You can see it's going to be all the same. It's going to mount in the same, even comes with a new cap and everything. There's nothing wrong with my original one so I'm going to reinstall it.
Re-installation is just a reversal of the procedure. Stick it up in there. Put the lower one on this bolt down here. I'll reinstall my bolts. Two back on. Tighten them up. You do want to tighten them up firm. You don't have to be overly tight but they should be firm. OK. Put the tube on. Just push it out a little bit and get a hold of it with my pliers. Mount it on.
Now I put the bumper back on. Put the bumper back on and get it up. Get one side in. Push it. Then the other side. Pretty much push it into place. Then on each side just get your plastic behind. Then, put the bolts back on. Now, if you want you can watch me go super fast motion and get those eight bolts on and tightened up. The only thing is, you might want to just kind of lift your bumper up as you're tightening the side ones. That just helps you to get it right up and snug to the headlights. Other than that, it's not a whole lot to changing that radiator bottle, just getting those eight bolts out for the bumper and putting them back on. Also, obviously make sure you reconnect your fog lights if you have fog lights.
We hope this helps you out. Brought to you by www.1AAuto.com, your source for quality replacement parts and the best service on the Internet. Please feel free to call us toll-free, 888-844-3393. We're the company that's here for you on the Internet and in person.
Shop Products

How to Replace Radiator Coolant Overflow Bottle 1996-99 Cadillac Deville
Replace the leaky or broken radiator overflow tank in your 96-99 Cadillac Deville with the help of 1A Auto expert mechanics in this video

