How to Replace Radiator Cooling Fan 2000-03 Chevy Monte Carlo
Created on: 2014-07-23
This video will show how to remove the engine mounts, the air filter housing, and the cooling fan to help with your cooling fan repair.
-
step 1 :Removing the Engine Mounts
- Remove the eight 13mm bolts from the engine mounts
- Loosen the 13mm bolt from the support bar
- Push the support bar to the side
- Lift up the two engine mounts
-
step 2 :Removing the Air Intake Box
- Disconnect the mass airflow sensor harness
- Loosen the air intake hose clamps with a flat blade screwdriver
- Pull the intake hose free
- Loosen the two 8mm bolts from the air box
- Pull the air intake box forward, up, and out
- Pull the back of the air intake box out
-
step 3 :Removing the Radiator Fan
- Remove the 10mm bolt on either side of the radiator fan
- Remove the 10mm bolt and mount on either upper corner of the radiator fan
- Disconnect the two fan wiring harnesses
- Unclip the series of clips along the fan harness with a flat blade screwdriver
- Clip the wire tie and pull the vacuum hose free
- Clip the hose clamp with pliers and pull the radiator hose free
- Tuck the radiator hose behind the engine mount
- Lift the radiator cooling fan up and out
-
step 4 :Installing the New Radiator Fan
- Line up the two tabs on the radiator fan with the two slots
- Place the radiator fan into its slots
- Replace and tighten the 10mm bolts and the radiator mounts
- Replace and tighten the lower 10mm bolts on the radiator fan
- Push the tab on the back of the clips from the old radiator fan and remove them
- Clip the clips into the new radiator fan
- Re-clip the harness into the new clips
- Place the outer air box pins into the rubber grommets
- Re-clip the larger wire clip and harness back into place
- Connect the two fan wiring harnesses
- Push the teeth together on the radiator hose clamp
- Push the radiator hose into place
-
step 5 :Installing the Air Intake Hose
- Remove the mass airflow sensor
- Remove the small ring off the sensor and place it on the intake box
- Push the tab on the ring between the two posts on the box
- Push the mass inflow sensor onto the intake hose
- Lower the intake box and attach it to the sensor
- Tighten the two hose clamps
- Reconnect the mass air flow sensor harness
- Line up the air intake box
- Tighten the two 8mm bolts on the air intake box
-
step 6 :Installing the Engine Mount
- Pull the engine mounts down
- Pull the engine forward and align the engine mounts
- Replace and tighten the eight 13mm bolts on the engine mounts
- Tighten the 13mm bolt on the support bar
- Reconnect the vacuum hose and tighten it with a wire tie
Tools needed
-
13mm Socket
Flat Blade Screwdriver
8mm Socket
Wire Ties
10mm Socket
Ratchet
Needle nose pliers
Wire Cutters
Brought to you by 1AAuto.com, your source for quality replacement parts and the best service on the Internet.
Hi, I'm Mike from 1A Auto. I hope this how-to video helps you out, and next time you need parts for your vehicle, think of 1AAuto.com. Thanks.
In this video, we're going to show you how to replace the radiator cooling fan on this 2003 Chevy Monte Carlo. It's the same part and similar process on these Monte Carlos from 2000 to 2003. The items you'll need include a new radiator cooling fan from 1AAuto.com, an 8mm, a 10mm, and a 13mm socket and ratchet, a flat blade screw driver, a pair of pliers, and some wire cutters.
Start off by removing these eight 13mm bolts, and then loosen this 13mm bolt right up here. We'll fast-forward as Mike does that. Push the support bar to the side, and then lift up these two mounts. Lift up on the tab, disconnect the harness to your mass airflow sensor, and then loosen up these two hose clamps with a flat blade screw driver. Then pull the hose free. Then loosen up these two 8mm bolts. Pull the air intake box forward, then up, and then out. Then pull the back part of the intake out so that you can access this 10mm bolt right here. There's another one in the same spot on the other side right here. We'll just fast-forward as Mike removes those.
Now remove this 10mm bolt and this one here on the other side. When you remove those bolts, you can pull those mounts up and off. Now pull back on the tab and disconnect the harness to your cooling fan. You do the same thing to the other harness. Then unclip the series of harness clips. To unclip them, you just use a flat blade screwdriver and just pry them apart. Using your wire cutters, cut this wire tie and pull this hose free. Then, using pliers, push the teeth on this hose clip together, and then pull the hose free. Then tuck it back behind your engine mount. Pull this out of the way and then lift your radiator cooling fan up and out.
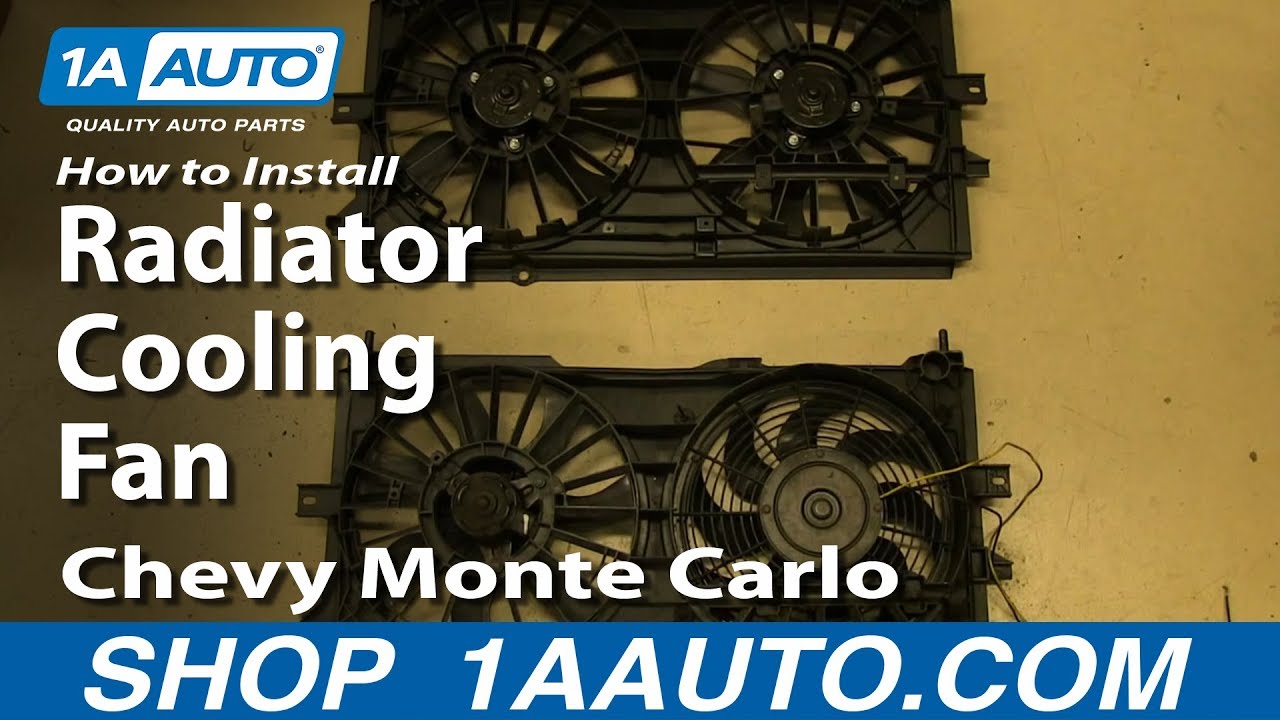
On the bottom is the old radiator cooling fan, and you can see it's been modified because one of the fans died on it. It was replaced, and wires had to be spliced into the harness. Our radiator fan just has connectors, so they'll fit in just like the old one. Take your new radiator fan from 1A Auto and line up these two tabs into these two slots down here. Just lower the fan down into place. Then replace these mounts and the 10mm bolts that hold them on.
One problem you may run into: our clip, here, won't stay in place, so, basically, what I do, is put the bracket in. Then I can use the bolt, get it into the clip, slide the clip up, and then start the bolt into it. Just pull on it make sure it's seated well. These bolts go into a clip that's clipped onto the radiator. This one fell off, so I just retrieved it from the ground, and now you just want to clip it right back on. We'll fast-forward as Mike tightens up those two 10mm bolts. We'll fast-forward as Mike replaces and tightens up those two lower 10mm bolts. Push the tabs on the back of these clips on your old radiator fan and remove them. Then push them into place on your new radiator fan.
Now, re-clip the harness that lines the bottom of the fan to those clips that you just put back into your new radiator fan. We'll fast-forward as Mike does this. Now, put the outer part of your air box back in place. It has pins on the bottom that line up with rubber grommets. Push it down into those rubber grommets, put the larger wire clip back in place, and clip the larger harness back into place.
Now, reconnect your two harnesses. Push the teeth together on this hose clamp on your radiator hose and push the hose back into place. Then remove your mass airflow sensor, this small ring off of the sensor, and push the ring onto your intake box. You want the tab to go in between those two posts on the box.
Then take your mass airflow sensor, push it back into the intake hose, and then lower the air intake box and attach it back to the sensor. Then line it up. Then tighten up those two hose clamps, reconnect your mass airflow sensor harness, line up the air intake box, and tighten up those two 8mm bolts.
Pull the mounts back down, and then pull the engine forward so that they re-clip. Replace those six 13mm bolts, put your brace back in place, and replace those two 13mm bolts, and tighten up the 13mm bolt at the top. Reconnect this hose. Just rewire tie it and clip off the excess. Then you're all set.
We hope this video helps you out. Brought to you by www.1AAuto.com, your source for quality replacement parts and the best service on the Internet. Please feel free to call us toll-free, 888-844-3393. We're the company that's here for you on the Internet and in person.
Shop Products


2000-03 Chevrolet Impala Monte Carlo Dual Radiator & Condenser Fan Assembly TRQ RFA83314
Part Details:
- 2

How To Replace Radiator Cooling Fan 2002-06 Nissan Altima
Replacing the radiator cooling fan? This repair is not as complicated as you might think. Learn to do it yourself with this video!
