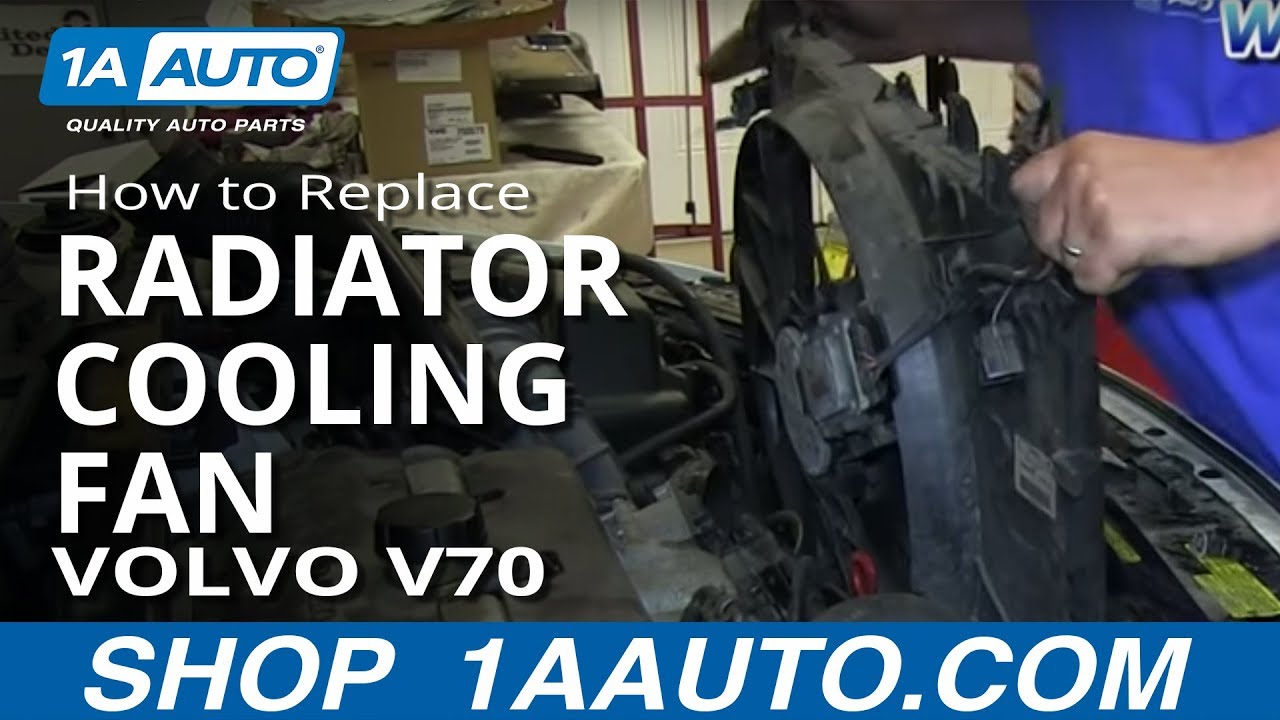
How to Replace Radiator Cooling Fan 2001-03 Volvo V70
Created on: 2013-08-02
Learn how to disconnect, remove, and install the cooling fan on the 01-03 Volvo V70 with this how-to video
-
step 1 :Disconnecting the Cooling Fan
- Remove the air intake hose by pulling out from the bottom of the airbox
- Remove the connectors to the radio fan control unit and EVAP purge valve
- Cut and remove all of the zip ties
- Remove the 10mm screw holding the EVAP purge valve to the front end
- Remove the 10mm screws holding the cooling fan in
-
step 2 :Removing the Cooling Fan
- Remove the plastic clip holding the power steering line to the dipstick tube
- Remove the EVAP valve from the radiator fan
- Remove the purge hose from the radiator fan
- Put pressure against the power steering line towards the engine
- Pull the radiator fan up and out
-
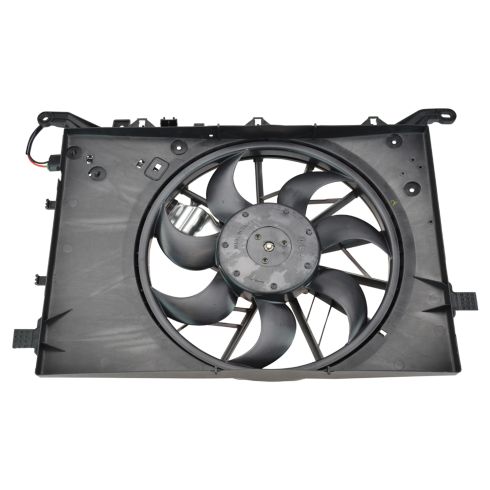
step 3 :Installing the New Cooling Fan
- Fit the two tabs from the radiator fan into their slots without pinching any wires
- Insert the purge hose into the radiator fan shroud
- Insert the purge valve back into place
- Screw in the 10mm holding the purge hose
- Replace and zip-tie the harnesses and connectors
- Reinstall and tighten the two radiator fan and assembly 10mm bolts
- Reinstall the clip on the dipstick tube and power steering line
- Reinstall the air intake hose
Tools needed
-
Socket Driver
10mm Socket
Needle nose pliers
Wire Cutters
Brought to you by 1AAuto.com, your source for quality replacement parts and the best service on the Internet.
Hi, I'm Don from 1A Auto. I hope this how-to video helps you out, and the next time you need a part for your vehicle, think of 1AAuto.com. Thanks.
In this video, we're going to show you how to replace a radiator fan assembly in a 2002 Volvo V70 non-turbo. It's fundamentally the same from model years 2001 through 2007 of the V70 non-turbo and S60 non-turbo. For this repair, you're going to need a 10mm socket and socket wrench, some wire cutters, a pair of pliers, and some zip ties.
Remove the air intake hose from above the radiator, and then from the bottom of the air box. Attached to the radiator there will be two connectors: one to the radiator fan control unit and then another one that goes to any EVAP purge valve. You're going to want to cut all of the zip ties that keep those cables and connectors to it, and then pull them out of the way.
Remove the 10mm screw that holds the EVAP purge valve to the front end. Locate the two 10mm screws, one on other side that hold the radiator in. I'll fast-forward as I take those two out. Here is the plastic clip that holds the power steering line to the dip stick tube. Remove the EVAP valve from the radiator fan, pull the purge hose off of the top of the radiator fan, and just set that aside. Then start to jiggle the radiator fan up and out, and see if it gets caught on anything if it does just move those things out of the way.
Go ahead and put a little pressure against that power steering line to move it forward or towards the engine so that you get a little bit more room to get the radiator fan out. Then it's just a matter of positioning it correctly. You'll see when you look down inside where the obstacles are, but it's pretty straight forward, just keeping that power steering line out of the way and pulling it up past the radiator fan control module, and then up and out.
Here we're showing you the two tabs on the bottom of the radiator fan, and then where they sit on the radiator itself. Those are going to need to slide in. Going back in with the radiator fan, just make sure you don't pinch any wires. Keep everything out of the way, go in with maybe the right side first, get it around the transmission lines, and then go ahead and get it past the power steering line. Make sure that you keep the harnesses out of the way because they will make it harder for you to get it in there. I'm just going to fast-forward as I finish putting that in.
Put the coolant purge hose that runs along the top of the radiator fan shroud back into place before you put that purge valve back in, and then screw in that 10mm bolt that holds it in. From there you can go ahead and start to zip-tie the harnesses and connectors that go along the fan shroud. I'll fast-forward as I reconnect everything and zip-tie it back into place.
Install the two bolts that hold the radiator fan to the radiator assembly in the upper corners. I'll fast-forward as I go ahead and do that. Go ahead and reinstall the clip that went on the oil dip stick tube, and plug or put your power steering back in. if you pulled your dip stick out, go ahead and put that back in. Then reconnect the air intake pipe.
We hope this video helps you out. Brought to you by www.1AAuto.com, your source for quality replacement parts and the best service on the Internet. Please feel free to call us toll-free, 888-844-3393. We're the company that's here for you on the Internet and in person.
Shop Products

How to Replace Radiator Cooling Fan Assembly 1994-97 Honda Accord
Check out this video to learn how to replace the radiator cooling fan on your 94-97 Honda Accord. Keep your system running cool with this fix.
