How to Replace Rear Brake Caliper 2004-10 Dodge RAM
Created on: 2020-10-02
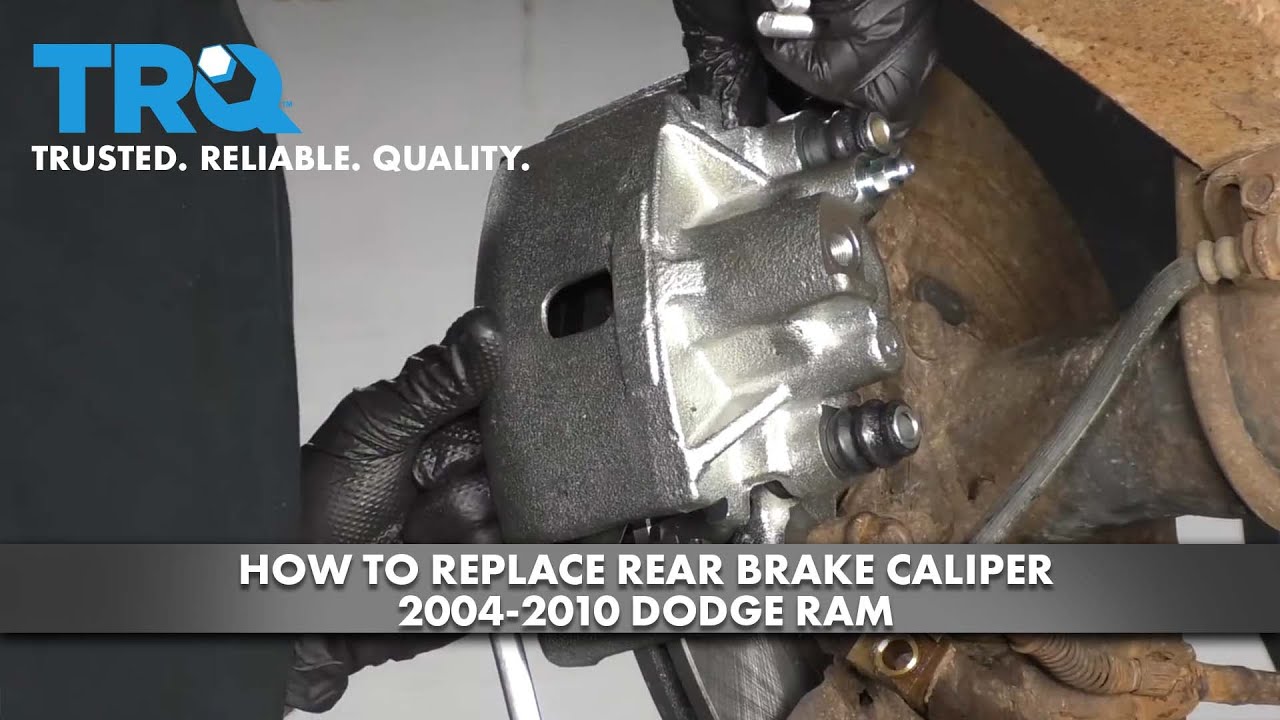
This video shows you how to a rear brake caliper on your 2002-2009 Dodge Ram 1500.
Tools needed
-
Torque Wrench
Socket Extensions
Jack Stands
Liquid Thread Locker
Brake Parts Cleaner
Pocket Screwdriver
Hose Pinch-Off Pliers
Socket Driver
Paper Towels
Wheel Chocks
Brake Grease
Drain Pan
Ratchet
Floor Jack
Wire Brush
Okay, friends, one of the first things we need to do is safely raise and support the vehicle. I like to do it with the suspension hanging. Let's remove all five of our lug nuts and the wheel. Looking at the differential here, you're gonna see your center flex hose. Let's take some brake line pinchers and go ahead and pinch this off. For our next step, we're gonna need a nice collection bucket. Put that down on the ground underneath this area right here. This is where your banjo bolt is, and there's gonna be fluid that comes out of this. Just break that free. Now I'm just gonna make it just a little snug so it's bottomed out. Let's continue on by removing these 10-millimeter headed bolts. Grab your caliper, go ahead and take it off. At this point, let's go ahead and remove this banjo bolt completely. Let's empty out our caliper. Go ahead and remove our brake pads. Inspect them real quick. Looks great. Awesome. Let's continue on by removing our caliper bracket by removing these two bolts.
Okay, friends, making our way over to the bench, we're gonna prepare our brand new caliper. To do that, I like to take it completely apart. We'll set this aside for now. Small pocket screwdriver. I'm just gonna take off this boot. We're gonna set it aside because we're gonna need it later. Take off your banjo bolt and make sure you don't lose either of your gaskets that are there. Set that aside for later as well. Let's continue on to the sliders. If you grab on the boot and push on the actual slider itself, you should be able to kind of separate the two. We're gonna slide this out a little bit. You wanna add a little bit of lubricant along here and then try to get some lubricant inside the boot area right there. Make sure you get into the very end right here. There's a little lip. That's where the boot's gonna ride and it's gonna help keep moisture out of there. I'm inside that boot, get in there as far as I can. I especially wanna try to get up into the center area here. Now we'll just go ahead and slide this back in. Perfect. Give it a little wiggle back and forth. Make sure the boot's sitting inside its grooves on both sides. Wipe it down. Do the same to the other slider boot.
Now I've got bolt sliders done. Let's continue on with that caliper grease. We're gonna go along this ear, this ear, and along the caliper piston where the pads are gonna ride. Set this aside. Moving on to the bracket, the next thing we need to do is strip off these tins right here. Take a little bit of that caliper grease and you're gonna go along the areas where the tins are supposed to ride. Take that same tin that you took off of there, slide it back on, do the same to the other side. Perfect. Let's grab all of our parts and make our way back over to the vehicle. The next thing you wanna do is clean and prep your bolts. You wanna make sure that you took off any existing thread locker and, of course, put on some brand new red thread locker. After that, take your brand new bracket right here that we just finished lubing up. Put it on there. We're gonna snug up these bolts and then we're gonna torque them to 100 foot-pounds. Now it's gonna be time to reinstall our pads. There's one. There we are.
Make sure the pads move around freely. Now it's gonna be time to get our caliper on there. If you were to look at it, you can see the bottom area's gonna have this little hooky-do. That's gonna sit down on the outer portion of the bracket. Okay. Slide those sliders. Perfect. Take your new caliper slider bolts, start them both in. We'll snug them up and then we'll torque them to 22 foot-pounds. Okay. The next thing we need to look at is our flex hose. You wanna make sure that you don't have either your gaskets on there on either side and you also wanna make sure the area where the gasket's gonna ride is nice and clear and free of any debris. This one looks good. If it wasn't, you can go out and clean it down with some sandpaper or a brush, whatever you need to do to, but make sure it's clean. Now it's gonna be time to take our brand new banjo bolt. Take one of your little copper crush washers there. We're gonna slide it into the flex hose here, put on your other gasket, and then put it right up into the caliper hole there just like this. So now we're just gonna bottom this out and now we'll torque it to 27 Newton-meters. Let's go ahead and get those hose crimpers off of there.
Now the next thing that we wanna do is go ahead and pump up the brake pedal. You want it to get as firm as possible. That's gonna help force the fluid up inside the caliper where the air is, and then we're gonna open this up and we're just gonna kind of let it gravity bleed for a little bit, work out as much air as possible. Now that we have the brake pedal pumped up, let's go ahead and open our bleeder screw. And we're gonna watch as fluid comes out of this. Just give it a minute. So there we go. We've got fluid coming out of this. It looks like it's coming in a pretty good stream. We wanna just make sure we don't see any more air bubbles. Just give this a couple of loving bonks. You can even try to move these flexibles around a little bit. Once you feel as though you have a pretty steady stream of fluid without air, we'll go ahead and close this and then we'll continue with a manual bleed.
Okay, friends. So the next thing that we need to do is check our brake fluid. You wanna make sure that that reservoir is topped off because we need to continue by bleeding this. To do that, it's gonna be easiest having a second person in the vehicle or, of course, you can continue with a single-person procedure. It's just a little bit different. Essentially, with a second person, what you wanna do is have them inside the vehicle and they're gonna slowly pump up the brake pedal. They're gonna give it three nice low pumps and then hold it on the third. Once they do that, they'll stay holding, we're gonna open up this bleeder screw and fluid's gonna come out. So you need to make sure you have your collection bucket. Once the fluid stops coming out, close it, and then ask them to pump it again another three times slowly and do the same procedure until you don't see any more air coming out of the bleeder screw. With that said, let's get started. Go ahead and pump up the brakes, please.
Okay. So I definitely saw air. Let's go ahead and pump them up again. All right. Let's continue on. Go ahead. That was great. So, on that last one, I didn't see any air bubbles come out, so that tells me that I'm gonna try this one last time. If at that point I don't see any air coming out, then I know that it's good. Let's go ahead and pump it one more time, please. All right. So if you happen to see air like I just did, that just lets you know that you got to do it again. Okay. So now going with the assumption that you've finished bleeding this and you have no more air coming from it, let's go ahead and clean down the area. Take your bleeder screw cover. Go ahead and put it on there. So once you have this bled, of course, you'd wanna go back up under the hood and double-check that brake fluid. Make sure it's nice and full. Let's get the wheel back on here, we're gonna snug it up, then we'll get the vehicle back on the ground and torque the wheels to 130 foot-pounds. Torqued.
Shop Products


Dodge Ram 1500 Rear 4 Piece Brake Caliper Set with Hoses TRQ CLA41136
Part Details:
- 4 Piece
- (1) Rear Replacement Brake Hose
- (1) Rear Replacement Brake Hose & Line Assembly
- (2) Rear Brake Calipers

How To replace Rear Brake Caliper 2000-06 Chevy Suburban
Learn how to properly remove and replace the rear brake caliper and also how to bleed the brakes with this how-to video
