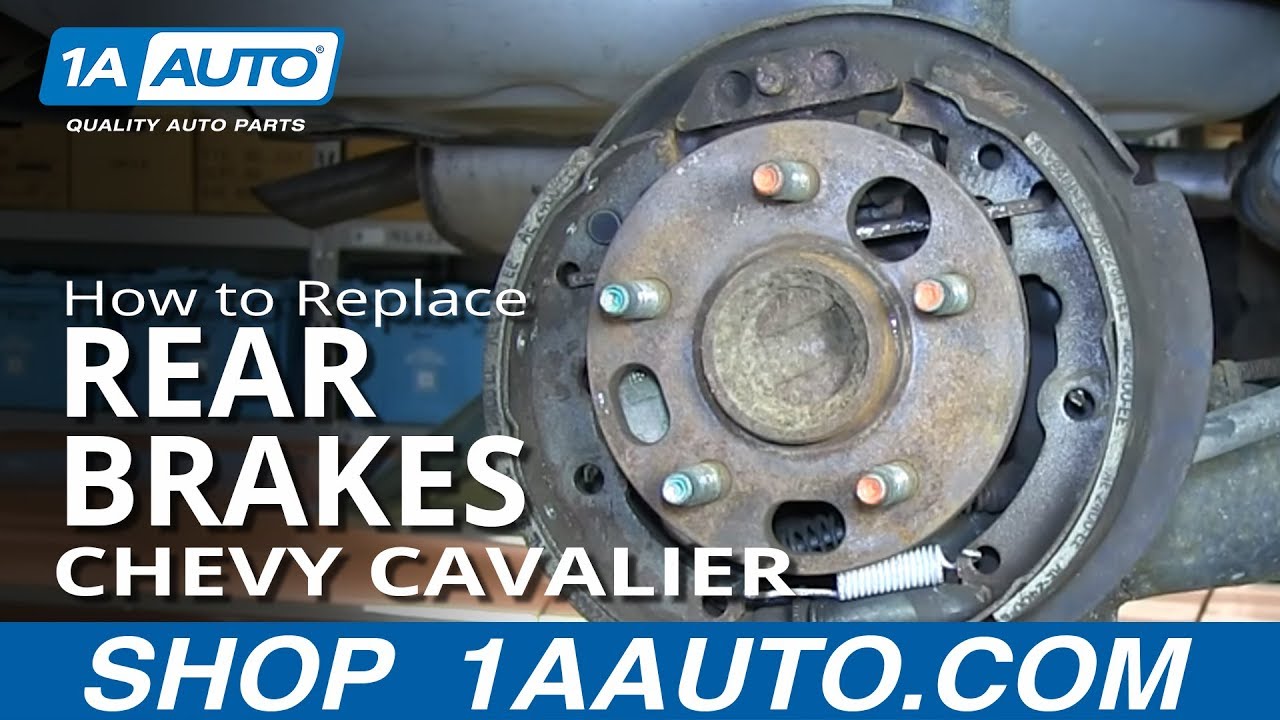
How to Replace Rear Brakes 1995-2002 Chevy Cavalier
Created on: 2013-08-27
Our mechanics show how to remove and install a rear drum and shoe brake assembly if you have worn out rear brakes and need to replace them
-
step 1 :Removing the Wheel
- Loosen the lug nut covers
- Pull off the hub cap by hand
- Loosen the lug nuts with the vehicle on the ground
- Raise the vehicle with a floor jack
- Secure the vehicle on jack stands
- Remove the lug nuts
-
step 2 :Removing the Brake Drum
- Strike the drum with a hammer to loosen it
- Pull off the brake drum by hand
-
step 3 :Inspecting the Brakes
- Check the drum for grooves or gouges
- Check the thickness of the brake shoes
-
step 4 :Removing the Brake Shoes
- Pull off the green springs using a pair of vise grip pliers
- Remove the rod from the post
- Remove the springs and cups from the brake shoes with vise grip pliers
- Pull off the brake adjuster arm by hand
- Separate the shoes and pull them off around the hub
- Disconnect the emergency brake cable from the brake shoes
- Pull off the brake shoes
- Separate the brake shoes from each other
- Pry the clip off the emergency brake arm with a flat head screwdriver
- Pull the arm off the brake shoes
-
step 5 :Installing the New Brake Shoes
- Put the emergency brake arm onto the new rear brake shoe
- Install the clip on to the emergency brake arm with vise grip pliers
- Check that the brake shoe adjuster moves freely
- Put the brake shoes into place
- Put the adjuster between the two brake shoes
- Attach the spring across the bottom of the shoes with vise grip pliers
- Attach the adjuster arm
- Install the springs and cups onto the brake shoes with vise grip pliers
- Install the spring for the adjuster arm
- Install the rod
- Install the rear green spring
- Install the front green spring
-
step 6 :Installing the New Brake Drum
- Push the brake drum on
- It should slide on with some friction
- If necessary, pull off the drum and turn the adjuster wheel with a flat blade screwdriver
- Push the brake drum on
-
step 7 :Reattaching the Wheel
- Slide the wheel into place
- Start the lug nuts by hand
- Tighten the lug nuts preliminarily
- Lower the vehicle to the ground
- Tighten the lug nuts to 100 foot-pounds in a crossing or star pattern
- Reattach the hub cap, lining up the notch with the valve stem
- Tighten the lug nut covers with a 19mm socket
Tools needed
-
Hammer
Flat Blade Screwdriver
Torque Wrench
Jack Stands
19mm Socket
Ratchet
Floor Jack
Needle nose pliers
Brought to you by 1AAuto.com, your source for quality replacement parts and the best service on the Internet.
Hi, I'm Mike from 1A Auto. I hope this how-to video helps you out, and next time you need parts for your vehicle, think of 1AAuto.com. Thanks.
In this video, we're going to show you how to replace the rear brakes on a 2000 Chevy Cavalier. The operation is the same from left side to the right side, as well as for many of the model years of the Chevy Cavalier with rear drum brakes. In order to perform this repair, you're going to need a new set of brakes from 1A Auto, a 19mm socket and socket wrench, or if you have an impact wrench, use that, a hammer, flathead screw driver, needle nose pliers, needle nose vise grips and a jack and jack stands.
I use the 19mm socket to just loosen the lug covers and remove the hub cap. Then if you don't have the benefit of air tools, start with your vehicle on the ground, loosen the lug nuts, then raise and secure the vehicle and remove the wheel and tire.
To remove the rear drum, I'm going to tap on it and spin it a little bit to loosen it up and eventually I'm going to hit it from the back side making sure that I don't hit the backing plate. Once I get that loose, I'll be able to pull off the brake drum. If you want, you can do an inspection. Use your finger, feel for any deep grooves or gouges on the surface of the drums, and then also check the brake shoes. On this vehicle, everything is in pretty good shape. We're just going to take it all apart and put it back together to show you.
I'm going to remove the springs. I'm using a pair of pinch-nose vise grips and you could see those two green springs. I'm going to start by taking those off and setting them aside. And I'm going to remove that last rod and pull it off the post and set that aside. I'm going to remove the two springs that hold the brake shoes in place and in order to do that, again I'll use the pinch-nose pair of vise grips. What we're trying to do here is twist the cup that the spring sits in and line it up with the tabs on the cup and then the rod that goes through it, and by doing that is to release itself. The best way to get those pinch-nose pliers grab the outside edge and twist until the spring comes off the rod with that cup. You're going to do that for both sides noting that the one that I'm working on here is going to go back in that same spot and they are not identical. Now, pull off the arm that goes to the brake adjuster. Grab both shoes, spread them apart, slide them over the hub and off and then disconnect the e-brake cable from the e-brake lever.
You're going to need to swap over this arm. It's on one of the brake shoes and we're going to reuse these shoes but I'm just going to show you, here, what you're going to need to do because there's a very good chance that it's not going to come with your new set of shoes. It's not going to come with this arm. It's just a stud with a e-clip on the end of it and you just need a little flat head screw driver to pry it off and it will go back on just the same way on the new set of shoes.
In going back in, I've got that stud through there. I've got the arm going back on the stud and I'm going to use a pair of pinch-nose pliers to put the e-clip back on. Here's an up close of the brake shoe adjuster. You're going to want to make sure that that's freely moving. Place the brake shoes back in and you can see how they are touching the wheel cylinder as well as the bar up top. Make sure that it's seated right there correctly and that they're just being held in, right now, basically, by a little bit of friction. You get your adjuster. Slide it in the way that you see there and then go ahead and put the spring in. Make sure everything stays in place and then use a pair of pinch-nose vise grips and reinstall the spring. That will keep some tension on it so they don't fall out. Install the spacer washer on the rear most shoe there and you can put the arm back on and that's going to rest up against the brake shoe and the adjuster star wheel on that bottom. Adjust your vise grips and reinstall that green spring and the cup. Hold from the back of the backing plate, the pin that goes through. Stick it through and twist until it seats. Do the same for the other spring and cup. Put your hand through and make sure that that pin sticks through. Go ahead and squeeze it and put it on. To reinstall the spring, it goes against the backing of the brake shoe and that rod that we just installed, and you want the fat part down and skinny part up into the notch into that little arm. Now, go ahead and reinstall the rod that goes to that arm again. Slide it over the pin and put it in to its notch. We're going to go ahead and do the same thing with those two green springs, the rearmost being the first one. Just put it over the pin using those vise grips and then the front one goes on just the same. Here's what it should look like when you're all set.
We're going to make sure that we've got the right adjustment on the rear brakes and you can see here I'm spinning it. We should have a little bit of friction so I'm going to take that wheel or that brake drum off and I'm going to use a screw driver. You can see that little adjusting wheel down there and I'm going through the hub and I'm going to make it spread it open a little bit more thus putting a little bit more force against the brake drum. I'm going to put it on again. There's a little bit of friction there but I'm going to take it off one more time and adjust it a little bit more so that it's got a little bit more friction tension against that brake drum. Go ahead and do that until you feel like you've got the appropriate amount of drag.
I'm going to go ahead and fast forward as I reinstall those five lug nuts. I'm torqueing the five lug nuts in a star pattern to 100 foot pounds. Now, line up the notch for valve stem with the hub cap and then using your 19mm socket by hand tightening those lug nut caps and I'm going to fast forward as I finish that up.
We hope this video helps you out. Brought to you by www.1AAuto.com, your source for quality replacement parts and the best service on the Internet. Please feel free to call us toll-free, 888-844-3393. We're the company that's here for you on the Internet and in person.
Shop Products


Rear Brake Shoes TRQ BFA73634
Part Details:
- No
- No
- Standard Replacement
- Bonded
- 1.81 in
- 6 mm
- N
- 46 mm
- 6 mm
- 0.24 in
- 223 mm
- 8.78 in
- 9.06 in
- 9.06 in
- 230 mm
- 0.24 in
- 230 mm

How to Replace Rear Brakes 2002-10 Dodge Ram 1500
Watch this video to learn how to fix squeaky or fading rear brakes. The experts at 1A Auto show you how to replace the brake pads and rotors on your 02-10 Dodge Ram.
