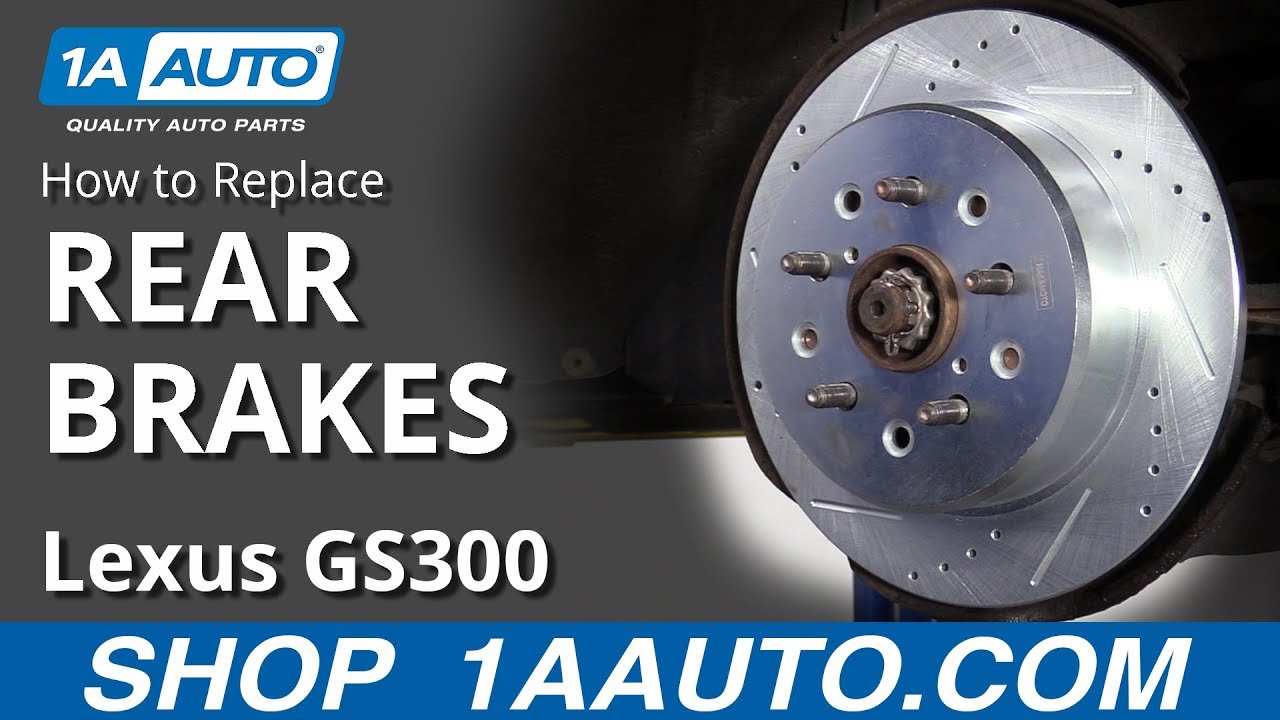
How to Replace Rear Brakes 1997-2005 Lexus GS300
Created on: 2019-04-26
Watch this video to learn how to replace the rear brakes on your 97-05 Lexus GS300 if they are worn out, squeaking or faded. 1A Auto mechanics will guide you.
-
step 1 :Removing the Rear Brakes
- Raise and support vehicle
- Remove the cotter pin from the pad retaining pin
- Remove the upper metal anti-rattle clip
- Remove the lower anti-rattle clip
- Inspect the parking brake shoes for wear or damage
- Remove the pad retaining pin
- Remove the brake pads
- If the pads are difficult to remove, open the bleeder screw and depress the caliper pistons with a pry bar
- Depress the pistons all the way
- Close the bleeder screw
- Remove the two 17 mm caliper retaining bolts
- Support the caliper with a caliper hanger
- Make sure the parking brake is disengaged
- Remove the brake rotor
-
step 2 :Replacing the Rear Brakes
- Clean and dry the parking brake shoe and wheel hub area thoroughly
- Install the rear brake rotor and check for parking brake shoe fit
- Remove the brake rotor
- Align the access hole in the wheel hub to the parking brake adjuster
- Adjust the parking brake shoes as necessary
- Replace the rotor
- Remove the caliper from the hanger
- Clean the inner pad contact surfaces of the brake caliper with a wire brush
- Install the brake caliper with the two 17 mm retaining bolts
- Torque the 17 mm bolts to 77 ft-lb
- Install the brake pads
- Install the lower anti-rattle clip
- Install the brake pad retaining pin, and secure it with the cotter pin
- Install the upper anti-rattle clip
- Open the bleeder screw to gravity bleed the caliper
- Close the bleeder screw
- Replace the wheel
- Lower the vehicle
- Torque the lug nuts in a star pattern to 76 ft-lb
- Check the brake fluid reservoir for proper fill level
- Refer to cap for brake fluid type if it needs more fluid
- Test drive the vehicle
Tools needed
-
Socket Extensions
Torque Wrench
Rust Penetrant
Pry Bar
17mm Socket
10mm Wrench
Brake Parts Cleaner
Pliers
21mm Socket
Side Cutters
Flat Blade Screwdriver
Brake Caliper Hanger
Anti-Seize Grease
Ratchet
Wire Brush
1/2 Inch Breaker Bar
Hey everyone. Sue here from 1A Auto, and today on our 2001 Lexus GS300 I'm going to be doing rear brakes. If you need those parts or any other parts for your car, click on the link below, and head on over to 1AAuto.com.
Take the wheel off, 21mm socket and a breaker bar. Now with the vehicle raised up in the air I have a two post lift. You can have jack and jack stands at home. It would be great if you have a lift. Take all the lug nuts off and we'll pull the wheel.
I'm going to take the pads out of the caliper while it's attached because that way it's easier to pull the pin out, and sometimes they get frozen in there over time. If that's the case. If it's still mounted, it's sturdier and easier to work with.
So that is a cotter pin version from Toyota, and it locks in that pin from sliding back and retrieving itself. It's got a nice hook to it and looks in good shape, and because I didn't buy a hardware kit, I'm going to have to reuse that.
Now this pin, just tap it out. So it's moving over here. I'm going to get a pair of pliers actually and a little bit of penetrating spray, and we'll just see if we can move that up a little bit. Then I'll grab the end over here so I can twist it and give it a pull while I'm twisting it. I'm going to remove the tin shield first here. It's like a butterfly. It's a rattle clip. Get this out of the way. Hooks in to the back here. Then it comes out.
And now we can see why maybe this is not working. Some more anti-rattle clips. I'm going to do it from one side than do the other side. Now the pin should be able to come right out a little bit easier. This butterfly anti-rattle clip was holding it. So there's our pin.
Now I'm going to grab the pads and slide them out. Pull them both. Get one on both sides. There's the shims. Should be two or three of them. Yep. And then one on this side. I got the pad. Just got to pull it out evenly. This might need a bigger driver or a screwdriver. I just got a little bit bigger bar to try to get this pad out. It's probably a good indication that the actual caliper might be a little frozen in there.
I'm going to open this bleeder screw now and see if I can get this piston to go back at all. I have a catch basin underneath. Make sure if the fluid comes out or when it does, I can catch it. See if we can push this front piston in. I want to see if I can get that back piston to go in. This could be the problem. Piston might be frozen. I'm just going to squeeze it with a pair of pliers. There we go. There is just so much rust and dirt stuck in this bracket of this caliper. The pad would not even slide smoothly out. Still stuck in there from all the rust buildup.
There we go. You can see the shims are lifting up. Now with the pad out I can push this piston in all the way. They move pretty smooth. That's good. I'm going to let that gravity bleed a little bit so I don't have to do so much of it on the other end.
I guess I'll take this out. Now we're going to undo the caliper to the knuckle. There's two mounting bolts. I raised my vehicle up a little bit higher because these bolts are really frozen in there so I'm going to end up using a half inch 17mm socket half inch drive, and my long ratchet. See if I can break these free. See if I can get the top one. They're pretty rusted in there. It is a 2001.
And I can take the bolts out. Set them aside and just pull on that caliper. So this caliper on this Lexus is a dual piston, not on the same side, but on opposite sides. It's a pretty cool setup. It's different. Going to look in there and make sure there's no leaks. The seals still look like they're fine, and I can tell you that the pistons went back really smooth. Seem to be no frozen point to it. I didn't have to force it back. I'm just going to use my caliper hook and hang that because I don't like to put any strain on the actual flex hose. So we'll let that dangle there and now I can take my rotor off.
Now I brought it back down to a level that I can work at, and I'm going to pull the rotor right off the hub, and there's e-brake shoes inside this hat. And at some point somebody did a brake job and they forgot to put back the rubber boot adjuster. So this rotor has been open to the elements which is not good so let's see what we find when once we get this rotor off.
Feels like the shoes are actually hung up in there. There we go. So the shoes are worn evenly. The rear one is worn somewhat unevenly. The front one here is worn a little unevenly, mostly hitting at the top which I'm going to say is usually a sign of someone leaving e-brake on while they're driving. It happens especially with a foot style brake or even the hand brake. So they didn't go far. They could have gone a couple of miles and went,
Shop Products


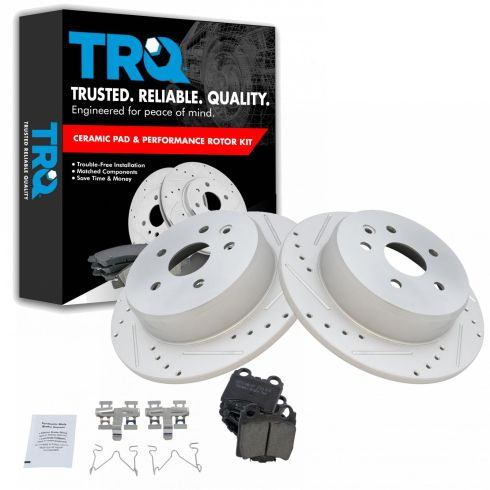
Lexus GS300 GS400 GS430 IS300 SC430 Rear Ceramic Premium G-Coated Performance Brake Pad & Rotor Kit TRQ Performance BKA12128
Part Details:
- Premium Posi
- Ceramic
- 12.09 in. (307mm)
- Solid
- Performance
- Premium G-Coated
- 5 Lug
- (2) Rear G-Coated Performance Brake Rotors
- Slotted X Drilled
- Performance
- (1) Rear Ceramic Brake Pad Set

How to Replace Rear Brakes 1994-2002 Dodge Ram 1500
Watch this video to learn how to replace the rear drum brakes and hardware on your 94-02 Dodge Ram.
