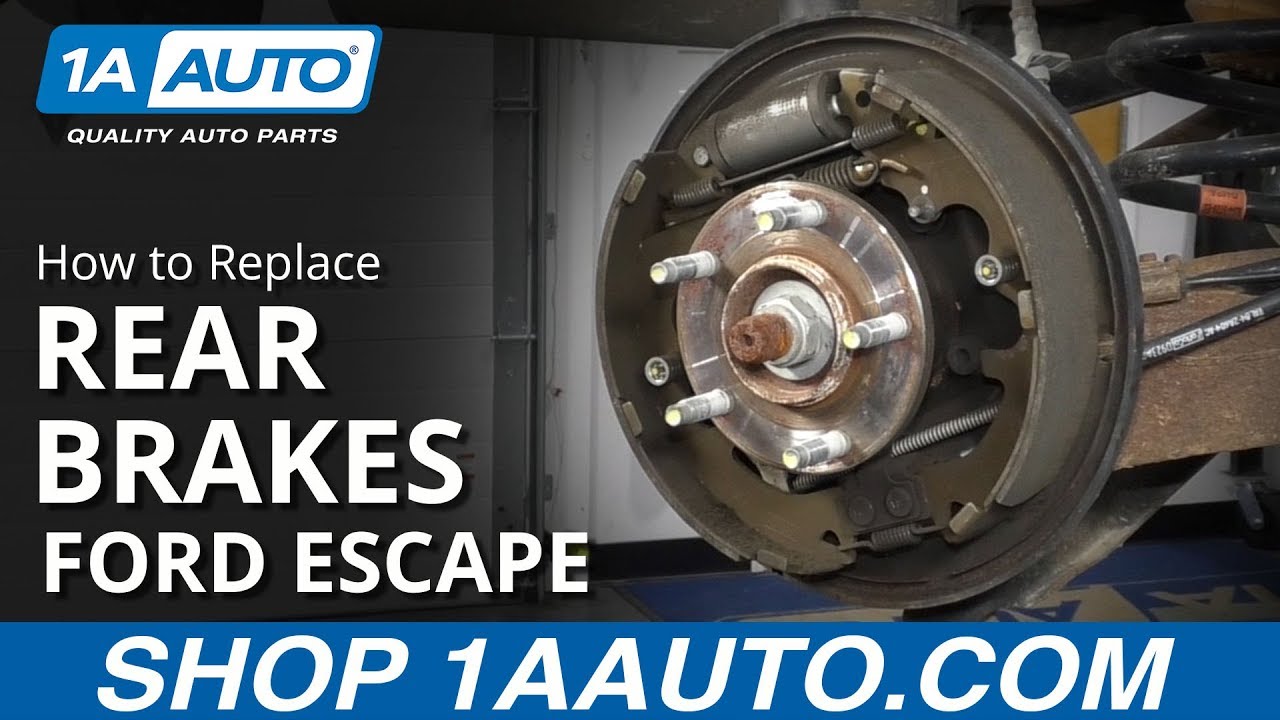
How to Replace Rear Brakes 2008-12 Ford Escape
Created on: 2019-04-23
Watch this video to learn how to replace rear drum brakes. The experts at 1A Auto show how to replace rear drum brakes on your 08-12 Ford Expedition.
-
step 1 :Removing the Wheel
- Loosen the wheel lug nuts
- Raise and support the vehicle
- Remove the wheel
-
step 2 :Removing the Rear Brake Drum and Shoes
- Remove the brake drum. Tap around the wheel studs with a hammer to loosen it if necessary
- Spray the brake area with brake parts cleaner to remove dust and debris. Wear a mask to prevent inhaling dust
- Remove the adjuster spring using pliers
- Remove the upper spring using pliers
- Remove the bottom spring using pliers
- Remove the spring from the front shoe retaining pin by pressing down and turning it to free it from the nail, while supporting the nail from behind.
- Remove the front shoe
- Remove the adjuster from the front shoe by lifting up on the retaining lock
- Remove the spring from the rear shoe retaining pin by pressing down and turning it to free it from the nail, while supporting the nail from behind.
- Remove the rear shoe
- Pull and slide off the bracket connecting the rear shoe to the parking brake cable
-
step 3 :Replacing the Rear Brake Shoes and Drum
- Use a wire brush to clean the points where the shoes contact the backing shield
- Clean the backing shield area with brake parts cleaner
- Apply brake grease to the areas where the shoes contact the backing shield
- Use locking pliers to pull out slack on the parking brake cable to reattach the rear shoe cable bracket
- Install the rear shoe with the retaining nail passing through the hole
- Replace the retaining nail spring
- Tighten the adjuster to accommodate new shoe thickness
- Replace the adjuster on the front shoe
- Install the front shoe with the retaining nail passing through the hole
- Replace the retaining nail spring
- Reattach the adjuster spring
- Press the shoes together to compress the hydraulic cylinder
- Replace the top and bottom springs
- Clean rust off of the wheel hub and apply anti-seize grease as necessary
- Replace the brake drum, tightening the adjuster if fitment is too tight
- Spin the drum checking for very light engagement with the shoes. Use the adjuster to adjust fitment as necessary
-
step 4 :Installing the Wheel
- Replace the wheel and tighten lug nuts
- Lower vehicle and torque lug nuts to 100 ft-lb
Tools needed
-
Torque Wrench
Hammer
Jack Stands
19mm Socket
Dust Mask
Brake Parts Cleaner
Hose Pliers
Flat Blade Screwdriver
Paper Towels
Anti-Seize Grease
Brake Grease
Ratchet
Wire Brush
Floor Jack
1/2 Inch Breaker Bar
What's up, guys? I'm Andy from 1A Auto. In this video I'm going to show you how to replace the rear drum brakes on this 2012 Ford Escape. If you need parts for your vehicle, click the link in the description and head over to 1aauto.com.
I'm going to remove the wheel. I'm going to use a 19 millimeter socket and breaker bar. Loosen up the lug nuts before I raise the vehicle up. All right, now I'm going to remove the lug nuts, grab the wheel. This wheel's stuck on there pretty good so just going to put a lug nut on, take a hammer and hit it from the backside. You can take the lug nut off and pull the wheel off.
All right, I want to take the drum off. If the drum's stuck on there, you can take a hammer and just hit in these locations. Give it good taps and that'll break some of the rust free. A lot of times the rust builds up right there and that causes the drum to get stuck on. Slide the drum off. When you pull these off, there's going to be a lot of brake dust so you can either wear a mask or just stay clear of any of the dust.
I'm just going to make sure I wear my mask. I'm just going to take some break parts cleaner and just go all around. Make sure you don't breathe any of this in. I'm going to start from the top and work my way down. See, some of the dust is going airborne. It's a good idea to have a catch pan or some cloths to catch the brake cleaner--brake parts cleaner.
I'm going to take this spring off right here. You can use some locking pliers or even some needle nose pliers. What I like to use is these hose clamp pliers, these hose removal pliers. Get in behind here and then just grab and just slide. You're going to slide the clamp out on this side. Loosen that up. So that's just going to stay there--that's going to stay on the adjuster. For this spring, I'm just going to use some locking pliers. Just going to try to grab it right there. Grab it and pull it off just like that. Set that aside.
Next, I'm going to take this bottom spring out. We'll use those same pliers--just slide that and set that aside. Now I'm going to take this off. Normally you would use a tool like this, but this one's a little to big so I'm just going to use some locking pliers. Make sure they have some good gripers on them. Squeeze onto that. On the backside, there's a nail that goes through there. So when I push down on the spring, I'm going to twist it to the side. I'm going to hold the nail on the backside. There's the nail right there. I'm going to grab the shoe and just slide it off.
On the backside of this, there's a little lock right here. I'm just going to lift up on that lock, and then I can take the adjuster off. Now I'm going to do the same with this side. Not too tight--I don't want to squish that. Slide that off. Grab the shoe and slide it off. All right, to remove this from the parking brake cable, just give it a pull, and slide this back and slide that off just like that.
Just going to take a wire brush, clean these areas off where the shoes ride against the backing shield. Get those cleaned off. I can take some break parts cleaner. Clean this all off. I'm going take some break grease, and we're just going to lubricate these contact points where the shoes would contact the backing shield. That's just going to keep the shoes sliding good. I'm going to use these locking pliers on this cable for the parking brake so that I can slide this out. I'm going to slide this out and then I can take this shoe.
Now the rear shoe on this one is the one with this extra bracket. So take this extra bracket and slide it on like this. Push that spring forward just like that. So that's how that goes and then this flips over like that. A good thing to keep in mind is where all the hardware goes--the best thing to do is leave the other side together, don't take both sides apart. So if you leave one side together, and you forget where something goes, you can always reference the other side. So going to just slide this into position like this. You want to make sure your hands are clean when you're doing this. You don't want to get grease on the actual brake shoes. And we'll take this spring, make sure you're pushing the nail from the back side and then twist just like that.
Before we install this adjuster onto this shoe, what we'd want to do is if we were replacing the shoes, is tighten this adjuster down so that it's actually adjusted smaller. But we're not replacing the shoes at this time so we can just slide this in position. This slides down like that. And we can take this shoe, slide it over here. We want to go, make sure that nail goes through that hole there. That in position there and then make sure the adjuster goes over here just like that. All right, while holding the nail from the backside, take the spring in that little retainer. You want to align that up. We're using the locking pliers. Push down and then twist. Sometimes this takes a lot of effort to get that retainer on right. If you struggle with it, just keep working at it, you'll eventually get it.
So I want to hold this adjuster in that position like that and then I'll take these hose pliers and just slide this over here. This may take a little effort as well, trying to get that on there. It's a good idea to wear safety glasses with all these springs here as well because something could fly out. A lot of times these hose pliers work a lot better on rear brakes that have bigger springs. Not really working to well on this vehicle. So I'm just going to use the locking pliers. We'll get that right there. Then I just want to just take the shoes and just push in. That's pushing the wheel cylinder in. There we go. Now we're going to install this spring. Just slide that on one side, take the locking pliers on the other side and make sure those springs are all the way in there. And those look good. Now I'll take the bottom on. I'm going to start on this side and lock it in over there. And those are all locked in. Everything looks good. Make sure that's all tight. It's all in position.
Because this drum was actually kind of hard to get off, we can use a wire brush and just try to clean around on this hub right here. I'll just take a little rag and wipe this down. You could also use a little brake parts cleaner on here. And then I'm going to use a little bit of copper anti-seize and just spread it around the hub, just in the center here. Some people like to spread this all over the place. I personally don't like too put to much of this on because I don't like it getting all over the place. If you get this on anything, it never comes off.
I'll take the drum--slide it in position. All right, so I'm having trouble getting it on, so I have to loosen this up a little bit. So I'm just going to take two screwdrivers--one that's smaller. The smaller one I'm going to push on this little lever in the back--that's the self-adjuster, and I'm going to try to adjust the adjuster forward.
I like to count how many times I do this, so I'm going to do it three times just like that. And I'll try it again. Now you want to adjust it so the shoes are just touching the drum and you spin it. And it's a good idea to take the other side off. Take the other drum off because you could be confused thinking that it was rubbing and it's actually coming from the other side. So these actually feel pretty good like this. If you had to adjust it some more, you'd pull the drum off, adjust it accordingly, which way you need to adjust it and then you'd be good to go.
We also had a little trouble getting the tire off so I will put a little bit on here, a little anti-seize. Now I'm going to put the tire back on. Put the lug nuts on. All right, just going to use the 19 millimeter socket. Tighten these down by hand. I'm going to take my socket and a torque wrench--I'm going to torque these to 100 foot-pounds, and I'm going to do it in a star pattern so that wheel gets tightened down evenly. Just going to go around again--make sure everything's tight.
Thanks for watching. If you want the parts to do it yourself, check out 1aauto.com, the place for DIY auto repair.

How To Replace Rear Disc Brake Pads and Rotors 2004-10 Ford F150
Check out this video to learn how to replace the rear brake pads and rotors on your 04-10 Ford F150. 1A Auto will show you the steps.
