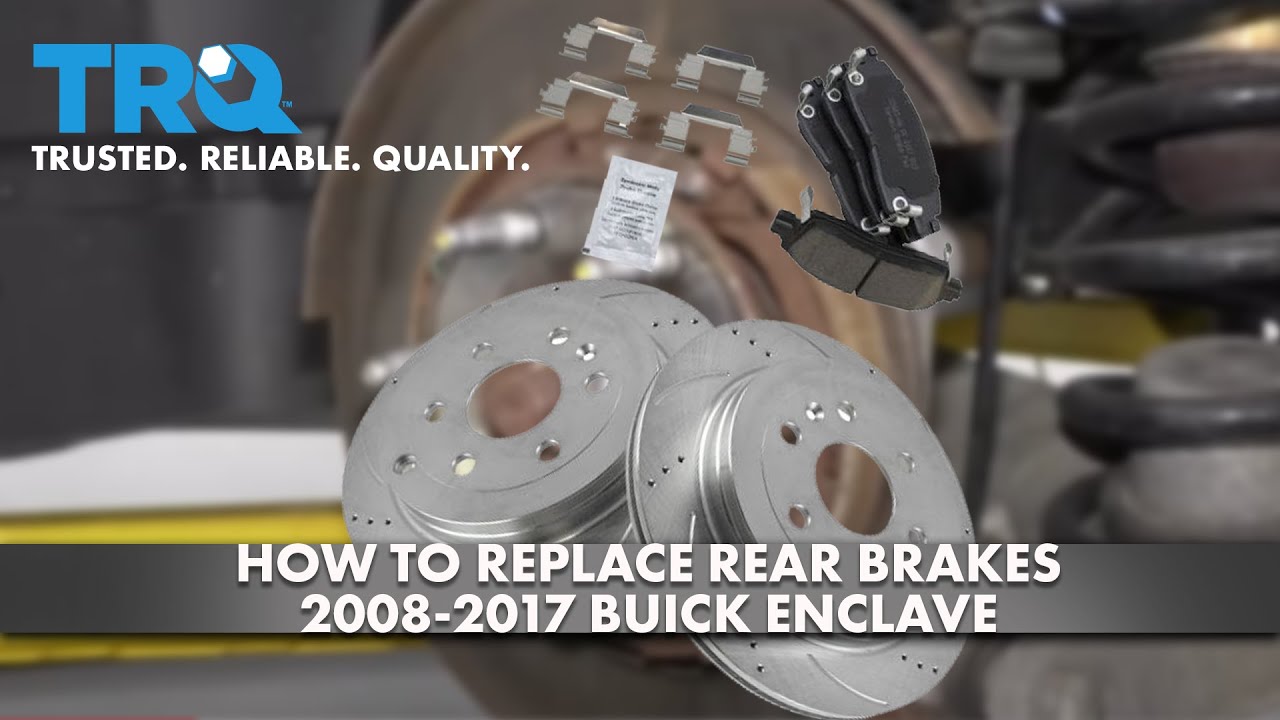
How to Replace Rear Brakes 2008-17 Buick Enclave
Created on: 2020-10-29
This video shows you how to install new, quality TRQ brake pads and rotors on your 2008-17 Buick Enclave.
Tools needed
-
Torque Wrench
Hammer
Socket Extensions
Rust Penetrant
Pry Bar
Jack Stands
Brake Parts Cleaner
Flat Blade Screwdriver
Brake Caliper Hanger
Socket Driver
Paper Towels
Copper Anti-Seize
Wheel Chocks
Brake Grease
Ratchet
Floor Jack
Wire Brush
The first thing we need to do to get started on these brakes is to raise and support the vehicle and then remove all your lug nuts and then the wheel. We have a clear view of our caliper. We need to push back this piston right there. Use a nice pry bar and slowly push it back. There we are. The next thing we need to do is remove these two caliper slider mounting bolts. Remove and inspect your caliper, make sure you don't see any brake fluid. Set it aside. Now, let's go ahead and remove our pads from the brackets. Now, let's go ahead and remove our caliper bracket bolts here. Remove your bracket, set it aside. Looking at the outer portion of the rotor, we're going to remove this little plug right here. There it is. Now, let's use a little bit of penetrant and spray the areas on the rotor that connects to the hub. Let's remove this Torx-headed bolt. Start on one of your lug nuts, and then bonk on the rotor to break it free from the hub.
If you find that this doesn't want to come off, you just have to de-adjust the e-brake shoes. You want to spin the rotor so the inside of this hole lines up with your adjuster screw in there, and then turn the adjuster until it loosens up. Remove your rotor. Now, let's clean down this inner surface of the hub and the outer surface of the hub. Using a nice collection bucket, let's spray down this entire area with some parts cleaner. Here's your adjuster. Let's hit it with some penetrant as well. Now, let's put on a little bit of copper never-seize on the mating surfaces of the hub. Copper never-seize right inside that mounting hole as well. So, the next thing we need to do now is clean up our brand new rotor braking surfaces.
We'll get that outer braking surface. Turn it over. And now we're going to clean up these two surfaces. Don't forget where the e-brake shoes ride. Let's get this on the car. To put this back on the vehicle, we want to make sure we line up the hole right here on the hub with the hole on the rotor. Perfect. Start in that mounting bolt and we'll snug it up. The next thing we need to do is adjust our emergency brake shoes on the inside there. We want to do that until this can't turn anymore, and then we're going to back it off a little bit. Just find that adjuster and adjust this all the way in so they touch the rotor. Okay. So that's adjusted so it's touching now. I can't turn this at all. Let's back it off just a couple of clicks here.
Now, we can start to spin and you can hear it just barely starting to touch. You don't want any drag, but you do want to hear it just barely starting to touch, just like this. A little boot back in here. Now, let's make our way over to a bench so we can clean up our caliper bracket. One of the first things I like to do is remove my sliders. Give them a nice little twist, take the boot off of there, then hold it like this, and pull the boot completely off. Set that aside on its corresponding side there. This one as well. Perfect. Let's move along to removing our tins. Set those aside for recycling. Awesome. The next thing we like to do is clean up these areas where the tin was. You want to make sure it's nice and clean with no buildup. All four corners look great. Now, we need to clean up our caliper slider ports. A little bit of parts cleaner and a nice bore brush. There we are.
Use your brush, come along the edge where the boot's supposed to be. Make sure there's no debris along there. We got that edge clean. Let's go ahead and spray it down again. And now, we'll do the same to the other side. This looks great. Let's set it aside. Let's move along to cleaning up our sliders. That's going to be the same process for either slider. Go ahead and clean them down. Look at them. And then you want to inspect this area right here. You want to make sure that there's no crud inside there as well. Anything that gets in between there could potentially mean moisture gets inside and contaminates your slider. Okay. So, now this one looks pretty great. We'll set that aside. Now we're going to clean up the boots. You want to make sure you get off all this gunk, especially the stuff on the inside there. Pull that through. Now we're just going to give it a nice wipe.
So, now we've got our slider and our boot cleaned down. Do the same to the other side. Now let's continue on with the bracket here. We're going to take a little bit of this caliper grease and I'm going to come right along this lip right there. Do the same on this one. Just a little bit will do. Now, we'll take a little bit of grease, go right inside that caliper slider port, do the same on the other side. Moving along, we're going to grab this slider, put some lubricant on there as well. Something that's important to mention is getting up inside that lip right there. That's where the boot's gonna ride. Super important. Perfect. Go ahead and take your slider boot. Put it on just like this. Now, we're going to slide this right in. Give it a nice squeeze. And you want to make sure that the boot's sitting on the groove all the way around. That looks good. It's on the bracket. Pull it out, make sure it's on the slider as well. Work it in there nice, and do the same to the other side.
Now, let's move along to adding a little bit of grease right along these areas right here. Spread it out so it's a thin layer. Time for those new caliper tins. Go ahead and slide it in. Squeeze right in the center here. Make sure that the locking clips are up against the caliper bracket. Do the same on the other side. We can go ahead and mount our caliper bracket. Let's clean these bolt threads. With those bolts cleaned up with a little bit of new thread locker on there, let's put our bracket back in here. We'll start in the bolts, and then we'll torque them down to manufacturer specifications. Let's torque these to 129 foot-pounds. It's gonna be time to install our brand new pads. You want one with the indicator and you want that one on the inside with the indicator facing up. Let me slide that right in.
This is the hardest part getting the tin. There we are. Perfect. Let's move along to prepping our caliper itself. You want to put a tiny bit of grease around the piston and then, of course, both of these ears. Caliper on here, put it right over those pads. Take your two bolts with a tiny bit of red thread locker, start them both in, and then we'll torque these to 20 foot-pounds. Let's quickly inspect what we did. Make sure everything's nice and tight. Make sure your flex hose isn't twisted. Now, let's get the wheel on here. We'll start all the lug nuts, get it down on the ground, and torque it to 140 foot-pounds. Torqued. The next thing that you'd want to do is go ahead and pump up the brake pedal so it's nice and firm, and then come out here and check your brake fluid.
Shop Products


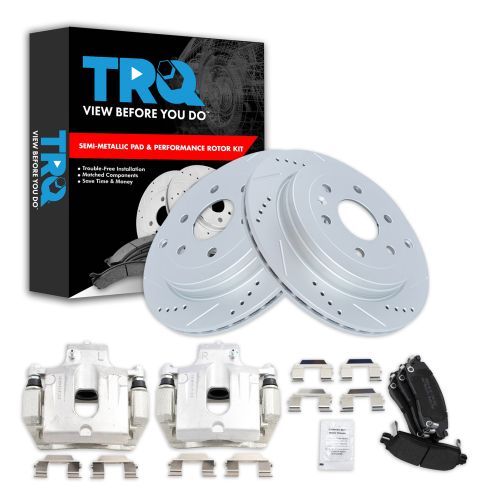
Chevrolet GMC Buick Saturn Rear Semi-Metallic Premium G-Coated Performance Brake Pad & Rotor Kit with Calipers TRQ Performance BKA35766
Part Details:
- Performance
- Premium G-Coated
- Semi-Metallic
- Premium Posi
- Slotted X Drilled
- Performance
- (1) Rear Semi-Metallic Brake Pad Set
- (1) Rear Premium G-Coated Performance Brake Rotor Set
- (2) Rear Brake Calipers

How to Replace Install Front Brakes 2003-08 Honda Pilot
Fading or worn out brakes? Learn from our experts in this video how to replace and prepare the front brakes yourself, including torque specs
