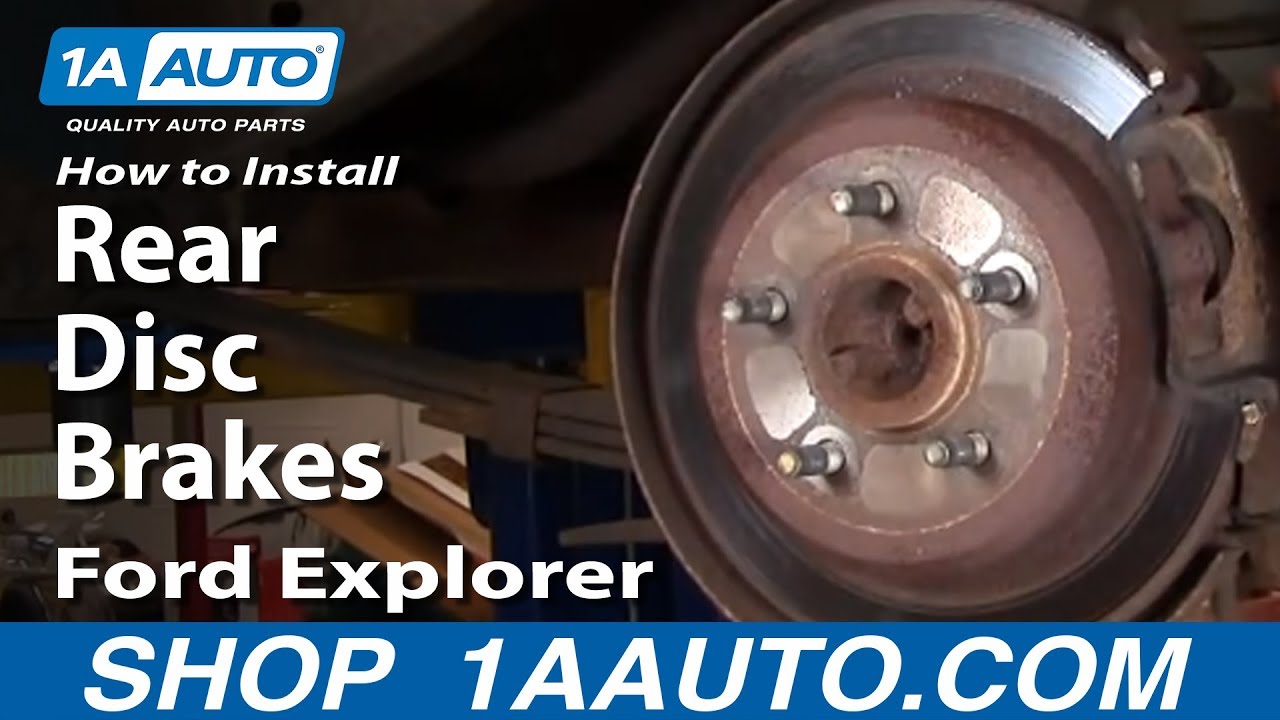
How to Replace Rear Disc Brakes 1995-2002 Ford Explorer Part 1
Created on: 2010-11-23
In this video, 1A Auto shows you how to replace rear disk brakes in a 95-02 Ford Explorer.
-
step 1 :Removing the Wheel
- Pry off the center cap with a flat blade screwdriver
- Loosen the 19mm lug nuts with the vehicle on the ground
- Raise the vehicle with a floor jack
- Secure the vehicle on jack stands
- Remove the lug nuts
- Pull off the wheel
-
step 2 :Inspecting the Brakes
- Turn the rotor by hand or turn the steering wheel to turn the rotor
- Check the thickness of the brake pads
- Check the brake pad wear indicator
- Check for gouges on both sides of the rotor
-
step 3 :Removing the Brake Pads and Rotor
- Remove 10mm bolts from the brake caliper
- Pry the brake pads into the caliper with a flat blade screwdriver to push in the pistons
- Pull the caliper aside
- Pry the brake pads off the caliper
- Release the brake pad clipped into the caliper
- Push the slides on with a flat blade screwdriver
- Remove bolts from the brake caliper bracket
- Pull off the brake caliper bracket
- Pull the rotor off
- If the rotor will not come off, thread the lug nuts and strike the hub area of the rotor with the ball end of a ball peen hammer
- If the rotor still will not come off, reinstall the brake caliper and brake pads, level the vehicle so both wheels are off the ground, start the vehicle, press the brake pedal, put the parking brake on, and put the vehicle in drive and reverse, and light press the gas
- Lube the lever with rust penetrant
- Have an assistant press the emergency brake
- Have an assistant release the brake
- Check that the lever behind the dust shield is moving freely
Tools needed
-
Large C-Clamp
Socket Extensions
Flat Blade Screwdriver
Torque Wrench
Jack Stands
19mm Socket
10mm Socket
Ratchet
Floor Jack
Brought to you by 1AAuto.com, your source for quality replacement parts and the best service on the internet.
Hi, I'm Mike Green. I'm one of the owners of 1A Auto. I want to help you save time and money repairing or maintaining your vehicle. I'm going to use my 20 plus years experience restoring and repairing cars and trucks like this to show you the correct way to install parts from 1AAuto.com. The right parts installed correctly—that's going to save you time and money. Thank you, and enjoy the video.
In this video, we're going to show you how to replace the rear brake pads and rotors on this '98 Explorer, same as any '95 to '01 Explorer. We'll also show you how to service the rear. Tools you'll need are a jack and jack stands, 19 millimeter socket and ratchet, hammer, flat blade screwdriver, a large C-clamp, a torque wrench, and 10 millimeter wrench or a socket and ratchet.
I'm going to start by removing the cap. Just use a screwdriver. Pry it in there. Pull the cap off. Then the lug nuts are 19 millimeter. I'm using an impact wrench. If you have to use hand tools, you want to start with your wheel on the ground first. Loosen up the lug nuts. Then raise and secure your vehicle. Then remove the wheel the rest of the way.
If your desire is just to check the brakes, you can see here what you want to do is, there's the rotor. Just make sure they're worn nice and smooth. There's no deep gouges in them or anything. Then actually, you can see right here, this rusty thing in the center is the rotor. You can see it move when you move the wheel. Okay, and then this is one of the brake pads. Then the other brake pad is obviously over here. You can see there's a little space right here. That's actually the wear indicator.
You can see that there's still some pretty good wear left on these rear brakes on this vehicle, but we'll show you how to take them apart and put them back together regardless. To remove your caliper, just two bolts: one here, 10 millimeter, and then one up here. We'll remove those. Once you remove those bolts, you're going to pull on the caliper, and it comes right off like that.
With the caliper off, then to remove the brake shoes, you're actually going to want to pry these shoes up and out like that. If you're putting new pads in, what you want to do is before you take this inside one out, put a large C-clamp on here. Okay, then you're going to force the piston right here. You'll see the piston go back into the caliper. Then the inner shoe just pulls out like that.
To get your rotor off, if you want to replace the rotor, you just spray a little bit of rust penetrant. Obviously, if your rotor's bad, you can spray as much on it as you want. I'm going to reuse this rotor, so I don't want to get the oil all over the place. I'm just putting it on sparingly. If you find that your rotors are stuck on, which oftentimes they are, what I'm going to show you here is you keep the wheel off, and you basically start it up on the jack. Hold the brakes. Set your parking brake, and put the vehicle in forward and reverse, and press the gas a little bit.
Obviously, you want both rear wheels off the ground. You'll see if you look at the studs from the wheel lugs in relation to the disc, you'll see them move as I run the car back and forth. This frees up the rotor. Looking in behind, that lever is your emergency brake lever right there.
What you want to do is use a screwdriver or some type of tool and hit it towards the rear of the vehicle, as you can see me doing here. Okay, and once you've done this, you can sometimes pull the rotor off. Sometimes you'll need to use a hammer to convince it to come off, as you can see me illustrating here.
For this rotor I want to reuse it, so I'm using a piece of wood. That protects the rotor from getting any dents or gouges in it. But if you're replacing your rotors, you just could go ahead and go crazy with the hammer. Although if you free it up using the power of the vehicle and you make sure that that emergency brake lever is knocked back, you should be able to get it off fairly easily.
Okay, so all that emergency brake is a level here that when you press the pedal pulls on this cable. Okay, and then it pulls this lever back. When you pull that lever, it just spreads these shoes out and locks them against the insides of the discs. What you want to do is you want to use some grease and lube up in here, and make sure that this lever is moving freely. What I have is I have a person in the car. I'm going to put some grease on it, and I'm going to ask the person to hit the emergency brake and then release it. Then I'm going to tap it until it is nice and free.
Let's go ahead and press the brake. Okay, when she pressed it, you saw it move. Now release it. Okay, now watch this little ear as I beat on the back of the arm here. It goes back into place. We want that to be able to move freely, so we're just going to keep cycling it. Press the brake. Release it. Then we'll just keep cycling it like this until everything's moving freely. Press the brake. Release it. We'll keep hitting it with rust penetrant until it's all free. Go ahead and press it, and release it. You can see that it now moves independently. Press it again. Release it. That's how you want it to work. Okay, so we're going to cut it off there.
If you'd like to see the second part of this video, just check out our other videos for part 2. Same title, just part 2. We hope this helps you out.
Brought to you by www.1aauto.com, your source for quality replacements and the best service on the internet. Please feel free to call us toll-free, 888-844-3393. We're the company that's here for you on the internet and in person.
Shop Products


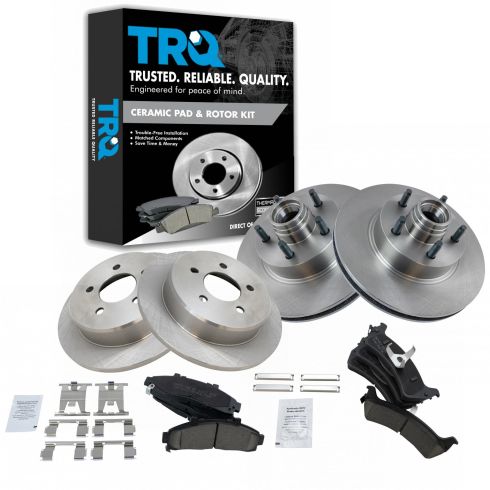
Ford Mercury Front & Rear Ceramic Brake Pad & Rotor Kit TRQ BKA11804
Part Details:
- Ceramic
- Premium Posi
- Vented
- 11.30 in. (287mm)
- 5 Lug
- Solid
- 11.22 in. (285mm)
- (2) Front Brake Rotors
- (2) Rear Brake Rotors
- (1) Front Ceramic Brake Pad Set
- (1) Rear Ceramic Brake Pad Set

How to Replace Rear Brakes 2001-03 Nissan Maxima
Check out this video to learn how you can replace the worn or squeaky rear brakes on your 01-03 Nissan Maxima.
