How to Replace Rear Door Speaker 1998-2012 Ford Ranger Extended Cab
Created on: 2016-10-18
How to install, repair, fix, change or replace a broken or damaged on 01 Ford Ranger Extended Cab
-
step 1 :Removing the Rear Door Panel
- Pry off the upper seatbelt cover
- Remove the 15mm bolt beneath
- Pry out the door panel with a door panel clip tool or putty knife
- Lift the door panel up and off
- Remove the T-50 Torx bolt from the seatbelt
- Remove the seatbelt trim
- Remove the seatbelt and its components
-
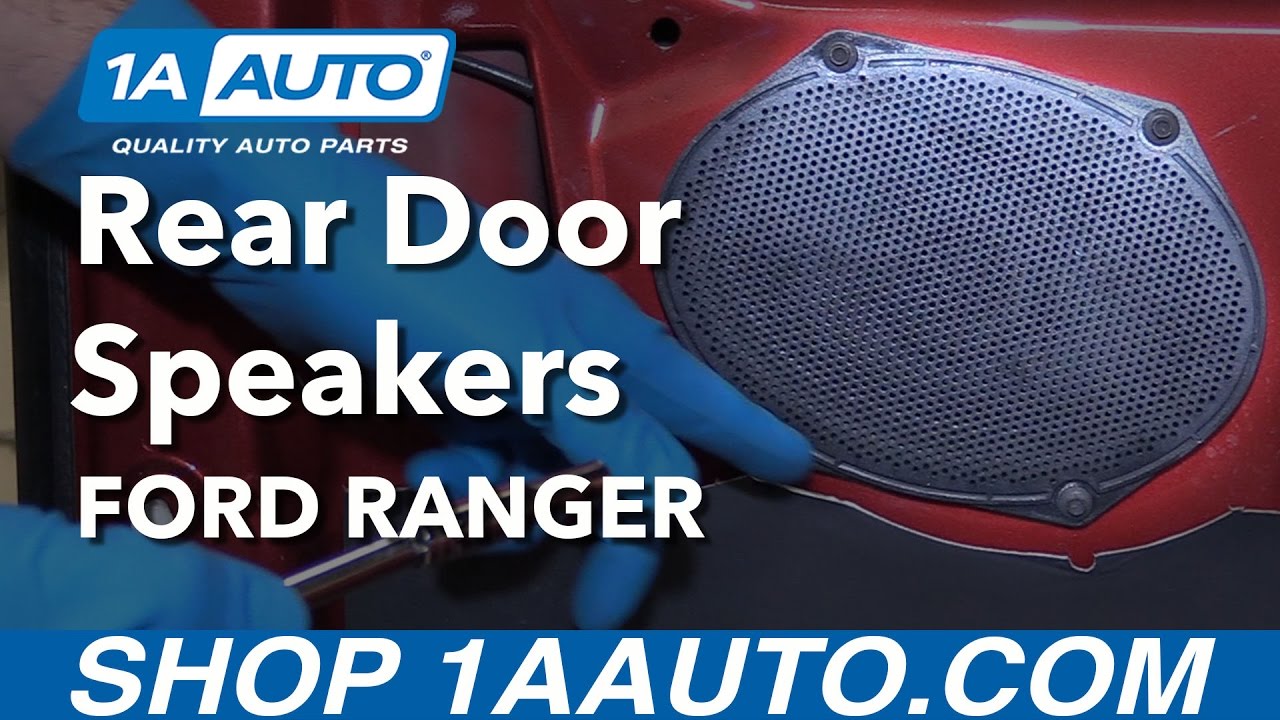
step 2 :Removing the Speaker
- Disconnect the speaker wiring lead
- Remove 6mm screws from the speaker
- Pull off the speaker
-
step 3 :Installing the Speaker
- Connect the speaker wiring lead
- Put the speaker into place
- Insert the 6mm bolts into the speaker
-
step 4 :Installing the Rear Door Panel
- Transfer over any remaining clips in the door to the door panel
- Insert the seatbelt into the door panel
- Lift the door panel into place
- Push in the door panel clips
- Tighten the T-50 Torx bolt to the seatbelt
- Torque the bolt to 30 foot-pounds
- Tighten the 15mm nut to the seatbelt
- Torque the bolt to 30 foot-pounds
- Press on the seatbelt trims
Tools needed
-
Socket Extensions
Flat Blade Screwdriver
Torque Wrench
15mm Socket
Ratchet
Trim Tool Set
T50 Socket
Hi, I'm Mike from 1AAuto. We've been selling auto parts for over 30 years! We're dedicated to delivering quality auto parts, expert customer service, and fast and free shipping, all backed by our 100% satisfaction guarantee. We've created thousands of videos to help you install our parts with confidence. That saves you time and money, so visit us at 1AAuto.com, your trusted source for quality auto parts.
In this video, we're going to be working with our 2001 Ford Ranger Extended Cab. We're going to show you how to remove and replace your rear speaker. We are doing this on the passenger side, but this process is going to be exactly the same on the driver's side.
If you like this video, please click Subscribe. We have a ton more information on this truck, as well as many other makes and model. If you ever need parts for your vehicle, you can follow the link down in the description over to 1AAuto.com
Here are the items you'll need for this repair: 15mm socket, ratchet, socket extension, trim tools, flat blade screwdriver, T50 socket, torque wrench
To make it easiest to film this rear door panel, and to make it easier for you to work on, we'll open our front door and the rear door that we'll be working with. The front door latches to the rear door and also uses it as a stop, so you can carefully rest that door closed. Make it nice it easy to get at this panel.
Remove the cover to the upper portion of your seat belt here. Using a 15 millimeter socket and ratchet, remove the nut. Keep a hand on this, because there is a little bit of tension there, not a lot. You just don't want it to snap down and potentially crack the interior panel. Once that nut's off, you can go ahead and slide this upper portion off and allow it to hang down and out of your way.
In order to remove our interior door panel, we're going to be using one of our non-marring pry tools or interior trim removal tools available from 1AAuto.com. If you don't have a set of these, they're a great addition to any do-it-yourselfers toolbox, as they keep these panels in good condition when you're working on them. But if you don't have a set, you can always use a small flat-blade screwdriver as long as you're careful not to damage the plastic.
Around the edges of the door panel is a series of plastic clips, so feel around back there, and when you find one, put the pry tool over it, pop it out. Once all your clips are out, you can lift your door panel off and lay it down. Now, hanging it like this will give us the access to our door handles, cables, various latches, and our speaker.
If you need to remove the panel fully, because you're replacing it, we'll lift this cover here and remove the bottom of the seat belt.
Using the T50 Torx socket and a ratchet, we'll remove this bolt at the bottom. Pop out this trim here around the seat belt. It's notched, so you can take it off completely and then feed the seat belt components through the opening. Now we can take our panel completely off and out of the way.
Using the 6 millimeter socket and ratchet, we'll remove the four screws securing our speaker to the door. Remove the speaker from the door and disconnect the electrical connector on the back.
Reconnect the electrical connector. Lay the speaker back onto the door, and reinstall your 6 millimeter screws. Don't tighten any of them down until all four are in to make sure that all the holes line up smoothly.
Remove any clips that stayed into the door and fell out of the panel. These can be reinstalled into the door panel if they're in good condition, but we'll have to get them all out of the steel first.
Remove any clips that stayed into the door and fell out of the panel. These can be reinstalled into the door panel if they're in good condition, but we'll have to get them all out of the steel first.
To reinstall the tab, you'll have to line up the notch in the door panel with the space between the two flat portions of the clip here. Do this throughout the rest of the door panel. Pass the seat belt back through the opening in the door panel. Make sure the buckle goes through its slot, then push all the retaining tabs back into place. Working on the outside edge, where the seal is, you'll want to make sure that you pull that out and lay it back over the plastic before snapping these pushpins in.
Reinstall the bolt at the bottom with your T50 Torx socket. Torque this bolt to 30 foot-pounds. Reinstall the upper portion of the seat belt, and reinstall the 15 millimeter nut with a socket and ratchet. Torque this nut to 30 foot-pounds. Then reinstall the cover. If you remove the seat belt and this piece of trim, slide it back over the rear portion of the seat belt with the slot facing to the panel, and snap it back into place.
Thanks for watching. Visit us at 1AAuto.com for quality auto parts, fast and free shipping, and the best customer service in the industry.

Wheel Clunking Over Bumps How to Diagnose Front End and Ball Joints
Got clunking or rattling noises coming from a wheel, especially when going over bumps? Check out this video, and Andy will show you how to check it out, and find the problem!
