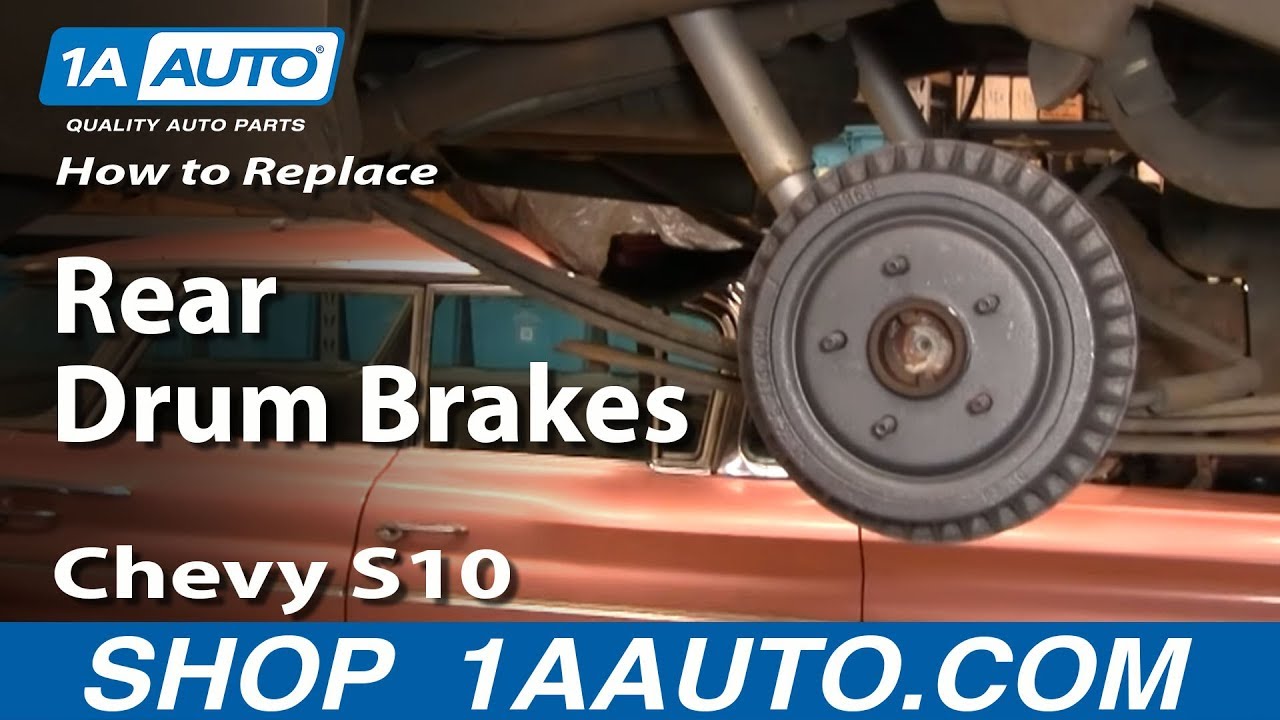
How to Replace Rear Drum Brakes 1992-2003 Chevy S10 Pickup
Created on: 2011-11-10
Change or service the rear drum brakes on your own 92-03 Chevy S10. Learn how by watching this instructional video from 1A Auto!
-
step 1 :Removing the Wheels
- Use a 19mm socket to remove the lug nut covers.
- Loosen the lug nuts.
- Raise the vehicle.
- Remove the lug nuts and the wheel.
-
step 2 :Removing the Brakes
- Spray them with penetrating oil.
- Remove the locking tabs around the bolts.
- Hit the brake on the front with a hammer to loosen it. Pry with a screwdriver once loosened.
- Use vise-grips to lock on to the spring. Pull the spring out and down and remember what spring goes where.
- Remove the other spring the same way as the last.
- Pull the lever down and pull the lever across from it off.
- Hold the back of the pin that holds on the shoes. Using the vise-grips push and twist the other side. Do the same with the other pin.
- Take the brake shoes off.
- Make sure there is not a leak near the wheel cylinder.
-
step 3 :Taking the Brakes Apart
- Separate the shoes
- Pull the adjuster from the shoes.
- Clean the threads on the adjuster and coat with anti-seize.
- Make sure it spins easily.
-
step 4 :Preparing the New Brakes
- Match up the old springs with the news springs.
- The larger shoe is the rear shoe.
- Attach the shoes with the spring and adjuster.
- Put anti-seize on all the places the shoes contact.
-
step 5 :Installing New Brakes
- Put the emergency brake bracket into the triangle slot on the brake shoes.
- Put the shoes on to the wheel
- Put the pins in through the back of the shoes.
- Replace the spring using the vise-grips to pull it into place.
- Put the adjusting arm with the new cup into place. Reinsert the pin
- Attach the shorter spring to the lever.
- Put the opposite lever into place.
- Slide the emergency brake separator back into place.
- Reinsert the remaining springs using the vise-grips.
- Put the small spring back under the larger lever
- Replace the drum. Use the adjuster to expand the shoes so that it will fit properly. You want the drum to slide on with a little drag.
-
step 6 :Replacing the Wheel
- Put the wheel into place.
- Thread the lug nuts.
- Lower the vehicle and torque the lug nuts to 100 ft/lbs.
Tools needed
-
Flat Blade Screwdriver
Rust Penetrant
Pry Bar
Large Hammer
Jack Stands
Vise-Grips
19mm Socket
Anti-Seize Grease
Lug Wrench
Ratchet
Wire Brush
Brought to you by 1AAuto.com, your source for quality replacement parts and the best service on the internet.
Hi. I'm Mike Green. I'm one of the owners of 1A Auto. I want to help you save time and money repairing and maintaining your vehicle. I'm going to use my 20-plus years experience restoring and repairing cars and trucks like this to show you the correct way to install parts from 1AAuto.com. The right parts installed correctly. That's going to save you time and money. Thank you and enjoy the video.
In this video we're going to show you have to replace the brake, the rear brake drums and shoes on this 2001 S-10 pickup. This is the same for any S-10 pickup or Blazer that has rear drum brakes.
Tools you'll need for the job are jack and jack stands, lug wrench or a 19 mm socket with a ratchet or a breaker bar, a large hammer, a pry bar or a large screwdriver, penetrating oil, brake spring tools or I actually use vise-grips and pliers can work, some white grease or some anti-seize grease and a small wire brush.
Start out using a 19 mm socket. Take off the lug nut covers and then remove your center cap. If you don't have air tools then start with your vehicle on the ground, take that cap off and then loosen the lug nuts. Then raise and support your vehicle and remove the lug nuts. Run a little faster here as I remove those lug nuts and then remove the wheel entire.
With the wheel off, my drum moves which is good. Use a little bit of penetrating just to make it a little easier. And then there's two little locking tabs on here. These are basically just when they put the vehicle together. They put these on here to hold the, hold the drum in place. You can just grab onto them with pliers. Break them. Pull them off.
I'm pretty lucky. It's nice and loose. If you get here and you're drum seems to be stuck on here what you want to do is take a big hammer and you want to hit right in here really hard. That will help pop this loose. Now you want to pull the drum off. This can be difficult. Shaking it back and forth. Turn it. Get it to there. Sometimes we'll use a screwdriver to pry on it a little bit. It's off.
Now you want to take this apart. They do make the correct tools that makes this easy, but most people don't have all the correct brake tools. I use a pair of vise-grips if I don't have what I need. Lock it onto the spring and carefully pull it and let it go to get the spring off. Then what I like to do is get the vise-grip off and I just put the spring right there and that way when I get my new ones I know which colors go on the front, back, etc. The next one is this one here. Again, lock onto it and pull and this one you want to pull. Take it off and put it down there. Take a screwdriver for this little spring under here we'll let it spring out. Take this lever and pull this lever right off.
Now the shoes are held on by these here. These are pins that go right through the backside and come out right here. So you want to hold back here. While holding the back of this with my finger and grab on and push and twist and that comes off and put it right back here. Pull this out. Pull this off. The same thing here. Pull the pin in the back and it comes off and out. At this point you can take your brake shoes off and there's a little arm that separates that there. That right in the middle. Bring your brake shoes down and then this arm right here is your emergency brake lever. This comes right off like that.
Here the red arrow is pointing to the wheel cylinder. You want to make sure you check this. Check each end of it. Make sure there's no brake fluid leaking out of it. If you see any leaks or detect any leaking, even if you just kind of see that some of the brake dust is moist around it, that indicates a leak and you'll want to replace it while you're, while you're at this step.
This spring was on this lever. It was on that end of that lever so I'll put that back on there for reference. Put it right back there.
Next we have to do is take these apart so I just go like that. I need this adjuster. Take that adjuster off. You need to make sure that this adjuster is nice and free. I'm actually going to screw it out some. This is a little wire brush. Just clean those threads off some. That's nice and clean. I'm going to put a dab of anti-seize on there and run that back together and put it all the way down in. Take that off. Just a little dab of the anti-seize on there. That's sure to stay nice and spin easily.
You can see I'm going to use a new hardware kit. I've matched up everything. As well as I matched up the correct new spring for the adjuster. Now I'm going to take my new shoes. The rear one is always the one with the larger pad. Put them down correctly here. Just put your adjuster into the rear shoe. And then this spring goes in so it doesn't hit the adjuster. You put that spring in basically just take the shoes and go like that.
You're going to take a little bit of that anti-seize and put it right on to those places where the shoe contacts. I'm going to put my shoes on. I'm going to take my emergency brake bracket and I'm going to feed that into that triangle slot right here. Spread those apart. Make sure that bracket goes in. There it goes. Now our shoes are in place.
First, I'm going to take my new pin and put it right through the back here. I'm going to turn my shoe and my new spring assembly. I'm going to grab that with the vise-grips and hold it against the shoe and push it on and twist. Make sure it locks in there well and is seated well. Now I'm going to take my adjusting arm and put it in with the new cup. Then push the pin in the back and let it find its way through here. Make sure it's all in, all together. New spring. Use the shorter spring on this side. It slips right in the cup. Push on. Turn. Now take this on there. Put it up on that pin there. Now pull your shoe out and this is your emergency brake separator. Put it in back in there. Push the shoe back in and lock it in place. Put the spring in, rotate it up. Grab hold of it tight and pull. You have to pull quite hard on it. You want to make sure that this is all pushed in. Take your other spring and put it in. Pull and put it up on. Make sure this is all seated well in there. Should be with those springs on. You want to put the small end up into that tab and push in. Nice new drum from 1A Auto. Put them on. They're going to be nice and loose. If you want take them off and with your adjuster turning it up. You can expand the shoes a little bit. And then keep adjusting until it goes on with a little bit of drag. Make sure you clean up all the old parts.
Here I'm going to speed it up. Put the tire on. Thread the lug nuts on by hand first. Then I'm going to use the impact wrench just to tighten them up preliminarily. Torque them to 100 foot pounds and then put the put the cap and lug nut caps back on. The rear brakes adjust by when you back up and press the brakes. They adjust a little bit, but you always want to test your brakes first before road testing.
We hope this helps you out. It was brought to you by www.1AAuto.com your source for quality replacement parts and the best service on the internet. Please feel free to call us toll free 888-844-3393. We are the company with you on the internet and in person.
Shop Products


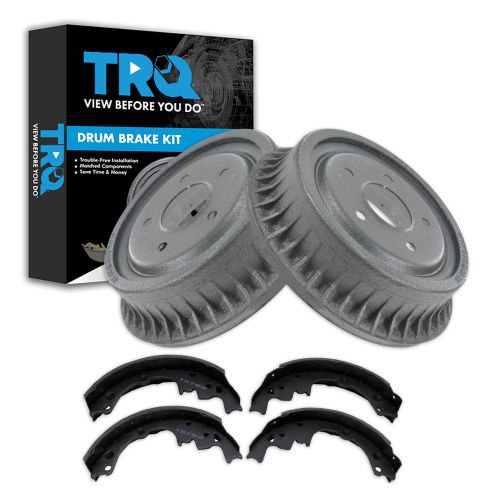
Chevrolet GMC Pontiac Olds Isuzu Rear Brake Shoe & Drum Kit TRQ BKA88332
Part Details:
- (1) Rear Brake Shoe Set
- (2) Rear Brake Drums

How do Rear Drum Brakes Work
How drum brakes operate, function, and work
