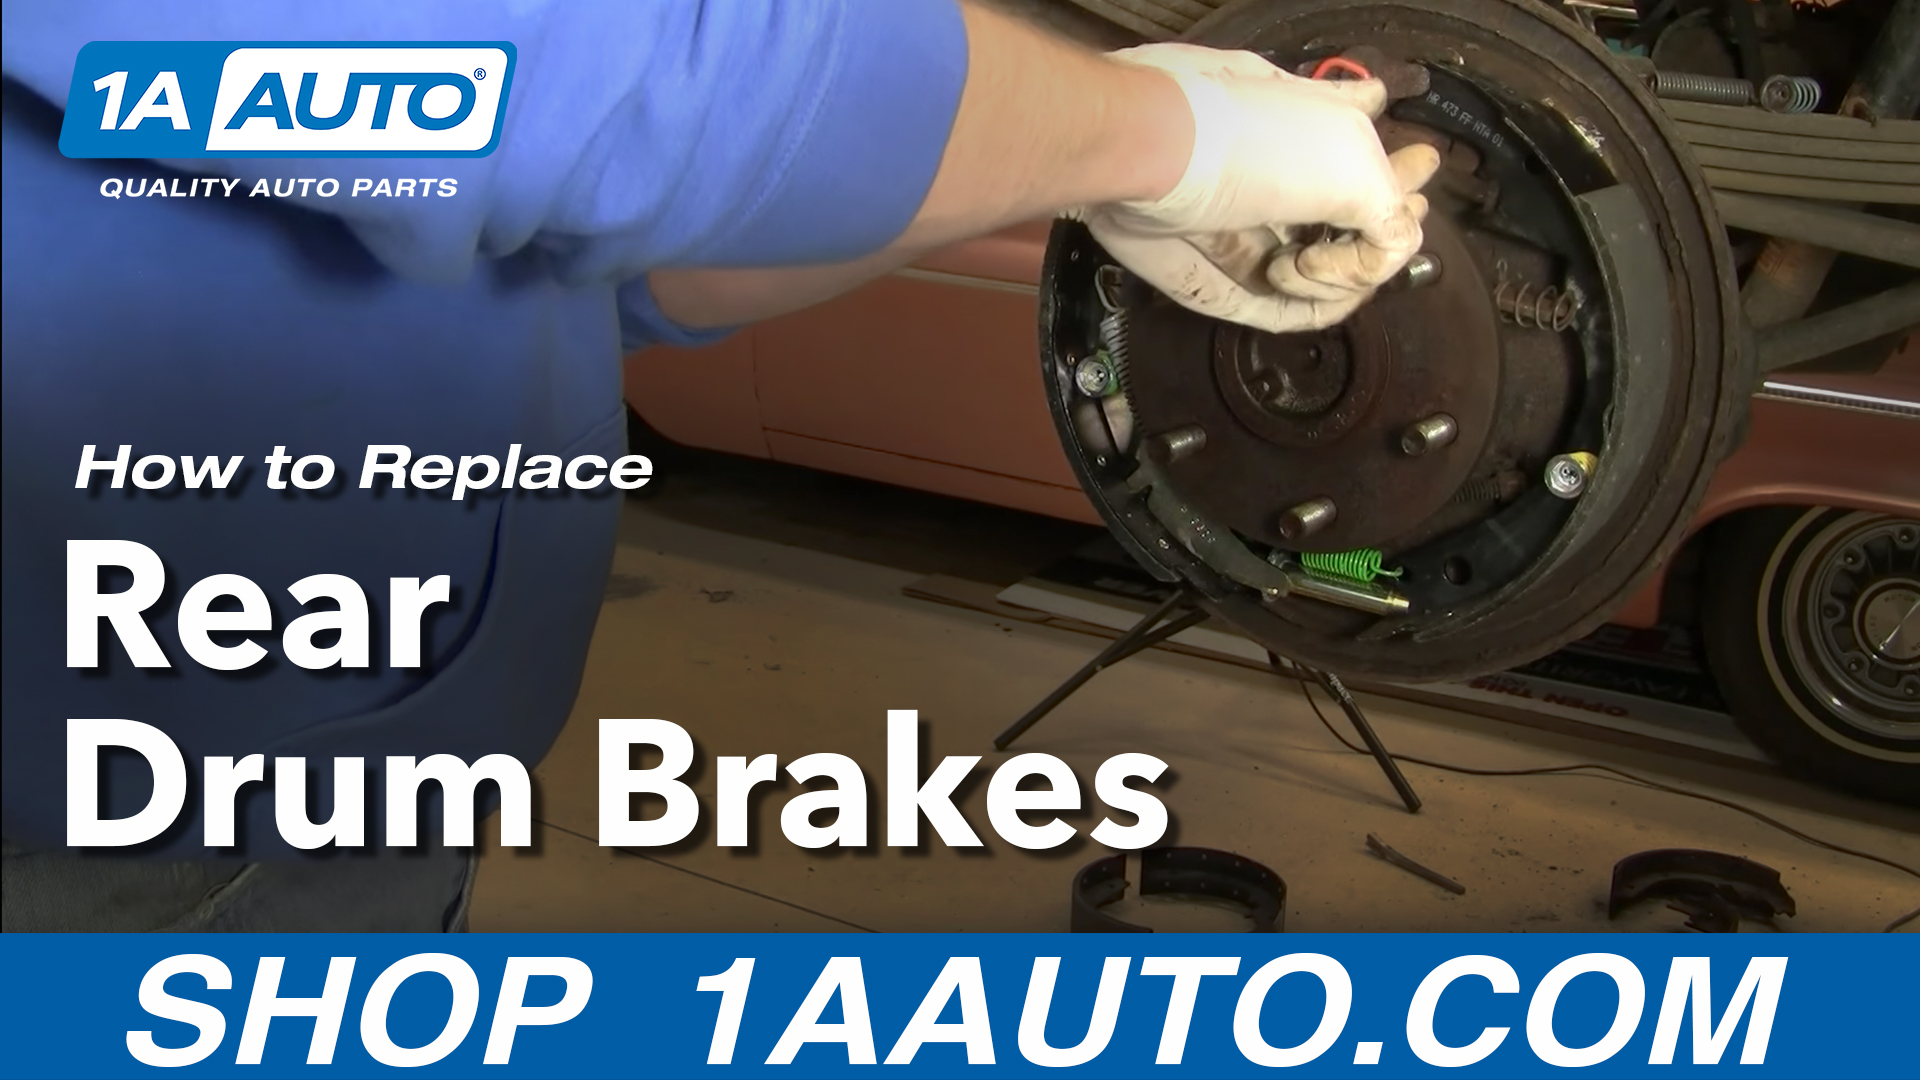
How to Replace Rear Drum Brakes 1996-2000 Chevy Tahoe
Created on: 2011-12-02
Learn how to change drum brakes. The experts at 1A Auto show you how to replace worn or rusty rear brake shoes and drums on your 92-99 Chevy Tahoe or Suburban.
-
step 1 :Removing The Wheel and Tire
- Loosen the lug nuts
- Raise and Secure the vehicle
- Remove the lug nuts
- Remove the wheel and tire
-
step 2 :Applying Penetrating Oil
- Douse each wheel stud with penetrating oil
- Let sit
- Rotate the brake 180 degrees
- Douse each wheel stud with penetrating oil again
- Let sit
-
step 3 :Removing the Brake Drum
- Make sure to wear safety glasses
- Use the hammer to loosen up the brake drum
- Remove the brake drum
-
step 4 :Removing the Brake Hardware
- Remove the springs using the vice grip or the brake spring tool
- Remove the spring for the adjuster lever
- Remove the pins by pushing an turning them with the vice grip
- Remove theseperator bar to pull the shoes free
- Put hardware aside if reusing it
-
step 5 :Removing the Brake Shoes
- Use the small screwdriver to drive the clip off the attaching pin
- Remove the brake shoes
-
step 6 :Seperating the Emergency Brake Lever and the Adjuster
- Push the shoes together by hand
- Pull off the adjuster and spring
- Pry the emergency brake lever off with the screwdriver
-
step 7 :Cleaning the Backing Plate
- Clean the backing plate with a wire brush
-
step 8 :Inspecting the Adjuster
- Make sure the adjuster turns freely
- Make sure all parts of the adjuster turn independently
- If using a new adjuster, lubricate the threads
-
step 9 :Connecting the Brake Shoes
- Identify the rear shoe by inspecting the lining
- Attach the adjuster and spring
- Connect the front shoe to the adjuster and spring
-
step 10 :Installing the Brake Shoes
- Apply grease to slots on back side of shoes
- Apply grease to the backing plate
- Put the shoes in place
- Thread pins through from the back, starting with the front shoe
- Attatch the springs with the vice grips
- Put the emergency brake lever behind the rear shoe
- Attach the spring washer and locking clip
- Replace the separator bar and lever
- Attach the hardware for the rear shoe
- Reattach the springs using the vice grips
-
step 11 :Installing the Drum
- Slide the drum into place
- Test the fit
- Run out the adjuster
- Try the drum again
- Continue to adjust until the drum drags somewhat
-
step 12 :Adjusting the Brakes
- Remove the rubber plug behind the backing plate
- Tighten the brakes with a brake spoon
- Test the fit
- Back off the adjustment if necessary
- Apply penetrating oil
- Replace the rubber plug
-
step 13 :Replacing the Wheel
- Slide the wheel back on
- Replace the lug nuts
- Start Tightening the lug nuts
- Let the vehicle down to the ground
- Torque the lug nuts to 110 foot-pounds
-
step 14 :Testing the brakes
- Test stopping at low speeds
- Back up and apply your brakes several times
- Road test the vehicle
Tools needed
-
Flat Blade Screwdriver
Rust Penetrant
Large Hammer
Jack Stands
Brake Spoon
Brake Spring Tool
White Grease
Lug Wrench
Wire Brush
Floor Jack
1/2 Inch Breaker Bar
22mm Socket
Brought to you by 1AAuto.com, your source for quality replacement parts and the best service on the Internet.
Hi, I'm Mike Greene. I'm one of the owners of 1A Auto. I want to help you save time and money repairing and maintaining your vehicle. I'm going to use my 20+ years' experience restoring and repairing cars and trucks like this and show you the correct way to install parts from 1AAuto.com. The right part installed correctly, that's going to save you time and money. Thank you and enjoy the video.
In this video were going to show you how to do the rear drum brakes on this 1996 Chevy Tahoe and this procedure is the same for many of these trucks. This vehicle does have the heavy-duty or 11 inch rear drum and it's the same for Tahoes, Suburbans, and a lot of the 1500 and 2500 GMC and Chevy trucks. Tools you'll need are jack and jack stand, 22 mm socket with a breaker bar or your tire iron, penetrating oil, a large hammer, brake spring tools .if you don't have brake spring tools I show you how to do it with a couple of vice grips or locking pliers , a flat blade screwdriver and some white grease.
You're going to start out by removing the wheel and tire. If you don't have the benefit of impact tools you'll want to leave the tire on the ground first. Remove that cap, loosen the lug nuts, and then raise and secure the vehicle. Then remove the lug nuts the rest away and remove the wheel and tire. Then, you're going to want to douse each wheel stud with penetrating oil and then right in between. Let that sit for a while, turn 180 degrees, and repeat. Let it sit.
Okay after we let it sit for a while make sure you've got your safety glasses on. Now to get your brakes apart. There are tools that are correct for this and they do make it easier. What I generally do is I use a set of vice grips, something that a lot of people have in their toolboxes. You want to make sure you lock it onto these springs really well because you don't want to smash your elbows on the wheel well. Okay so lock on there. Pull that spring up and off. I just like to put everything right on the leaf spring right behind it, so I know where everything came off of. Clip it onto here and grab your adjusting lever. Pull it out and down. That's got to come off. Next to this spring right here I'm just going to grab onto the first coil and pluck that out. You can remove this little spring for the adjuster lever.
Now, you want to undo these. You can see you push them in and turn them, and then you want to hold the back of the stud which is right here. This first one I lock it on here so I have room to turn it. Push down. That comes off. Put the stud up back. Over here, that comes off. Take this stud out. Now what you want to do is pull the shoes free. There's a bar here that you take out. Put it up there. Take your a small screwdriver. Right here there's a little clip on a pin. Use your small screwdriver and basically just drag that clip off. That pushes out and the shoes come off. You can then take this part here. Just by allowing the shoes to come together, that allows your adjuster to come off. Take it off of the spring there and your emergency brake lever.
Just speed it up here as I take and separate that emergency brake lever as well as the adjuster. On your backing plates you'll want to just clean it off. You can see where the shoes kind of rub against the backing plate so you get a wire brush and clean that up a little bit. Before you put your breaks back together here is your adjuster and you want to make sure it's nice and free. You can see it's turning very easily. Also this part here should turn independently. I'm going to grab hold of the adjuster wheel and use my screwdriver. I'm going to need a new adjuster. Most of the hardware is in rough shape, so I'm using a new adjuster. I've put some lubricant on the threads, but I'll keep that all the way closed and I've also put some lubricant right on that there so that will all spin nicely.
Your rear shoe is the one with the lining of the total length. You want to put the star side of the adjuster on the rear shoe. Then you put your spring like that. Take your front shoe and put it on the spring and flip them together and get the adjuster right in there between. On the backside of my shoes I've put a little bit of grease in the little slots there and also some grease on the top knobs there. I'll take my shoes and put them in place like that. Now what you can do is lift your front shoe up. Take your pin, and set it from the back and through. Then take this. You put the smaller spring in the front. See, that holds that on.
Now you can take your emergency brake lever and put it up in here, behind. Put the little spring washer on the backside then put it through. Then put a little locking clip in place with a screwdriver. Push it on. This goes right down in here. You then hold it sideways. Pin your lever and put that all through. It goes down like that. We got to put the pin through the back, push through. Make sure the plungers are in the brake pads correctly there. Put this on here. What you want to make sure is that you have this part of the hook in towards there, so basically twist it just a little bit like that. Grab on.
Okay now we want to put this on. Take our arm right out, put it on there like that. Push that down. Grab on tightly with your vice grips. Now we just want to push this spring in here. We're going to need to lift up on there and just kind of push it down with a screwdriver like that. For the last two springs, put that one in there. Make sure that your plungers are seated in the brakes correctly. I'm actually going to do this one first. Put it on there. Lock them nice and tight with the vice grips. That one's on. Okay, again lock onto it good and tight. Make sure our separator bar for the emergency brake is in there correctly. As you pull on it the shoe will pull in. Now your brakes are all together.
Kind of push the shoes around and let them get into place. Make sure this is all good. Your drum, at first it's going to go right on. What you could do is take your adjuster, pull this bar out, and then run your adjuster out some. Try that drum again. We'll go a little crazy. It goes on with a little bit of drag so that's good. Clear all of my old hardware off back here. For your best initial adjustments come back in here. There's a plug here. Take a brake spoon and up this tighter. Keep adjusting them. There's a good amount of drag. I need to back off a little bit.
Okay little bit of penetrating oil. Stuff that rubber plug in and use a screwdriver to get it started, and then I just used the butt end of it to bang it in there. Then put your wheel back on, start your lug nuts by hand. Kind of preliminarily tighten them up before you let the vehicle down, then let the vehicle down to the ground. Torque the lug nuts to 110 foot-pounds. Be sure to do a couple of test stops at slow speeds before you road test your vehicle and make sure everything's working properly. Make sure to back up and apply your breaks a bunch of times, give those automatic adjuster's a chance to do a final adjustment.
We hope this helps you out. Brought to you by www.1AAuto.com, your source for quality replacement parts and the best service on the Internet. Please feel free to call us toll-free 888-844-3393. We're the company that's here for you on the Internet and in person.
Shop Products

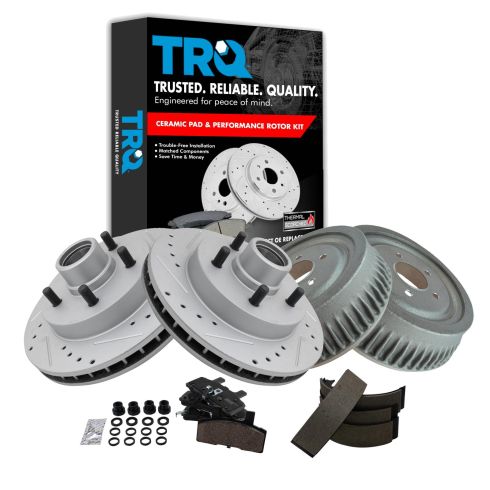
Chevrolet GMC Front & Rear Ceramic Premium G-Coated Performance Brake Pad & Rotor, Shoe & Drum Kit TRQ Performance BKA90623
Part Details:
- (1) Rear Brake Shoe Set
- (2) Front Performance Brake Rotors
- (2) Rear Brake Drums
- Vented
- 11.61 in. (295mm)
- 5 Lug
- Performance
- Performance Brake Kit Features and Benefits
- Ceramic
- Premium G-Coated
- (1) Front Ceramic Brake Pad Set with Contact Point Grease & Hardware
- Slotted X Drilled

How To Replace Wheel Cylinder 1992-99 GMC K1500
Watch this video to learn how to install a new wheel cylinder in your 1988-2002 GMC Sierra K1500.
