
How to Replace Rear Parking Brake Shoes 2000-13 GMC Yukon
Created on: 2020-04-01
Watch this video to learn how to install new parking brake shoes on your 2000-06 GMC Yukon.
Tools needed
-
12mm Socket
Torque Wrench
16mm Wrench
Hammer
Socket Extensions
Pry Bar
Jack Stands
18mm Socket
Liquid Thread Locker
Brake Parts Cleaner
Pliers
Flat Blade Screwdriver
Brake Caliper Hanger
Socket Driver
Paper Towels
8mm Socket
Copper Anti-Seize
Wheel Chocks
Brake Grease
Ratchet
Floor Jack
Wire Brush
1/2 Inch Impact Gun
22mm Socket
You can take the center cap off. Use a straight blade screwdriver. Take that off. Use a 22-millimeter socket to take off the lug nuts. Take the wheel off. Take these two caliper bolts out. I'm gonna use a 12-millimeter socket and then a 16-millimeter wrench, just to hold the slide from spinning, loosen these up. Now we'll just use a screwdriver, pry the caliper off. Pull that out, then you can use a caliper hanger and just support it from the upper control arm right there. Just make sure there's no tension on the hose. Slide it over here. Take the brake pads off. Use the same straight blade screwdriver.
And take an 18-millimeter socket, take these 2 caliper bracket bolts out. Take these bolts out and slide the bracket right off. Now take the rotor off. If it's stuck on there, just take a hammer. Get a tap in these areas. Just try to not hit the studs. It should be loose. Try not to breathe any of that in, and slide it off.
We're gonna take the parking brake shoe off. There's a clip right here that's held in with an 8-millimeter bolt. Use an 8-millimeter socket to take that off. Slide that bolt out. Then we can slide this out. And if you just push the whole shoe assembly down, and get it to pop off, that lever right there, and this takes a little bit of effort. You don't have to take the axle out to get these off. Slide one side, get the other side out. Just like that. I'm just gonna take this adjuster out. Take that out. Clean that up a little bit. You can use a wire brush, and same with the other side. There should be a pin on that side. I'm just gonna put some grease on here before I put it back. Put the adjuster side on this side, and when you do the other side, it's going to be the opposite. And this pin's all cleaned up. Just put some grease inside there and get that pin in. Put a lot more grease on that. And the grease will hold it in there, and just slide this on this side.
Take the new shoes, and just angle this. This might take a couple tries to get it right. Here you go. Like I said, you really don't have to bend it, just angle it at the right angle. It might take a little practice. What you can do is get this to slide on like that and then we can move these afterwards. Just get it in the right position. You can try using a screwdriver or even some pliers. Try twisting this a little bit. Get that to line up with the screwdriver. Do the same on the other side. Find the correct hole down that matches the one you took off. Slide that in position with the new bolt and snug that bolt up, not too tight. That's good.
I'm just gonna clean up this surface right here. You can use a wire brush or some type of grinding wheel. Just be careful. You don't want to take too much material off, just get some of the rough stuff. Take a little anti-seize, put it on the hub area right here. When you go to put the rotor on, you may have to adjust the parking brake. You can spin that wheel either forward or backward and it will either tighten it or loosen it. Slide the rotor on, just make sure it spins good, and then double check with your parking brake, and adjust accordingly.
Slide the brake caliper bracket in place. Put the bolts in. You can use a little thread locking compound on the bolts. Now I'm going to torque these bolts to 122 foot pounds. I'm gonna install the brake pads. Make sure you have the brake pad warning indicator facing up on the outside and also on the inside. Now we'll take the brake caliper off. Take the hanger off. I have to compress the caliper so I use a brake caliper compressant tool. Just compress it really slow. This is gonna push the fluid through the hoses, back through the lines, back up to the master cylinder and into the reservoir. Just go nice and slow.
That's compressed. Pull the compressing tool out. Slide the caliper over the brake pads and the bracket. Take the two bolts. Install the bolts. You can put some thread locking compound on those bolts. I can use my 16-millimeter wrench, 12-millimeter socket, torque these bolts to 31 foot pounds.
And reinstall the wheel. Put the lug nuts on. Now I'm gonna torque these lug nuts to 140 foot pounds in a star pattern to tighten the wheel down evenly. And just go around again, double check.
And reinstall the center cap. Now we're gonna pump the brake pedal nice and slow. There's gonna be an air gap between the caliper piston and the brake pad, so we want to eliminate that air gap. Once the pedal feels good, then you're all set. Check the brake fluid level in the master cylinder reservoir. There's the minimum line right there, the max line right there. Adjust accordingly.
Shop Products


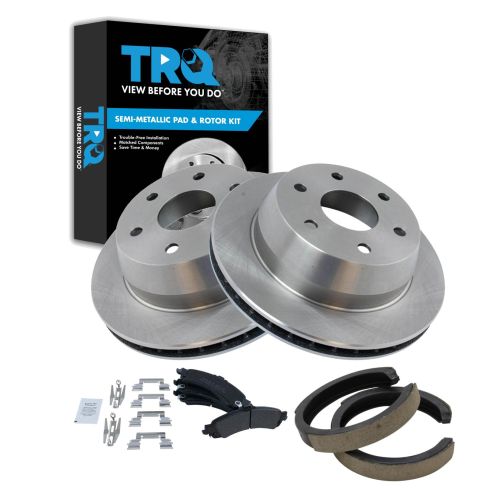
Chevrolet GMC Cadillac Rear Semi-Metallic Brake Pad & Rotor Kit TRQ BKA43719
Part Details:
- Semi-Metallic
- (1) Rear Parking Brake Shoe Set
- (2) Rear Brake Rotors
- (1) Rear Semi-Metallic Brake Pad Set

How to Replace Rear Drum Brakes 2012-19 Nissan Versa
Rear Drum Brake Shoes - How to repair, install, fix, change or replace your own worn, squeaky, fading old brakes on 2012, 2013, 2015, 2016, 2017, 2018, 2019 Nissan Versa.
