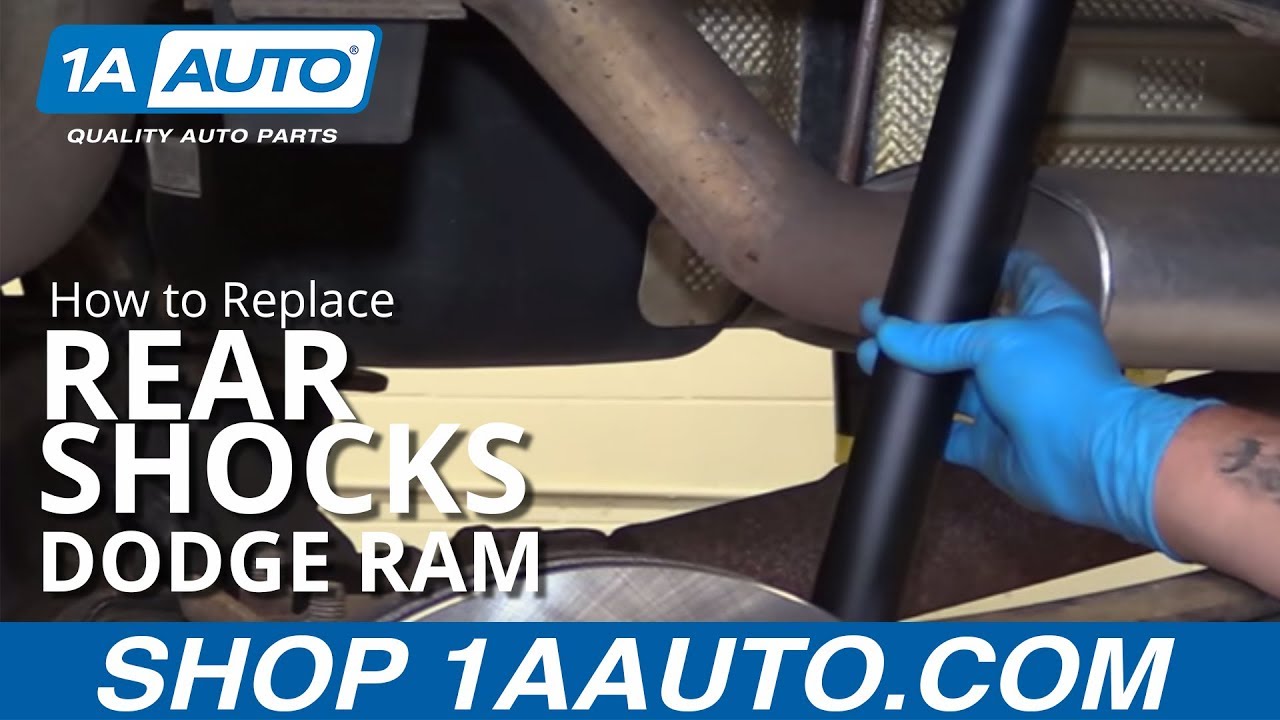
How to Replace Rear Shocks 2002-10 Dodge Ram 1500
Created on: 2016-07-28
If the rear shocks are worn, watch this how-to video and learn how to replace it yourself
-
step 1 :Removing the Wheel
- Loosen the 22mm lug nuts with the vehicle on the ground
- Raise the vehicle with a floor jack
- Secure the vehicle on jack stands
- Remove the lug nuts
- Pull off the wheel
-
step 2 :Removing the Shock
- Remove the bottom 21mm nut with a wrench and breaker bar from the shock
- Repeat the process for the upper 21mm nut with the wrench placed against the frame
- Remove the shock
-
step 3 :Installing the Shock
- Insert the shock into the upper mount
- Insert the upper bolt into the shock
- Hand tighten the nut
- Line up the lower shock mount
- Insert the bolt into place on the bottom, making sure it doesn't fight
- Tighten the upper nut with a 21mm socket and wrench
- Torque the bolt to 100 foot-pounds
- Tighten the lower nut with a 21mm socket and wrench
- Torque the bolt to 100 foot-pounds
-
step 4 :Reattaching the Wheel
- Slide the wheel into place
- Start the lug nuts by hand
- Tighten the lug nuts preliminarily in a crossing or star pattern
- Lower the vehicle to the ground
- Tighten the lug nuts to 135 foot-pounds in a crossing or star pattern
Tools needed
-
21mm Socket
21mm wrench
Socket Extensions
Torque Wrench
Jack Stands
Ratchet
Floor Jack
1/2 Inch Breaker Bar
22mm Socket
Brought to you by 1AAuto.com, your source for quality replacement parts and the best service on the Internet.
Hi, I'm Mike from 1A Auto. I hope this how-to video helps you out, and next time you need parts for your vehicle, think of 1AAuto.com. Thanks.
In this video, we're going to show you how to replace the rear shock absorbers in a 2008 Dodge Ram pickup. This is for non-mega cab trucks. The items you're going to need for this repair include a pair of rear shocks from 1AAuto.com, we do recommend you do these the same way we do the struts or any other suspension component, replacing in pairs, and you'll need a 21mm and a 22mm deep socket, some extensions, a ratchet, a breaker bar, a 21mm wrench, and a torque wrench. You're also going to want a jack and a set of jack stands.
With the vehicle on the ground, using a 22mm socket and breaker bar, break the lug nuts for your wheel loose. These chrome lug nuts tend to be swollen, so make sure your socket's on there good. Once your lug nuts are loose, raise and support the vehicle with the jack and jack stands. This wheel and tire assembly, being a big off-road tire and 20 inch wheel, it's going to be real heavy, so we're only going to bring it up a little bit when we take it off. Remove the wheel and tire from the hub.
Remove the bottom bolt for the rear shock using a 21mm wrench, a 21mm socket, and breaker bar. After you break the nut loose, you can switch to a ratchet. Remove the bottom bolt. Sometimes if they get really stuck on there, you can rotate the ratchet up and just hold it against the bottom of the axle so you don't have to strain your other hand to hold the bolt steady. Remove the nut and push the bolt through.
Use your 21mm wrench to hold the nut on the back side of the upper shock bolt. Using a 21mm socket and extension and a breaker bar, we're going to brace the wrench against the bottom of the bed there. After we've broken the bolt loose, we'll switch over to a ratchet to get it out faster. Remove the nut on the back first, support the shock, remove the upper bolt, and remove the shock from the vehicle.
Here we have our old part that we removed from our vehicle. This is an aftermarket replacement, this is not the OEM part that we took out. Here we have our new part from 1AAuto.com. These come shipped with this little band on them to keep them compressed, which makes them smaller and easier to package. All you have to do is push down, remove that, what you'll see is exactly the same as our old part.
Reinstall the top of the shock into the upper mount. Send your bolt through, and start the nut on the back. Before tightening, we'll also line up our lower shock mount, setting that bolt as well. It may help if you spin it a little with a ratchet to help center everything up nicely. Be sure that it's not fighting, or that means that it could be bound up against a thread and strip out your bolt. Start that nut as well. Support the nut on the back of your upper shock with a 21mm wrench. Use that socket ratchet and extension to tighten up the bolt.
If you've rested the wrench against the frame to support it while you tighten up with the socket and ratchet, you want to lift that up and hold it now so it doesn't get locked against there, and torque to 100 foot-pounds. Tighten up the bottom bolt with the same socket, ratchet, and wrench. Torque to 100 foot-pounds.
Start your lug nuts by hand. Tighten the lugs as far as you can. Remember to bring the wheel down evenly and always tighten in a cross pattern. Once the lugs are as tight as you can get them with the tire in the air, put partial weight of the vehicle on the ground by lowering it off your jack stands. Torque your lug nuts to 135 foot-pounds in a cross pattern.
Thanks for tuning in. We hope this video helped you out. Next time you need parts for your car, please visit 1AAuto.com. Also check out our other helpful how-to and diagnosis videos.
Shop Products

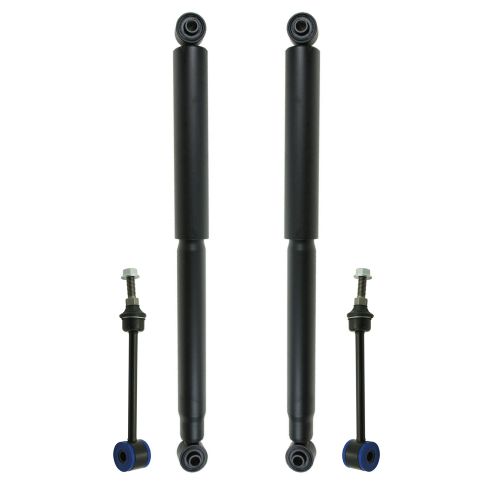
Dodge Ram 1500 Rear 4 Piece Suspension Kit TRQ PSA75220
Part Details:
- (2) Rear Sway Bar Links
- 4 Piece
- (2) Rear Shock Absorbers

How to Replace Rear Shocks 2007-10 Hyundai Elantra
Check out this video to learn how to replace the rear shock absorbers on your 07-10 Hyundai Elantra. 1A Auto shows you how to do it yourself!


