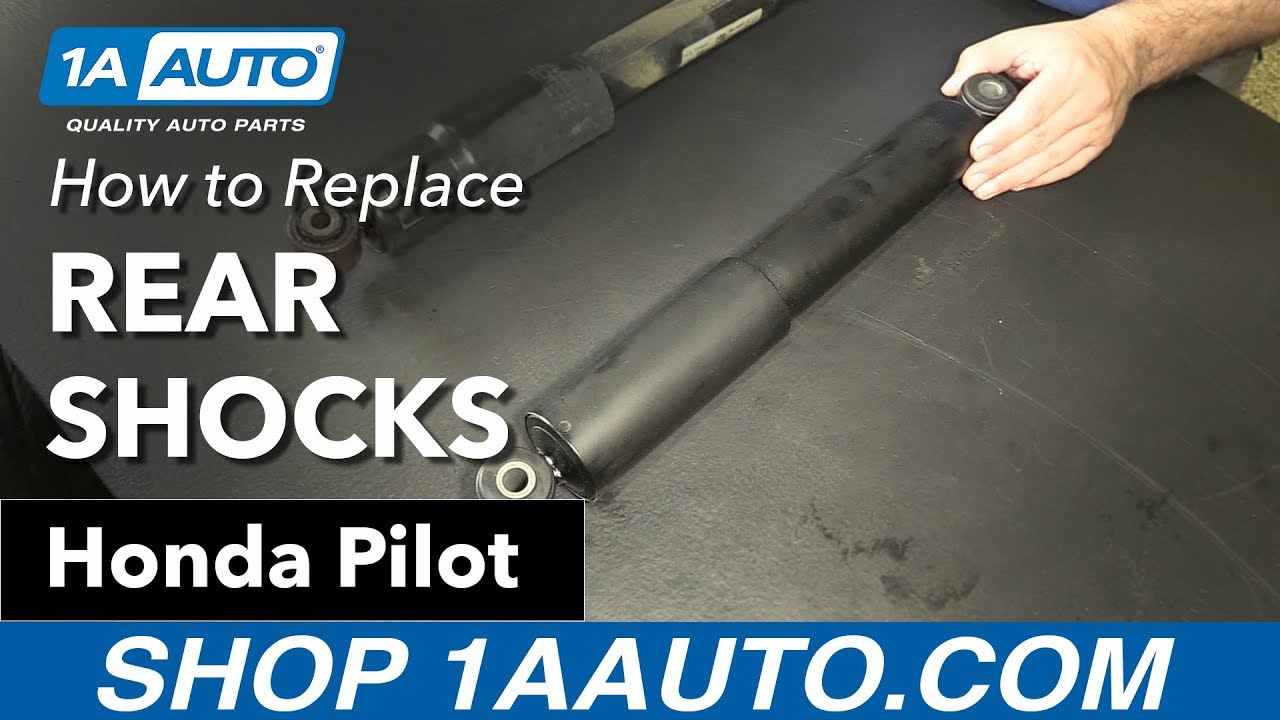
How to Replace Rear Shocks 2003-08 Honda Pilot
Created on: 2017-08-09
New Shock Absorber from 1AAuto.com How to repair, install , fix, change or replace your front struts with their loaded struts on 03, 04, 05, 06, 07, 08 Honda Pilot.
-
step 1 :Removing the Wheel
- Loosen the 19mm lug nuts with the vehicle on the ground
- Raise the vehicle with a floor jack
- Secure the vehicle on jack stands
- Remove the lug nuts
- Pull off the wheel
-
step 2 :Removing the Shocks
- Break loose the upper 17mm nut from the shock with a 1/4" breaker bar
- Loosen the lower 17mm nut from the shock with a 1/4" breaker bar
- Remove the lower nut
- Pry out the bottom of the shock to loosen it
- Loosen and remove the upper 17mm nut from the shock
- Remove the shock
-
step 3 :Installing the Shocks
- Compress the new shock
- Feed the shock into place
- Loosely reinstall the nut and washer to the bottom of the shock
- Lift a jack underneath the lower control arm to align the upper shock mount
- Insert the bolt to the upper shock
- Tighten the upper bolt
- Tighten the lower bolt
- Get the suspension to ride height
- Torque the top bolt to 47 foot-pounds
- Torque the lower nut to 47 foot-pounds
-
step 4 :Reattaching the Wheel
- Slide the wheel into place
- Start the lug nuts by hand
- Tighten the lug nuts preliminarily
- Lower the vehicle to the ground
- Tighten the lug nuts to 80 foot-pounds in a crossing or star pattern
Tools needed
-
Socket Extensions
Torque Wrench
17mm Socket
Jack Stands
19mm Socket
Ratchet
Floor Jack
1/2 Inch Breaker Bar
If your vehicle's equipped with a locking lug nut, you're going to want to have it ready. Get it to fit on there. These are 19-millimeter. Take our breaker bar, we'll loosen them up, about a half turn. Once you've loosened your lug nuts, raise and support your vehicle. We're going to use a lift for this, so to make it easier for you to see what we're doing, but you can do this on jack stands in your driveway. These are pretty loose now. Going to take my socket in my hand and undo them with my hands. I'm doing the last one. Just make sure you've got hold of the wheel. It might come loose. This one came off pretty easy.
To remove the shock, I'll start with the upper bolt. This is a shoulder bolt that goes all the way through into the body. You can kind of feel it up in here. We'll spray it with some rust penetrant. I'm going to use a 17-millimeter socket and a breaker bar. Push it up. That feels like it's free. I want to loosen the bottom bolt so the shock stays in place. It doesn't fall out on me. Take some rust penetrant, spray it on this bottom nut. This is 17-millimeter. Use our breaker bar again. I'm going to switch to a ratchet now that it's loose. Now with it loose but the nut still on, I'm going to take a pry bar and make sure it's free. Can finish removing this nut. I'll take the pry bar again. Finish removing the upper bolts. Sometimes you have to pull out as you're ratcheting and work the bolt out.
I'm going to try to compress this a little bit. Just push it. I'm just going to go down like this. We reach down to the bottom. It's already loose. I'm going to reach down to the bottom. It's already loose. If it doesn't want to come off, grab my pry bar again. Slide the shock out.
Here's our old shock from our vehicle. You can actually see some oil coming out from underneath, so this one was leaking. The oil up here is from when we were removing it. This is the rust penetrant oil, but this oil was here before, so it means the seal up in here is leaking. It's leaking some oil out. Here's the new one from 1AAuto.com. Let's see. It's the exact same length, same shock mounts upper and lower, similar dust cover. This should fit great and give you a good ride.
I'm going to compress this shock by just pushing it together myself. You can feed it up, set on the lower mount, and we'll just let it expand on its own. As it expands, I'm just going to put the bolt in. If you need to raise it, which we might, we're going to place a floor jack under here to jack it up. So that the shock doesn't slide off this lower mount, I'm going to reinstall the nut and the washer just loosely for now. You can use a floor jack if you're doing this on the ground on jack stands. Since we're on a lift, we're going to use this screw-type jack. I'm just going to lift up on the lower control arm, and it's just going to get our shock mount. As I turn up on it, it's going to get our shock mount to line up here. The bolt has got a point on it, so it's going to go in, sort of self-center and get it started.
Take my 17-millimeter socket and ratchet, start to tighten it down. I will bring this down until it gets tight. Now we can re-tighten the lower one. Just make sure you torque the shock with the vehicle at ride height so the suspension is loaded. You torque the top bolt to 47 foot-pounds, the lower nut to 47 foot-pounds.
Reinstall the wheel. Thread the lug nuts on by hand. 19-millimeter socket and ratchet, I'm going to snug these lug nuts. With the torque wrench set to 80 foot-pounds, torque your lug nuts in a star pattern.
Thanks for watching. Visit us at 1AAuto.com for quality auto parts, fast and free shipping, and the best customer service in the industry.
Shop Products


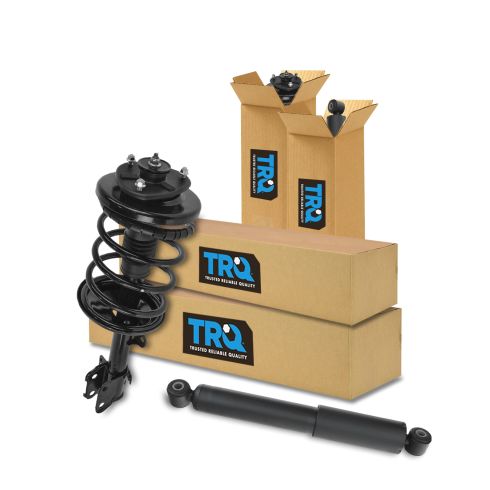
Honda Pilot Acura MDX Front & Rear 4 Piece Complete Strut Assembly & Shock Absorber Kit TRQ SKA60983
Part Details:
- 4 Piece
- (2) Front Strut & Spring Assemblies
- (2) Rear Shock Absorbers

How to Replace Strut Assembly 2005-10 Chevy Cobalt
Follow along to learn how to replace a front strut assembly on your 05-10 Chevy Cobalt.
