
How to Replace Rear Shocks 2005-15 Toyota Tacoma
Created on: 2020-04-20
Check out this video to see how to install rear shock absorbers on your 2005-15 Toyota Tacoma.
Tools needed
-
14mm Wrench
Gloves
16mm Wrench
Locking Pliers
Hammer
17mm Wrench
Rust Penetrant
17mm Socket
Jack Stands
Swivel
Safety Glasses
1/2 Inch Impact Gun
Okay, friends. To get started on this project, we remove the rear wheel. You don't necessarily need to though. Just a heads up. We have a nice clear view of this here. I like to spray it with some penetrant, it's a good idea, right there. Then we have the lower mounting area, go ahead and give that a spray too. Let it sit and do its job. All right, so if we take a look at this, we've got it nice and sprayed. Use your 17 millimeter swivel and a 17 millimeter wrench. We're going to hold the bolt side and remove the nut side.
That washer off of there. Give this a spin. This is looking great. All right, so that's moving nice and free. Let's leave that in for now and move up to the top. The next thing we're going to do is use some locking pliers right up along here, whatever you can do to grab onto this to keep it from wanting to spin while we try to remove this nut. There's a little tip up here that you can try to use that will hold it still. But of course, that's only going to work until the nut gets up to there and then you're going to have an issue as well.
So, I'm just going to use some of these locking pliers, put it right over this shaft area here, and then get this on as tight as I can. That feels pretty good. Let's remove this nut using a 14-millimeter. All right, so now the next thing you would want to do is hold the top area right here with some locking pliers, and then, of course, use a 14 millimeter wrench and break this nut free and/or get it off completely, that would be the way that you get the shock out. If you're going to go with the assumption that you're having the same issue that I am, which is very common, this nut right here doesn't want to break free from the stud. So, what I have to do is I actually have to cut it. I'm going to try to cut right along the bottom area of that nut area, spin it, cut some more, spin it, cut some more until it finally comes off and then this will come right out.
Now, I guess you could consider this to be kind of an extreme case scenario of how getting these things out would evolve. Generally speaking, it should have been something super easy, where you just kind of hold on to that outer shell, and you take off the 14 millimeter nut. No, this wasn't that way. So, we showed you a couple of different options. You can go ahead and try to cut it, weaken it a little bit, and then just kind of give it a couple of bonks and see if you can break it free. Once it breaks free, you should be good to go. Nice.
Now, the next thing you want to do is just cut off that white strap, and then go ahead and charge up your shock. And what I mean by that is just bring it all the way down, and then let it come all the way up three to five times. So, now we're going to put our shock just like this. We're going to reach into that goodie bag, you're going to grab one of these washers. Make it so it's kind of scooped up like a little ball. Grab one of these rubbers, this is a bushing. You want to push the thicker end towards that metal washer. And we're going to slide this right up in here just like this. Should line up right there.
Go ahead and grab that smaller end, put it facing down towards right here. Grab your little top piece, put that facing down. Now, go ahead and grab that nut, and start it on there just a couple of threads. Now, we've got our bottom bolt with the nut and washer. I'm just going to line this up just like this. If for some reason the differential is sitting lower than what you need it to be, you can go ahead and put a jack right under here and bring it up to where you need it. Washer, nut. This looks great. Let's tighten everything up. The next thing we're going to do is snug up this top area here. To do that, you can fit a 16 millimeter wrench right down here and then you would use your 17 millimeter ratchet wrench right up top here. Okay, that looks pretty great, just getting the wrench out of here.
This is awesome. So, what you'll notice is the bushing right here is squishing down up against the metal. And if you were to take a lookup inside here, you would notice the same exact thing. Something that's important to remember is that you don't actually need to crush these washers all the way down till they touch the frame. That's what the rubber bushing is for. It's supposed to be right in between, it's going to help with vibration dampening and noise reduction. Let's go ahead and bottom this out. Now we're going to torque this to manufacturer's specifications, which is 74 foot pounds down here. And if you could torque the top, you would torque that to 15 foot pounds. Torqued. The process for the other side would be the same.
Shop Products

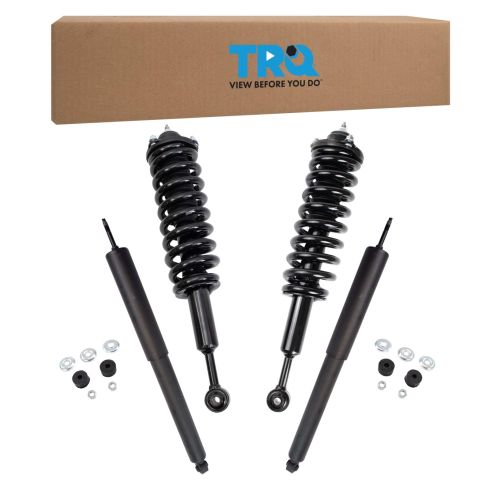
 2005-15 Toyota Tacoma Front & Rear 4 Piece Complete Shock Assembly & Shock Absorber Kit TRQ SKA61052


2016-22 Toyota Tacoma Front & Rear 4 Piece Complete Shock Assembly & Shock Absorber Kit TRQ SKA42940
Part Details:
- 4 Piece
- (2) Rear Shock Absorbers
- (2) Front Shock & Spring Assemblies

How to Replace Rear Shocks 2000-04 Nissan Frontier and XTerra
Check out this video and learn how to replace the rear shocks on your 00-04 Hyundai Elantra. 1A Auto shows you step by step!
