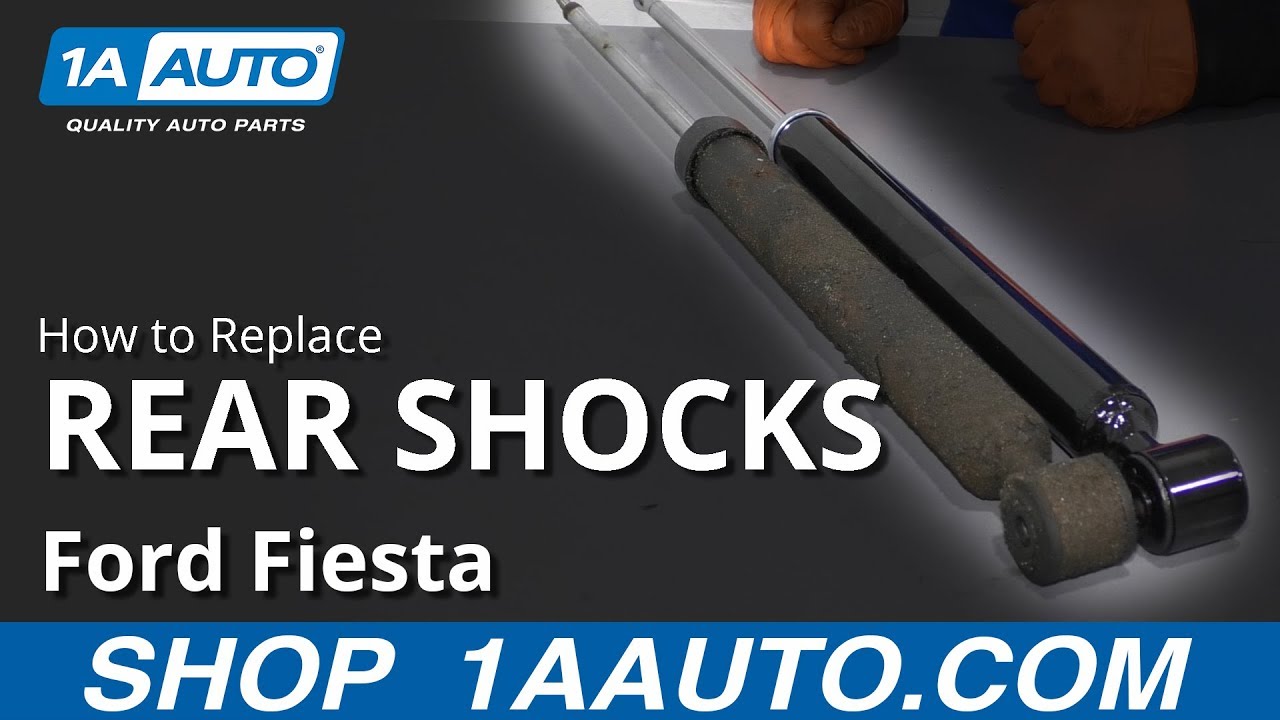
How to Replace Rear Shocks 2009-19 Ford Fiesta
Created on: 2019-03-07
How to repair, install , fix, change or replace your rear shocks on 09, 10, 11, 12, 13, 14, 15, 16, 17, 18, 19 Ford Fiesta
Tools needed
-
Socket Extensions
Torque Wrench
15mm Socket
Rust Penetrant
Jack Stands
19mm Socket
10mm Wrench
10mm Socket
Ratchet
Floor Jack
1/2 Inch Breaker Bar
Hi, I'm Mike from 1A Auto. We've been selling auto parts for over 30 years.
Sue: Hi, everyone. Sue here from 1A Auto. Today we have a 2011 Ford Fiesta in the shop, and I'm going to be doing rear shocks. If you need this part, or any other part for your car, click on the link below and head on over to 1AAuto.com. I'm going to remove the tire, and it's a 19 millimeter socket. Put the weight of the vehicle on the tire. I'm just going to break the lug nuts free.
Now with my car up in the air I can take the tire off. I have a two-post lift. You can use a jack and jack stands at home. This has a hub cap on it. I'm going to take that off first. With the tire stuck like that, take one lug nut. Put it halfway on. Now I can take a hammer and hit the back side of the rubber part of the tire. The lug nut stops it from flying off across the shop. Now I take that lug nut off and take the tire off.
When doing rear shocks on some cars you have to make an analysis of whether you need to support the rear suspension. On this particular one, you do. I'm going to pull it in the center because I'm going to end up doing both shocks. You can do one side at a time. If I was to do this side, I would put the suspension jack stand over here, but I'm going to put it right in the center, and I'm going to suspend it. I'm going to, actually, bring it up just a hair because I want it to be at curb height, so in other words, as if this car was down on the ground because when I tighten the lower shock bolt, you want it as if it was on the ground. If not, you'll end up tearing the inside of the bushing.
The lower bolt, that's a welded nut. You just need a socket for the head of the bolt, and that's a 15-millimeter socket. It will break that free. Now that I get some movement out of it, I'm going to spray it. I'm going to pre-soak the other side too because I'm going to do that later on. There should be zero tension on that shock bolt because the jack stand should be lifting up the vehicle enough to keep the tension off of it. That's a good indicator that I can use my hand, so the shock itself is going to want to bounce up a little bit because of its job. There's your bolt.
You can see the oil that came out of the shock. This shock is blown. This seal is broken on the inside of that piston shaft, and the oil has come out. You can see the rear shock mount has two bolts on it. That is mounted to the body. It is a 10-millimeter socket. I'm going to break that free. Let's take that front bolt right out. Now you can either choose to leave the bolt in a little bit on the lower part. I just push the shock back into the housing. When I take the back bolt out, hopefully, the shock won't fall completely down.
I'm going to take this fender skirt, just this one clip out, so I can get to the back bolt easier. There we go. I'm going to take a little bungee cord and attach it to this. Pull it back. There we go. Now I can definitely see up there a lot easier. Now I've got my extension with my swivel 10-millimeter socket on that bolt, and I'm going to break it free. You can definitely tell this was long because the shock actually sunk down into its own casing. Now I'm just going to grab the shock absorber right out of that bottom bracket and bring it down.
Now I'm going to put the shock mount in a vise just to hold that. It's a 10-millimeter socket. Let's see if I can break this free. The entire side shaft is moving, and it is. Now I'm going to get a 10-millimeter ratchet wrench and a pair of locking pliers to hold that. I'm going to put my ratchet wrench on there first. Then I could take my locking pliers. I got the needle nose style, and just lock it in. Easy peasy. Now I'm going to hold onto the bottom of the shock. I'm just going to take that nut off by hand, and then pull the shock through. There you go.
Here we have our brand new shock we got from 1A Auto. This is the factory shock we just took out of our 2011 Ford Fiesta. This is the way it comes packaged, compressed. To decompress it, just push down. You can discard that strap. You can see the housings are the same size, and the length of the shock is the exact same size. This is a brand new one from 1A. It comes with a brand new lock nut for the top. If you need this part, or any other part for your car, click on the link below and head on over to 1AAuto.com.
With any new shocks or struts, if they're not a complete assembly, you need to start them. They call it a start because you compress the gases and oils. The manufacturers always like to have you do it at least three times. Let it extend all the way out. The first thing I'm going to do is put my bumper on, and then put the shock right back up inside that mount. A new locking nut. As you can see, it's a lot bigger nut than the factory. It has a Teflon lock on it, which is really nice. I'm going to put my ratchet wrench on that. It's not ratcheting down to the shaft turn, which it's doing right now. Then I will take my locking pliers and lock them on there. Hold that shaft from spinning. Now I can tighten it up.
I'm going to get a longer wrench, so I can make sure I've got that nice and snug, 13-millimeter, locking pliers. There you go, that's pretty tight. Now we're ready to bring it on over to the car and reinstall it. Make sure that the bumper stays up in there. There we go. Guide that right up in. Put the shock at the bottom. I'm going to take a wire wheel to the threads here. Clean these up, and then add another dab of new thread lock. I'm going to add a dab of new thread lock. It's the blue strength. Let's coat the threads with it all the way around. Now I can place this through, start it by hand. These are the top of the shock, the shock mount bolts. They had thread lock in them too, so I cleaned them up. I'm going to add a new dab.
The reason why you clean the old stuff out is because if you put new stuff on it, then you actually have no threads. You're just coating, it's raising itself up. It'll lead to stripped bolts or nuts in the future.
Now you have to line that top of the housing up. Let it bring the bolt up. You definitely want to start that by hand. Make sure I don't cross-thread it. I'm just going to snug the top because the torque specs from the manufacturer is only 18 foot pounds. I know I can tighten by hand stronger than 18 foot pounds. I'm literally just going to let them bottom out and get my torque wrench. They are small bolts, so you definitely don't want to snap those. I got my torque wrench to 18 foot pounds, my 10-millimeter socket. There's one, two.
Now I can tighten the bottom bolt, 15-millimeter socket. I'm going to snug it up, and then we'll torque it to the specs, 85 foot pounds is the manufacturer's recommendations at curb height. That's why I have the post jack there also, and I jacked it up enough to take the tension off. All right, now I'll get my torque wrench. We're going to repeat the same process on the other side.
Now we're ready to put the fender well back together. It's just a little felt. That clip is really a one-time use, but I didn't really destroy it coming out. It should be able to go right back on. Get the pliers and see if I can push it on a little better. Yeah, there you go. Now it's time to put our wheel back on. This has a hub cap that has to go on before the actual lug nuts. I'm going to line up the valve stem to the valve stem cut out. I'll just hand start my lug nuts. I'm going to snug them up by hand. 19-millimeter socket, weight of the vehicle is slightly on that tire. I'm going to torque my lug nuts to 100 foot pounds. Make sure I go in a star pattern to make sure that this steel rim seats properly on the hub. One more time.
Mike: Thanks for watching. Visit us at 1AAuto.com for quality auto parts, fast and free shipping, and the best customer service in the industry.

How to Replace Front Strut Assembly 2007-13 Chevy Suburban
If the front strut assembly is worn or failing and needs to be replaced, check out this how-to video and follow the steps to DIY
