How to Replace Rear Struts 2012-17 Toyota Camry
Created on: 2020-11-02
This video shows you how to install new reliable TRQ struts in your 2012-17 Toyota Camry.
Tools needed
-
14mm Wrench
Torque Wrench
Socket Extensions
Socket Driver
Jack Stands
Wheel Chocks
Ratchet
Floor Jack
All right. One of the first things we need to do is safely raise and support the vehicle, so the wheel's off the ground. We're gonna remove the lug nuts and take the tire off. Let's go ahead and get the upper portion of the sway bar link off of the strut. Use your wrench, and then you're gonna need to use a tool to hold the center. There we are. Now, let's go ahead and get our flex hose disconnected from the strut. With that out of the way, we have a clearer view of our ABS wire. Remove that as well. Now, let's separate the knuckle from the strut itself by removing these two bolts. Hold the bolt side, remove the nut. There we are.
Now, we need to get inside the back of the vehicle to the rear seat. We're gonna grab on to the lower portion and lift straight up, and it should wanna pop free. There we are. There should be one clip on the driver side and one over on the passenger side as well. Let's get this right out of the way. Now, we're gonna get our seat belts off of this area right here. There we are. Slide it right along the side like that. All right. So now looking down along the side here, you're gonna see two mounting bolts, we wanna remove both of those. Don't mess with this right there. This is for your airbag system, so we don't wanna touch it. Inside the trunk, you wanna go ahead and pull on the tab for the corresponding seat.
Let's go ahead and pull down that seat now. Now, let's grab onto this, we're gonna pull out and lift up at the same time, and just kinda set this aside but be careful for that wiring for the airbag. So now that that's out of the way, we have a clear view of the upper strut mounting area. This one here, this one is the easiest to get to. There we are. We're just gonna remove all three of these. You might notice once the nuts start coming up, it gets a little bit harder to fit your socket in. If that's the case, just switch to a ratchet wrench. Now, with one hand, I wanna reach inside the wheel well and hold up on that rear strut. And then when I do that, I'm gonna remove my last nut. Okay, the nuts off. Let's pull it out of here. And there it is.
Okay, friends, now it's gonna be time to get our rear strut into the vehicle. Come down and under, try to line up my holes. Now that's up there, let's start on all three of our nuts real quick. Now let's get back inside the wheel well, get our knuckle up into the strut there, put in both of our bolts, and then we'll torque them down. Now, let's torque these to 214 foot-pounds. Now, let's get our ABS wire reattached. Get this flex hose back on here. Let's get our sway bar link in here. Let's torque this to 55 foot-pounds. Let's get the wheel back on here. We'll snug up all the lug nuts and then we'll torque them to 76 foot-pounds. With the wheel so it's just barely touching the ground, let's go ahead and torque these. Torqued.
Now, that we have those torqued, let's go ahead and get inside the vehicle so we can continue by torquing the upper strut mount. Once they're snug, go ahead and torque all three to 29 foot-pounds. Okay, let's get this back in here now. Just pay attention to your little hooky-do that you have here, and then the slot that you have on the body. Obviously, you need to go up and over, slide it down, then we're gonna put in our two mounting bolts. Let's put in our two mounting bolts, snug them up, lock in your seat, get your seat belt back in here. Now, it's gonna be time to get our rear seat back in here. Make sure you grab onto those seat belt buckles, slide this in and back. There we are. Then latch it in.
Shop Products


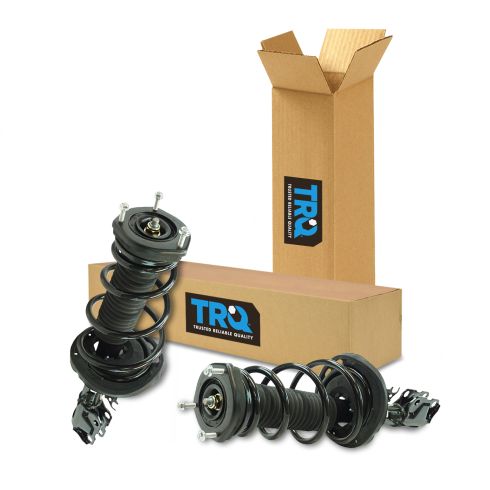
2012-17 Toyota Camry excluding Hybrid Models SE Rear Driver & Passenger Side 2 Piece Strut & Spring Assembly Set TRQ SCA57383
Part Details:
- 2 Piece
- (1) Rear Driver Side Strut & Spring Assembly
- (1) Rear Passenger Side Strut & Spring Assembly

How to Replace Front Struts 1994-97 Honda Accord
Learn how to replace clunking or bouncy struts on your 94-97 Honda Accord by watching this tutorial video from 1A Auto.
