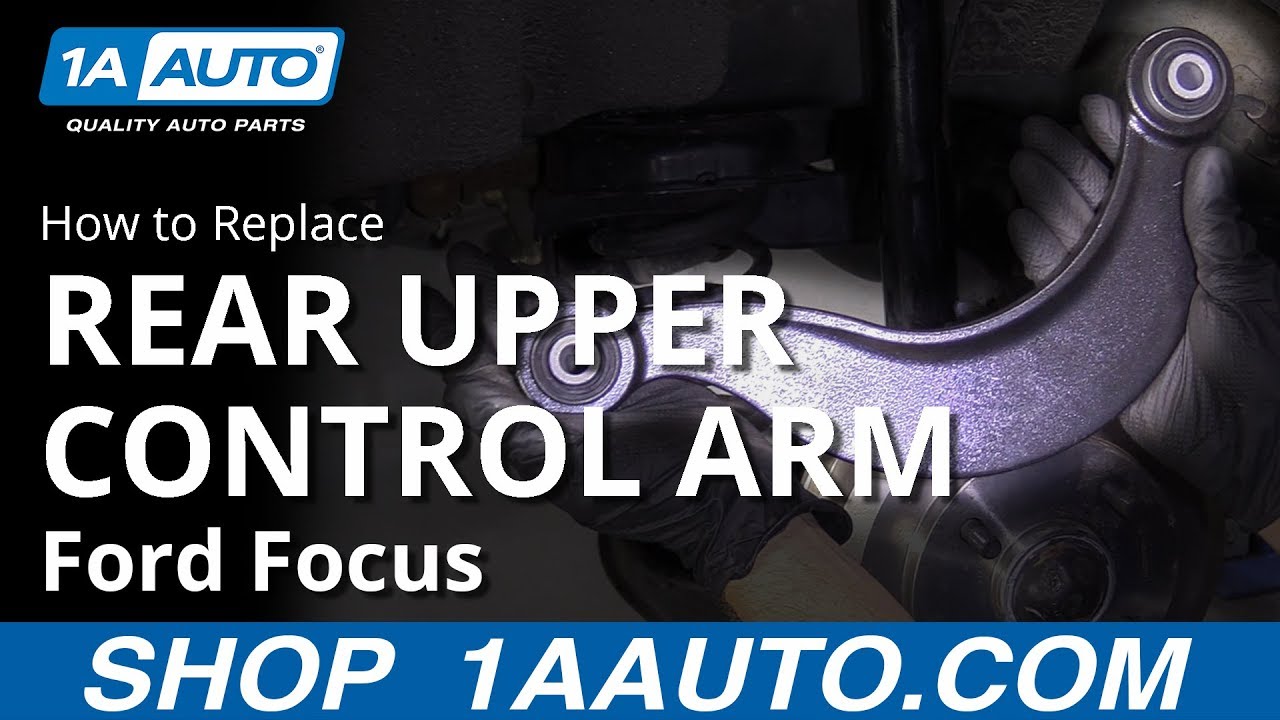
How to Replace Rear Upper Control Arm 2000-14 Ford Focus
Created on: 2019-07-30
Learn how to replace the upper control arm yourself on the 00-14 Ford Focus by following the steps in this how-to video
-
step 1 :Removing the Wheel
- Raise the vehicle with minimal weight on the wheel
- Loosen the six 18 mm lug nuts
- Raise and support the vehicle
- Remove the six lug nuts
- Remove the wheel
-
step 2 :Removing the Upper Control Arm
- Loosen the 15 mm upper control arm bolt
- Loosen the 15 mm lower bolt
- Remove the upper control arm
-
step 3 :Installing the Upper Control Arm
- Insert the upper control arm
- Attach a ratchet strap to secure the rotor and attach the control if needed
- Raise the suspension with a floor jack to simulate ride height
- Tighten the 15 mm lower bolt
- Tighten the 15 mm upper control arm bolt
- Torque the bolts to 85 foot-pounds
-
step 4 :Installing the Wheel
- Install the wheel onto the wheel studs
- Install the six lug nuts and tighten them by hand in a crossing pattern
- Lower the vehicle with minimal weight on the wheel
- Torque the 18 mm lug nuts to 94 ft-lb in a crossing pattern
- Lower the vehicle completely
Tools needed
-
Socket Extensions
Torque Wrench
15mm Socket
Jack Stands
18mm Socket
Ratchet
Swivel
Floor Jack
1/2 Inch Breaker Bar
Hey friends, it's Len here at 1A Auto. Today we're working on our 2001 Ford Focus ZX3 and I want to show you how to do a rear upper control arm. It's going to be very simple. I can do it. You can do it too. If you need this or any other part you can always check us out at 1AAuto.com. Thanks.
Okay, so one of the first things we have to do is take off the wheel obviously. We're going to remove our lug nuts. These are missing the caps. Usually they have a chrome cap on them that would make them 19s. These are actually closer to an 18 so that's what I'm going to use to remove it. But generally speaking, you're going to use a 19 to remove your lug nuts. Leave that one on there a little bit. That's just going to help prevent the wheel from falling off when I take off the last one. Set this aside. Take off our wheel, set it aside.
Here's the arm. We're just going to take it, bring it right into the vehicle, to the approximate area where the old one is. Just make sure it's the same shape. Everything lines up right. Make sure we're dealing with the right beast. This is it. Looks good. Right up here, you've got a mounting bolt. It's a 15 millimeter head. I'm going to use 3/8ths drive because my 1/2 inch drive is a much longer ratchet and I just don't think I can probably get it in there. I'm sure if you used an extension, a universal 15 millimeter socket, air gun could probably figure something out a little quicker here, but I'm not going to worry about that right now. I just want to show you how to get it out of here.
I just threw on an extension with a swivels universal socket gives me a little bit more space to be able to swing my ratchet. It feels like it's in there pretty good. Get that one pretty loose. Let's go ahead and loosen this one up. The whole bolt at this point, it's just kind of threading its way out because this is under tension trying to come this way.
It's our bolt. Just comes right through here. Now that we have that one out, I can come back here, grab this one. That's the inside upper bolt there. Looks like it's about the same as this one, but we won't mix them up. Set that aside. Try to grab this arm out of here. There it is. Easy peasy.
Here we are friends, a quick product comparison for you over here. We have our original upper control arm out of the rear of our 2001 Ford Focus ZX3 hatchback. And over here we have our brand new quality 1A Auto part. Both these parts are created the exact same. They have the same shape, the same mounting bushings. To show you, I'll just line them up real quick. As you can tell, same shape, same mounting bushings. They're the exact same. With that said, I don't see any reason why this wouldn't be a quality part to install onto the vehicle, so I'm going to go ahead and do it. If you need this or any other part, you can always check us out at 1AAuto.com. Thanks.
Okay, so this is how it's going to go inside the vehicle. Just like this. You've got where it swoops down at a sharp angle. Then it comes back up and it just kind of hangs out and comes out this way. The area where it comes up and out is going to be the outer area where it goes here. This area is going to go up and in there. Grab my bolt. Can use thread locker if you'd like, it's your prerogative. For the purpose of this video, I'm not going to worry about it. I'm just going to take my bolt. First. I'm going to get my arm up in there.
Now I'm going to get my bolt through my hole. Just start it in a couple of threads here. Not going to tighten it up or anything. I just want it to be in and the threads so I don't have to worry about stripping anything. Now here comes the hard part. Remember I was telling you that it had pressure. Look at how much, how far away this is and the angle. It's going to be a little difficult. If you happen to have a ratchet strap, it's going to come in handy. Let's give it a try. I just got my ratchet strap set up down along the bottom here. I brought it up through, along here, up around this stud and then down around this way and I'm just kind of using the ratchet strap to pull me in. Grab a pry bar. I'm going to have to resituate it.
Brought it down along the bottom there, up and over across, in between the coil spring here, over the lug nut area, and then just over to this side. And that's just so I can draw this in. Now I just need to get this lined up. See if I can get this to turn a little bit from the other side. Looks like it's close but not close enough.
Get almost. Getting this upper one lined up is just really interesting. Get this bolt so it's turning in there. Once we get it so it's definitely in a few good threads, we'll go ahead and get this ratchet strap out of here. It's definitely in. We'll relieve our ratchet strap. I'm just putting a jack underneath here. I'm trying to bring the suspension up to the point where if this vehicle had its wheel on and it was sitting on the ground, it would have that amount of pressure on the suspension. Sitting at curb height is what you would say. That's it right there. that's as far up as it's going to go because our lift is happy there.
Now I'm just going to go ahead and snug up these bolts and then we'll torque them to 85 foot pounds. We'll go 85 foot pounds. Just going to hit it one more time. All right. And do the inside one. There it is. Hit it one more time. All right, both of those are tight. There we are. Just going to wheel it up my leg. Cool. We've got our lug nuts. We're just going to snug up these lug nuts. There we are. Bring it down, torque them up. Here we go, we're going to torque these down to 94 foot pounds with our torque wrench. Go around again. There we are. Do the same to the other side of the vehicle.
Thanks for watching. Visit 1AAuto.com for quality auto parts, shipped to your door. The place for DIY auto repair. And if you enjoyed this video, please click the subscribe button.
Shop Products

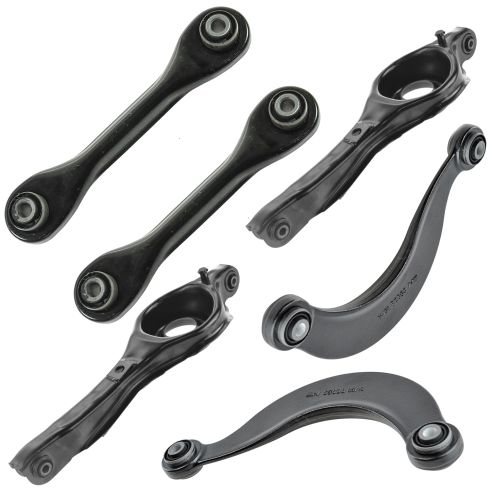
Ford Focus Volvo C30 S40 Rear Driver & Passenger Side 6 Piece Control Arm Set TRQ PSA56439
Part Details:
- (2) Rear Upper Control Arms
- 6 Piece
- (2) Rear Lower Control Arms
- (2) Rear Lower Forward Control Arms

How to Replace Front Upper Control Arm 2007-17 Ford Expedition
This video shows you how to install a new quality TRQ upper control arm with ball joint in your 2007-2017 Ford Expedition.


