How to Replace Rear Wiper Arm 2006-10 Ford Explorer
Created on: 2016-12-20
How to repair, install, fix, change or replace a damaged, bent, or failing rear windshield wiper arm on 06 Ford Explorer
-
step 1 :Removing the Rear Wiper Arm
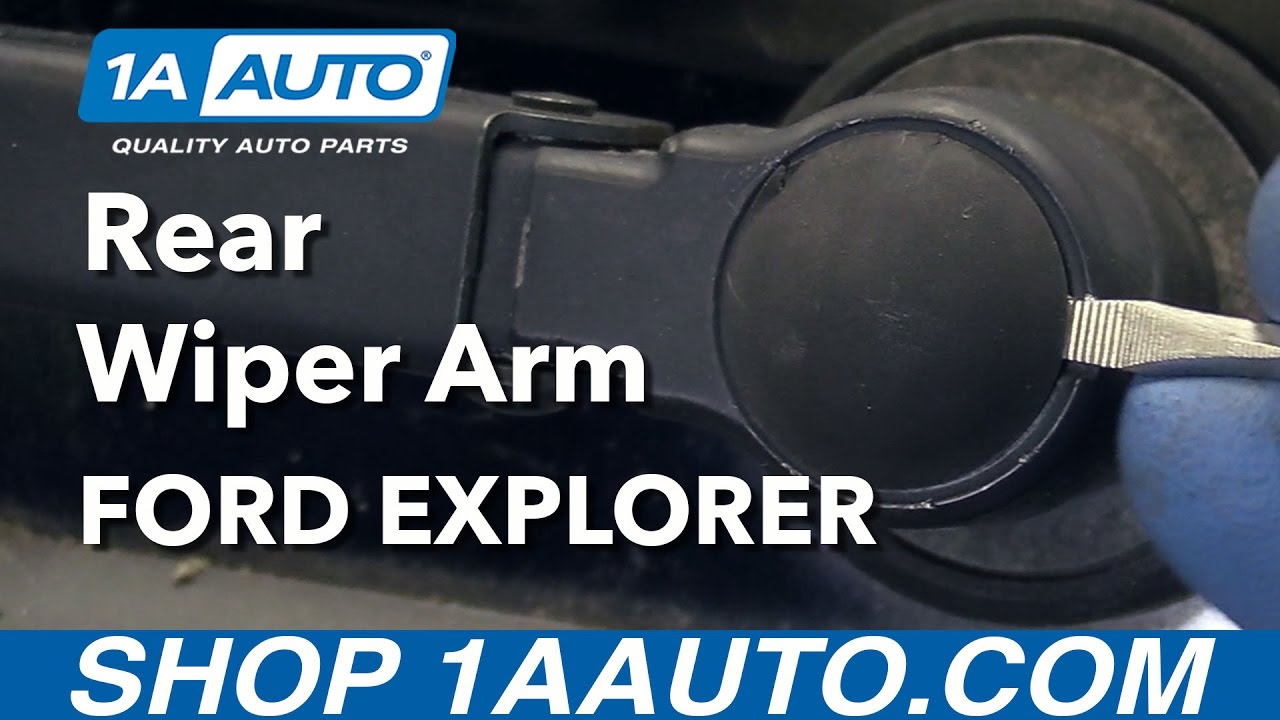
- Pry off the wiper arm cap with a flat blade screwdriver
- Remove the 13mm nut from the wiper arm stud
- Pull the wiper arm off the splines
-
step 2 :Installing the Wiper Arm
- Line up the wiper arm
- Push the wiper arm onto the splines
- Fasten the 13mm nut onto the wiper stud
- Push on the wiper arm cap
Tools needed
-
13mm Socket
Flat Blade Screwdriver
Ratchet
Hi, I'm Mike from 1A Auto. We're dedicated to delivering quality auto parts, expert customer service, fast and free shipping, all backed by our 100% satisfaction guarantee. Visit us at 1AAuto.com, your trusted source for quality auto parts.
In this video, we're going to be working with our 2006 Ford Explorer. We're going to show you how to remove and replace your rear wiper arm. If you like this video, please click "Subscribe". We have a ton more information on this and many other vehicles. If you ever need parts for your car, you can follow the link down in the description over to 1AAuto.com.The only items you'll need for this repair are a 13 mm socket and ratchet, and a small flat blade screwdriver or other pry tool.
Using a flat blade screwdriver, work the cover off of the wiper arm. You'll want to start where the tab is and work your way around until it comes out. Using a 13 mm socket and ratchet, remove the nut that secures the arm in place. Then, you'll want to use arm to work the base back and forth, and off of the splines. Reinstall the wiper arm. You'll want to make sure that it lays flat across the back glass and still lines up on its splines. Reinstall the 13 mm nut and tighten it down with a socket and ratchet. Make sure that there's no movement on those splines. Reinstall the cap.
Thanks for watching. Visit us at 1AAuto.com for quality auto parts, fast and free shipping, and the best customer service in the industry.

Cmo diagnosticar un Eje Delantero Subttulos
1a auto videos, 1a auto parts review, 1aauto, diy, car repair, diagnosticar eje delantero, reparar carros, como reparar eje delantero, eje delantero, eje, hazlo tu mismo, como cambiar rodamiento de rueda, como cambiar cojinete de rueda delantero, como cambiar, mecanica automotriz, car repair videos, cambiar, reparar, clicks debajo del carro, sonidos debajo del carro, porque suena cuando giro el volante, porque suena el timon cuando giro, porque suena el carro cuando giro el volante
