How To Replace Rocker Panel 2000-07 GMC Yukon
Created on: 2020-10-21
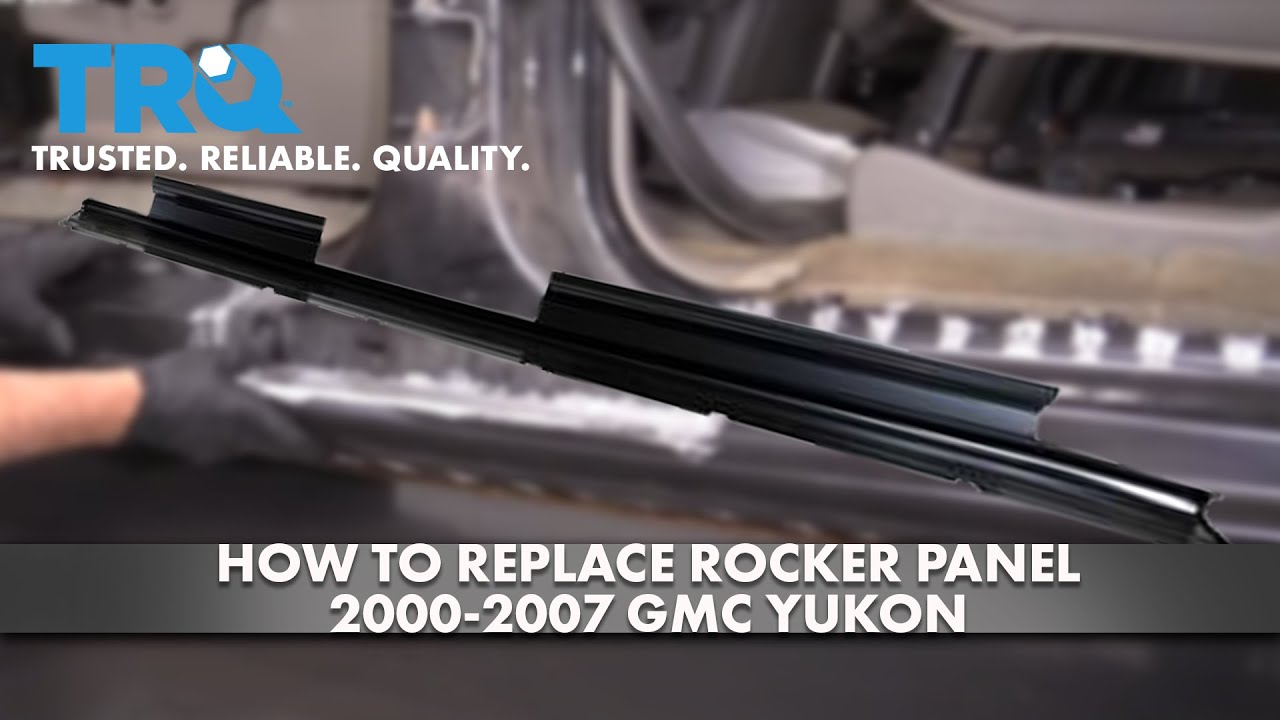
This video shows you how to install a new rocker panel on your 2000-2006 Chevy Tahoe.
Tools needed
-
Hammer
8mm Wrench
Trim Tool Set
Safety Glasses
Welder
Cutoff Wheel
Locking Pliers
Gloves
Welding Helmet
Chisel
Drill
10mm Socket
Marker / Writing Utensil
Disconnect the negative terminal on the battery using an 8-millimeter wrench and then set that aside. We're gonna have to remove both side doors. First, I'm going to disconnect the electrical. Just get a trim tool, get behind here, and then pop this off. And then we have to take these trim pieces off. So, get underneath here, and this just pops straight up. And then slide it out. And we got to pop this trim piece off, and just pull it towards you, these two clips. And take this panel off. Disconnect this connector right here. There's a lock tab, and push down on this other lock tab, and slide that out. And you're gonna follow this wire up, disconnect this connector here. And then there's a connector connected to the fuse box, this black one, push down on the tab and disconnect it. You just push down on that. And then you can fish this through the hole. Just like that. Now, there's three bolts that are holding this on. Take this bolt out, use a 10-millimeter socket, and then there's a bolt on this hinge and a bolt on this hinge. Just try to support the door when you take that one out. Now, this door is pretty heavy, so I'm going to use a floor jack and a piece of wood and just raise this up. And it makes it a little bit easier if you put the window down. So, you're gonna want to do that before you disconnect the battery. And then also have a helper help you out.
Once you get it off, if you raise it up, there's pins that hold it in with the hinge, so you're just trying to get those pins out. There we go. For the back door, everything is similar except for the connectors are a little different. Just pry this cover off. And just use your small screwdriver or trim tool, just pry this out. And then you want to disconnect these connectors right here. Just use a pick or a straight blade screwdriver, just get under the lock, right there. And same with the bottom one. There you go. And then there's three bolts right there. Same 10-millimeter. Take those out, with the door off, just like the front one. There's supposed to be a bolt right here, it should be a 13-millimeter or a 15-millimeter. Take that bolt out. You just want to move this front fender out a little bit. Take these two bolts out. I'm gonna use a 13-millimeter socket. So, I have this, so that it's loose enough that I can put a piece of wood or something underneath here. Just pry it out a little bit. Try not to bend the fender. If you want to, you could go further and take the inner fender well out, take some other bolts out, take the fender off if you want to get more access to that. Now, we're going to take this plastic trim off. Just use a trim tool, get underneath here, and just pry it out. The clips go in like this. There you go. That's how the clips look.
Now, we want to remove the weatherstripping. Just slide this up. We don't have to take it off completely. Just take it off out of the way, just toward the bottom, and then move that trim at the B-pillar, and slide that out of the way. In the back, we have to take this panel off. Just use the trim tool and slide the weatherstrip out of the way as well. Now, I'll just take the new panel and just line it up. And you wanna just take a marker and just trace along the edge where the panel could potentially go. Now, I'm going to take a cut-off wheel and I'm going to trim along the line. I don't want to trim right up to the line. I'm going to trim about a half an inch away from the line because I may have to shift the panel a little bit once it's up there. And if you cut too much, it's harder to add metal afterwards.
As you're grinding, make sure you put something down over the carpet and the seats so you don't catch anything on fire or keep an eye on your sparks. Make sure they're not going into the cab. Now, those are all cut. Now, I need to drill out all these pinch welds right along this, right here. They make special pinch weld drill bits that you can use, or you can start out with a smaller drill bit. Get it started. And you don't want to drill all the way through. Then you get a bigger drill bit. And again, don't try to go all the way through.
And before you break it all the way through, just take a chisel. Just try to go in between the two pieces of metal, and just try to pop it off. Just like that. That's separated. And we're gonna do the same with the other ones. So, I got all those drilled out. And those are the last two. So, I'm just gonna use a chisel, and just take these off. All right. Now, that popped off. Now, underneath, you're gonna have those spot rivets as well. This vehicle is just extremely rusty, and that's why. So, you're gonna have to drill those out all along there. All right. Now, I'm gonna take the old one off. Now, you can take the new one and just get a better idea of where it's going to line up. And I personally would start from the front and just trim away the excess. So, I cut my lines a little bit inward from where I had the original line. So, I'm going to start with the front, and just cut another quarter inch off. So, get that to line up and get it to line up here. And then the same for the back. So, I have this all trimmed out, everything lines up really good. So, at this point, I need to grind some stuff down, and I need to drill holes in this panel, just like this because I don't have a pinch welder. If you had a pinch welder, then you just got to grind down the surface and you use the tool to pinch weld it together. But I don't have one of those, so we're just gonna use a regular MIG welder. So, I need to drill these about an inch and a half apart, similar to what you ground down when you were taking it apart. They don't have to be in the exact same location, they can be off a little bit, it doesn't matter. I'm using about a 5/16 drill bit. And you could start with a smaller drill bit first and just work your way up.
And then about every inch and a half, just drill another one. And now I'm going to take the grinder and anywhere where I'm going to weld near, I'm just going to grind it down. So, even on the edges, right here.
All right. So, this is all prepped, this is all ground down. And this is all ground down. Now, I'm just gonna get this lined up. I'm gonna take some locking pliers, and put that right there. You can make adjustments if you need to. So, this is all lined up good. Now, I'm going to start welding it. I'm going to get a good ground on my welder. And then you got to worry about the carpet a little bit, so I'm just going to use this welding apron. Just put this here just so I don't get any flames in the carpet. And I'll just move that accordingly. And I'm going to start filling in the spot welds one at a time. When I do that, I will move these locking pliers, so I get a better contact. So, I'll do this one and this one, then move the pliers over, and so on. So, that came out pretty good. I'm gonna grind those down a little bit just to make them look a little better. And then I'm going to go along the perimeter of the panel and just do little spot welds one here, one here, like every 2 inches and then just go backfilling it in. If you do a continuous bead, you're going to shrink the metal and it's going to cause waves in the metal. So, you don't want to do that, you want to keep everything cool. So, just do it every couple inches and go back over and just do that a couple times till it's all filled in.
So, this is all welded up. Now, I'm going to take the grinder and just go through and grind this down. If you find any spots where you missed, you can go back with the welder and weld up those spots.
So, this came out really good. That's exactly how you want it to look. And if you wanted to, what your next step could be is take some fiberglass body filler and fill this in, sand it down, smooth it out. If you prefer to just prime it and paint it you could do that. It's probably a better idea to use the filler because that's going to seal it in a little better. But you don't have to make it look too pretty because this is going to cover that. So, just keep that in mind as you're doing some of the filler work. And this will go over there. And so the new panel doesn't have some of these slots, as you can see. So, in those areas, what I prefer to do is just cut these tabs off. You could drill the holes for them and try to get those to line up, but that's going to be a lot of work. So, cut these off and just use double-sided tape on the back of it. In these areas, these are fine. So, those will still go in. But don't worry about these ones, just cut these off.
Okay. So, I just spray painted that real quick. And I'm going to leave those clips in there. I'm going to cut these ones out, just use some side cutters, cut those off. And then you can put some double-sided tape in those areas where the clips are not going to be, and just line this back up. Oops. And push it on. It's important to do this before you put this back door on because it won't go with the back door on. Now, we can reinstall the weather stripping. Just keep that lined up. If you took any of these bolts out of the fender, put those back. There, right there, and then also down below, and then tighten them down. All right. Now, we're gonna put the doors on. Now, that looks good. And there we go. Now, we can put the bolts in. Get those two started, and tighten them down. Get the door checked on, just line that up. Start that bolt, and tighten that one down. And connect the electrical connectors, put this rubber grommet on, and take this and push that right in place, lock it in. And when that is secure and you're good, now you're gonna do the same with the front door. And feed the wires up through here and plug this into the fuse box, right there. And there's another plug right here, connect those together. And then also the connector right here, it's gonna go down, and plug in right down here. Now, we can put all the trim pieces back on. That goes right there, and this one goes right here. Fuse box cover, and this last trim piece. There we go.

How to Replace Cab Corner 2001-2006 Chevrolet Silverado 2500
This video shows you how to install a cab corner on your 2001-2006 Chevrolet Silverado 2500.
