How to Replace Serpentine Belt 2000-06 Chevy Suburban
Created on: 2014-06-04
Check out this video to learn how to replace the serpentine belt on your 00-06 Chevy Suburban. 1A Auto shows you how with step by step instructions.
-
step 1 :Removing the Air Intake Hose
- Loosen the air intake hose clamps with a flat blade screwdriver
- Pry the clip on the smaller hose out
- Pull the intake hose off the air intake box
- Pull the intake hose off the engine
- Lift the intake hose up and out
-
step 2 :Removing the Radiator Fan Shroud
- Remove the two 10mm bolts from the radiator fan shroud
- Pry the radiator hose off the fan shroud clip
- Remove the four plastic clips from the fan shroud with a flat blade screwdriver
- Pull the radiator hose aside as you pull out the fan shroud
-
step 3 :Removing the Serpentine Belt
- Attach a 15mm socket and ratchet to the serpentine belt tensioner
- Pull the tensioner down to loosen the belt
- Pull the belt from the pulleys
- Slowly release the tensioner
- Pull the belt off and out
-
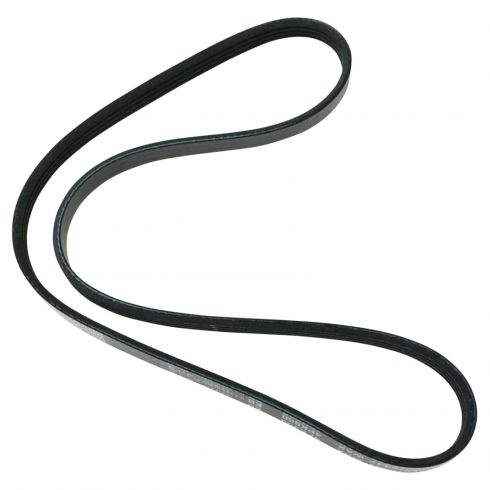
step 4 :Installing the New Serpentine Belt
- Familiarize yourself with the belt routing diagram
- Route the belt onto the pulleys, following the diagram
- Leave the belt off of one pulley
- Attach a 15mm socket and ratchet to the serpentine belt tensioner
- Pull the tensioner down to loosen the belt
- Pull the belt onto the remaining pulley
- Slowly release the tensioner
-
step 5 :Reinstalling the Fan Shroud
- Push the shroud into place
- Insert the four plastic clips into the fan shroud
- Push the radiator hose onto the fan shroud clip
- Insert the two 10mm bolts into the fan shroud
-
step 6 :Reinstalling the Air Intake Hose
- Push the intake hose onto the air intake box
- Push the intake hose onto the engine
- Tighten the hose clamps with a flat blade screwdriver
- Reclip the smaller hose to the air intake hose
Tools needed
-
Flat Blade Screwdriver
15mm Socket
10mm Socket
Ratchet
Brought to you by 1AAuto.com, your source for quality replacement parts and the best service on the Internet.
Hi, I'm Don from 1A Auto. I hope this how-to video helps you out, and next time you need parts for your vehicle, think of 1AAuto.com. Thanks.
In this video, we're going to show you have to replace the serpentine belt on this 2002 Chevy Suburban with the 5.3 liter V8 engine and the 130 amp alternator. The items you'll need for this are a new serpentine belt from 1AAuto.com, a 10 and 15mm socket and ratchet and a flat blade screwdriver.
Start off by loosening these two hose clamps, using a flat blade screwdriver. We'll just fast forward as Don does this. Now, just pry this clip out and then pull the hose back. You may need a flat blade screwdriver to help you pry it free. Then, pull forward and lift it up and out.
Next, remove these two 10 millimeter bolts. We'll fast forward as Don does that. Then, pry the clip on this hose out of the fan shroud. Then, remove these four clips around your shroud. To remove these clips, you just pry up the center and then pull the clip out. We will fast forward as Don does this to the other three. Now, just pull that hose back and lift the shroud straight up and out.
Right here is your tensioner. Just put the 15 millimeter socket and ratchet on it and push down on the ratchet. This will release the tension on the belt and you can pull the belt from the pulleys. You want to just reach down and pull it off all the pulleys and the belt will be free and you can just pull it up and out.
Now, located on the front of your truck, you will see this serpentine belt diagram. You want to follow this when you're putting your belt back on. Really, it's hard to show us doing it. So, you're going to have to refer to that but it's pretty simple to follow. Everything is where it needs to be. You can see he starts with the lower pulleys. He just starts feeding the belt down around each of them, following that diagram. We'll fast forward as he does the majority of this. Once you've got it on all but one pulley, push back down on the tensioner and double check. Make sure your belt's on all the pulleys properly and not just half on some of them. Then just get it in to position and then carefully release the tension on the tensioner and pull the ratchet free.
Now to replace the shroud, just push it back down in to place and then replace those four clips. Just push them back down in to place and push the center down to lock them. Push the hose back in to place and then replace those two 10 millimeter bolts.
Take the air intake hose and push it back down in to place on to the air intake box and then on to the engine. Then just tighten up those two hose clamps and just re-clip that hose to the air intake hose and you're all set.
We hope this video helps you out. Brought to you by www.1AAuto.com, your source for quality replacement parts and the best service on the Internet. Please feel free to call us toll-free, 888-844-3393. We're the company that's here for you on the Internet and in person.


How To Replace AC Compressor Serpentine Belt 2005-10 2-5L VW Jetta
How to repair, install, fix, change or replace a broken, noisy, squeaky, worn or groaning AC compressor serpentine belt on 05, 06, 07, 08, 09, 10 Volkswagen Jetta.
