How to Replace Shock Absorber 1982-2004 Chevy S10 Pickup
Created on: 2010-02-13
Check out this video to learn how to replace the sagging or clunking rear shock absorber in your 82-04 Chevy S10 pickup.
-
step 1 :Un-install the old shock
- Apply penetrating oil to all the mounting bolts.
- Use a lift to alleviate some tension from the rear end on the shocks.
- Use a 13/16 inch wrench or socket and ratchet to remove the nuts on the shock.
- Remove the two half inch bolts at the top.
- Remove the shock.
-
step 2 :install the new shock
- Mount the shock with the half inch bolts.
- Secure the bottom of the shock with the 13/16 inch nut.
Tools needed
-
Socket Extensions
13/16 Inch Socket
Jack Stands
Ratchet
Floor Jack
1/2 Inch Socket
Brought to you by www.1AAuto.com. Your source for quality replacement parts and the best service on the internet.
Hi I am Mike Green. I am one of the owners of 1A Auto. I want to help you save time and money repairing or maintaining your vehicle. I am going to use my 20 plus years experience restoring and repairing cars and trucks like this, to show you the correct way to install parts from 1aauto.com. The right parts installed correctly; that's going to save you time and money. Thank you and enjoy the video.
In this video we will replace the rear shocks on a 2001 S10 pickup. Rear shock replacement, this is basically the same as any car that has a live rear axle; trucks, cars, anything. It's pretty easy. You will need a jack and jack stands or a lift. A 13/16in wrench or socket and driver, and a 1/2in socket extension and driver. You do need a socket extension to reach up in there. For other cars, probably the same tools but maybe different sizes.
We start out by just spraying some penetrating oil on all the different bolts. There are the top ones. I am going to reach up in there and spray on top of them so it kind of cascades down onto the bolts themselves. Then I am going to spray the lower bolt right here. Here I am putting a lift underneath the rear end; just lift it up a little bit. If you got a jack and jacks stands, secure the car with the jack stands and then put the jack underneath there. Here, using the 13/16in wrench, just always pull down; it's the easiest way to pull. Pull down to loosen it up. You'd go a certain amount of distance with the wrench and then over to your hands, take it off and put it in your magnetic tray to keep it safe for later.
I am just kind of pulling to loosen the shock, get it off the stud a little bit. The top ones, these are 1/2 in bolts. You notice I got an air ratchet but I'm going to just do it by hand first and then kick in the air ratchet afterwards. I don't pull one all the way out. I go over to the other one and loosen it up first and take it all the way out. I put it on my handy 1A Auto magnetic tray for safekeeping and go and get the other one. That one too, put on to my magnetic tray for safekeeping. Then change angles and now you just pull the top down and pull the bottom off.
Now you can see this is the old one and I just push it down with my thumb, no problem. The new one pushes down hard, and then like a good gas shock, it comes back up. See I can't press it down with my thumb. I got to use quite a bit more force. That's how it should be. Take the shipping wrapper off. That's how a good gas shock should work.
On the new shocks they have ears, so you can put one of the bolts back up in. Here I have a little trouble with the outside one so I end up putting the inside one on and then removing the outside one. You will see why I do this in a second. Don't put them on all the way; just put them in three or four turns. You can put the replacement shock up in there. As you can see it has open ears. You can put it right around the bolt, and then I push up and put the bottom on the mount down there. Just push in. Then I put my second bolt up in there. Now I can tighten it up with my air ratchet.
With the air ratchet tighten one some, get it in place, and then I'll tighten up the other one. You'll notice if you listen to the air ratchet I stop it and then I do the final tightening by hand. Never want to tighten things with an air tool. You always want to do it by hand so you can feel how tight you are getting them. You don't want to make the mistake of not tightening it up enough or tightening it up too much and possibly breaking it, losing use of whatever you are doing.
The bottom put on by hand. I could use an air ratchet to make this a little quicker but this bolt goes on pretty quick so I'll make you suffer through it. A few more turns and give it a good pull. Pulling down, the best way to pull on something big like that. It's in place. We will let the jack down and it's pretty much all done. Let the truck back down onto the ground and it's all set. Take it for a little test drive.
We hope this helps you out. This video is brought to you by www.1AAuto.com. Your source for quality replacement parts and the best service on the internet. Call us toll free 888-844-3393. We're the company that is here for you on the internet and in person.
Shop Products


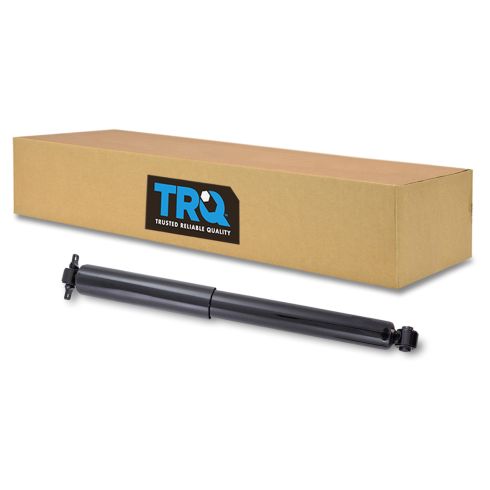
Chevrolet GMC Olds Isuzu Rear Shock Absorber TRQ SBA60573
Part Details:
- Improved ride comfort and longer life
- No
- 2.01 in
- Loop (Eyelet) Bushing and Sleeve
- Yes
- 9.45 in
- 24.02 in
- Metal
- T-Bar
- Yes
- 14.57 in

How to Replace Shock Absorbers 2007-16 Chevy Silverado
You can learn how to change the rear shocks on your 07-13 Chevy Silverado or GMC Sierra. Watch this video where 1A Auto experts show you step by step!
