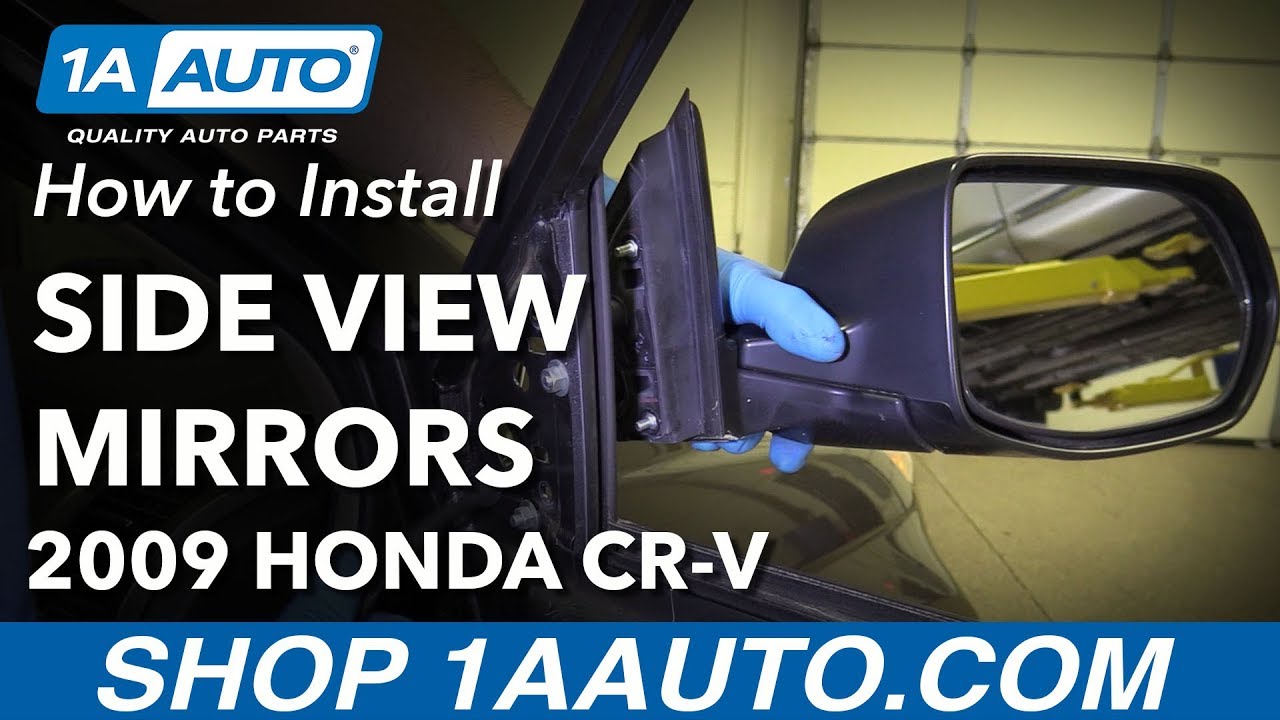
How to Replace Side View Mirrors 2007-11 Honda CR-V
Created on: 2018-07-19
How to repair, install, fix, change or replace a broken, smashed, cracked, or shattered side view mirror on 07, 08, 09, 10, 11 Honda CR-V
-
step 1 :Removing the Door Panel
- Pry off the mirror base trim piece with a flat blade screwdriver
- Pull off any remaining clips with needle nose pliers
- Reinstall the clips into the mirror trim
- Pry off the trim piece inside the door handle with a flat blade screwdriver
- Remove the two Phillips head screws inside the door handle
- Pry off the trim piece inside the door pull with a flat blade screwdriver
- Remove the Phillips head screw inside the door pull
- Pry off the panel at the top of the door pull with a flat blade screwdriver
- Remove the Phillips screw from the top of the door pull
- Pry off the panel at the bottom of the door pull with a flat blade screwdriver
- Remove the Phillips screw from the bottom of the door pull
- Pry out the door panel with a trim tool
- Lift the door panel up and off the door
- Pry the door handle assembly out of the back of the panel with a trim tool
- Unplug the electrical connector from the window switch
-
step 2 :Removing the Mirror
- Disconnect the mirror electrical connector
- Remove the three 8mm nuts from the mirror base
- Pull the mirror off the door, feeding the wire through the door
-
step 3 :Installing the Mirror
- Feed the wiring harness through the door
- Line up the mirror on the door
- Fasten the three 8mm nuts onto the mirror base
- Connect the mirror electrical connector
-
step 4 :Installing the Door Panel
- Pry any remaining clips out of the door
- Push the clips into the door panel
- Plug in the window switch electrical connector
- Clip the inner door handle into the panel
- Lift the door panel into place
- Push in the door panel clips
- Install the two Phillips screws inside the door handle
- Push on the trim piece inside the door handle
- Install the Phillips screw into the top of the door pull
- Push on the panel at the top of the door pull
- Install the Phillips screw into the bottom of the door pull
- Push on the panel at the bottom of the door pull
- Push on the trim piece inside the door pull
- Install the Phillips head screw inside the door pull
- Push on the mirror base trim piece
Tools needed
-
Socket Extensions
Flat Blade Screwdriver
Phillips Head Screwdriver
8mm Socket
Ratchet
Needle nose pliers
Trim Tool Set
Hi. I'm Mike from 1AAuto. We've been selling auto parts for over 30 years!
We're going to remove this trim panel right here using a trim tool. We sell these at 1AAuto.com. Just get in behind here. Pry this out, there's some clips, this one happened to stay in there, there's the other one. I'm going to take this clip out before it gets lost, just use some needle-nose pliers. Then we can reinstall it on here; just push it on. I'm just going to push it on this bench, push it down just like that.
Next is the cover right here. I'm going to take a flat-blade screwdriver and just pop this cover off. There's two Phillips head screws right there. Take those out with a Phillips head screwdriver. Pull the handle out of your way a little bit. Get this screw out as well. Over here there's a little cover, under here just get your screwdriver under the cover, peel it up. It's just rubber. Another Phillips head screw. Take this one out. Over here there's a little cover. Take your flat-blade screwdriver and pry underneath it, pull it out of your way. If you look up in there, there's a Phillips head screw. Take this one out. Under here, there's one more cover. Take this one off. There's a Philips head screw right here. Take this one off.
I'm going to use a trim tool and go underneath here, and just pop off the door panel and go all the way around, popping the door pins. Just like that. Once this is all loose, you can lift up on the door panel, pull it back.
I'm going to pop this inner door handle assembly in. I'll just take my trim tool and grab under here. There's some clips that hold it in. Just pop and up like this. Just like that. That can stay like that for now.
I just spun the door panel so we can see this electrical connector. There is a little tab on here, right there, so we push down on that and release the connector.
We'll disconnect this electrical connector right here. I'm going to push down on that tab and pull it out just like that. Then we're going to remove these three nuts. They're eight millimeter nuts. I'm going to use an eight-millimeter socket and extension and a ratchet. When I remove this last nut, I'm going to hold the mirror from the outside so it doesn't fall. This little nub right here with the screw on it would actually hold the mirror from falling, but it's always good to hold it just in case it does fall. You're going to push that through like that, feed the wire through, and there's the mirror.
We're going to install this mirror. Take the wiring harness. You're going to run in through that bigger hole there. Then you're going to line this up. Push it through just like that. While you're holding it, you can put this nut on. Once you get the nut threaded on, then it's safe to let go. Put these other nuts on. Then we'll take a socket, extension, and ratchet and just snug these up, not too tight. You don't want to over-tighten it, just snug like that. Now we can plug the electrical connector back in.
Sometimes you'll have one of these clips stay in the door, and we need to put it back in the door panel. We have this clip remover tool, you can get these at 1AAuto.com. You slide it on all the way, and then you just pop it out.
All right, we'll reinstall this clip. Slide it in here and just push it on like that. Reattach our master window switch electrical connector. Just plug it in the back here until it locks in place.
Now we'll take the inner door handle, we're going to line it up with the inside of the panel. Just like this.
Once that's on, slide the top part of the door panel in first into the window channel just like that. We'll make sure our door panel's lined up with our pins. It's lined up. Then we can start pushing it on.
Reinstall these two screws here. Install the screw right here. Tighten that down. I'm going to push this cover on. Install the screw right here. Now we'll pop this cover on.
Then install the screw right here. Then we can pop this cover on this way, just like that. And then this little one goes right here, gets locked in right there. Then line these retainers up and lock it in.
Thanks for watching. Visit us at 1AAuto.com for quality auto parts, fast and free shipping, and the best customer service in the industry.
Shop Products

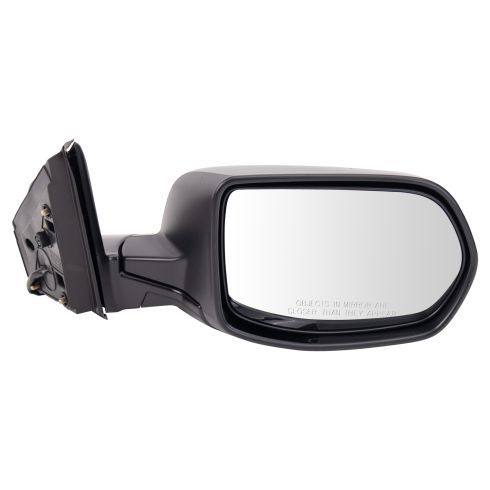
Honda CR-V Passenger Side Mirror TRQ MRA05791
Part Details:
- Paint to Match
- Electric
- No
- No
- Clear
- No
- Textured
- Curved
- Plastic
- Yes
- 3
- Black
- No
- No
- No
- No
- No
- No
- No
- No
- Manual
- No
- No
- No
- Black
- Textured
- No
- 3
- 11.22 in
- No

How to Replace Mirror 1998-2004 GMC Sonoma
How to repair, install, fix, change or replace a broken, smashed, cracked, or shattered rear side view mirror on GMC Sonoma, years 99, 00, 01, 02, 03, and 04.


