
How to Replace Side View Mirrors 2010-15 Chevy Equinox
Created on: 2018-08-22
How to repair, install, fix, change or replace a broken, smashed, cracked, or shattered side view mirroron 10, 11, 12, 13, 14, 15 Chevy Equinox
-
step 1 :Removing the Door Panel
- Pop off the door handle trim with a flat blade screwdriver
- Remove the trim behind the door pull with a flat blade screwdriver
- Remove the two 8mm bolts from behind the door pull
- Remove the 7mm bolt from behind the door handle
- Pry out the door panel with a door panel clip tool
- Disconnect the electrical harness
- Remove the door handle cable
- Disconnect the automatic door lock switch
- Lift the door panel up and off
-
step 2 :Removing the Side View Mirror
- Remove the push pin from the end of the door frame trim
- Pry off the door frame trim
- Unclip the wire from the door
- Disconnect the wiring harness
- Remove the 10mm nuts from the mirror
- Remove the mirror
-
step 3 :Installing the Side View Mirror
- Insert the mirror into place
- Tighten the 10mm nuts to the mirror
- Connect the wiring harness
- Clip the wire to the door
- Press the door frame trim on
- Press the push pin into the door
-
step 4 :Reinstalling the Door Panel
- Connect the two wiring harnesses
- Connect the door handle cable
- Lift the door panel into place
- Push in the door panel clips
- Tighten the 7mm bolt behind the door handle
- Tighten the 8mm bolts behind the door pull
- Press the trim piece on behind the door pull
- Press the trim piece on behind the door handle
Tools needed
-
Socket Extensions
Flat Blade Screwdriver
8mm Socket
7mm Socket
10mm Socket
Ratchet
Trim Tool Set
Hi, I’m Mike from 1A Auto. We’ve been selling auto parts for over 30 years!
Hi guys, it's Sue from 1A Auto. Today we're working on this 2012 Chevy Equinox where we have multiple listings for parts of this vehicle. Why don't you go to the webpage and check out what we have for your car at 1aauto.com?
To remove this driver's side panel, you want to hold the inner handle open and look down the corner. There’s a little slot where you can put a small screwdriver like this, pocket screwdriver, pop it and out it will come. There's one mounting screw. And the other section's down here, under the handle. This one is trickier for the angle. We have two: eight-millimeter-head socket head down below and one seven-millimeter socket head by the inner handle.
Now you're going to take a door panel clip tool and locate it around the edge here. You'll feel the clips. Pry, and it will pop open. They go all the way up around. Lift it straight up. Now you're going to need to disconnect the electrical harness by pinching this and pulling up on the blue. Relatch. We're going to disconnect the cable off the inner door handle. You do that by pulling and sliding right through the eyelet.
Now we have to remove the automatic door lock switch. Just light pry on one side. Pry on the other. Once the door panel is off. To remove the driver's mirror, you now are going to remove the window trim. That's pretty easy access. It just pops open. One little clip here. Nice panel clip. Should be two locks for the wiring on it. Then to unclip it, push down on that tab and pull. Four 10-millimeter-head socket bolts. Be careful, I would not take them all out until you can grab a good grip of that mirror. And there you have your driver's side mirror.
So on this 2012 Equinox, 1aauto.com carries the glass mirror replacement by itself, or the whole assembly. To reassemble, reverse procedure. Fish the wire through the main hole. Line up the guide pin and push it through. Hold it and start your bolts. Take a note on this particular mirror on this 2012 Equinox. There are three mounting bolts that are identical same, and one with a washer. The washer one goes on the top. We clip in until you hear the snap. Locate the mounting hole. Push back in. So now I'm going to install the window trim. So when installing the window trim, start at the base here and make sure that the plastic goes inside this channel and work your way up. Then reinstall the plastic push-pin.
Now we're going to reinstall the driver's door panel. First thing I'm going to do is guide the power lock switch back through. Let's not put it in upside down. No one will be happy about that one. So guide it in, we'll clip her in. The factory harness click right on that ear, then I'm going to put in the main harness. Slide it right in. Pull the blue tab down. Once it's guided, walk it. Then we're going to install the handle cable and you can notice the slot right there. That's where this ball of the cable's going to go in first. So we're going to guide it in like that. Pull it around. Goes right into the lock.
Here we have the manual door lock. We’ll push it down. Guide it right into that hole. I like to re-pull it back up because I haven't locked myself out yet. Crazy things have happened. Bring the plastic up to the top of the window guide. Push down firmly. And you'll see all the guide pins are lined up. Give it a good hit.
So now I'm going to reattach my two mounting bolt screws down here. This is an eight-millimeter head socket. Now I'm going to put in the door handle screw before I tighten the bottom. This is now a seven-millimeter socket. Then I'm going to go ahead and start snugging them all down.
Now I can reinstall the plastic covers. I'm going to do the handle one first. You see the cutout? That is the way to remove it and the back clips. They're just straight push-ons, no angle. Line it up. Clip it in. The bottom one, the key way to take it out goes on the bottom. Then you'll see a slotted upward clip on the top, so up and clip in.
Thanks for watching. Visit us at 1AAuto.com for quality auto parts, fast and free shipping, and the best customer service in the industry.
Shop Products


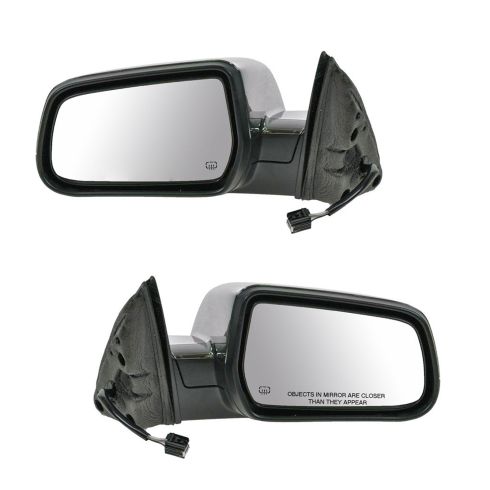
2015-17 GMC Terrain Driver & Passenger Side 2 Piece Power Without Memory Chrome Mirror Set TRQ MRA04760
Part Details:
- Chrome
- 2 Piece
- (1) Passenger Side Mirror
- (1) Driver Side Mirror
- Yes
- Electric
- 5
- 3
- No
- Black
- No
- No
- No
- Manual
- No
- Textured
- Plastic
- No
- No
- Without Memory
- Chrome
- No
- Smooth

How to Replace Mirror 1997-99 Toyota 4Runner
If the side view mirror is broken, this video shows what the steps are to replace it
