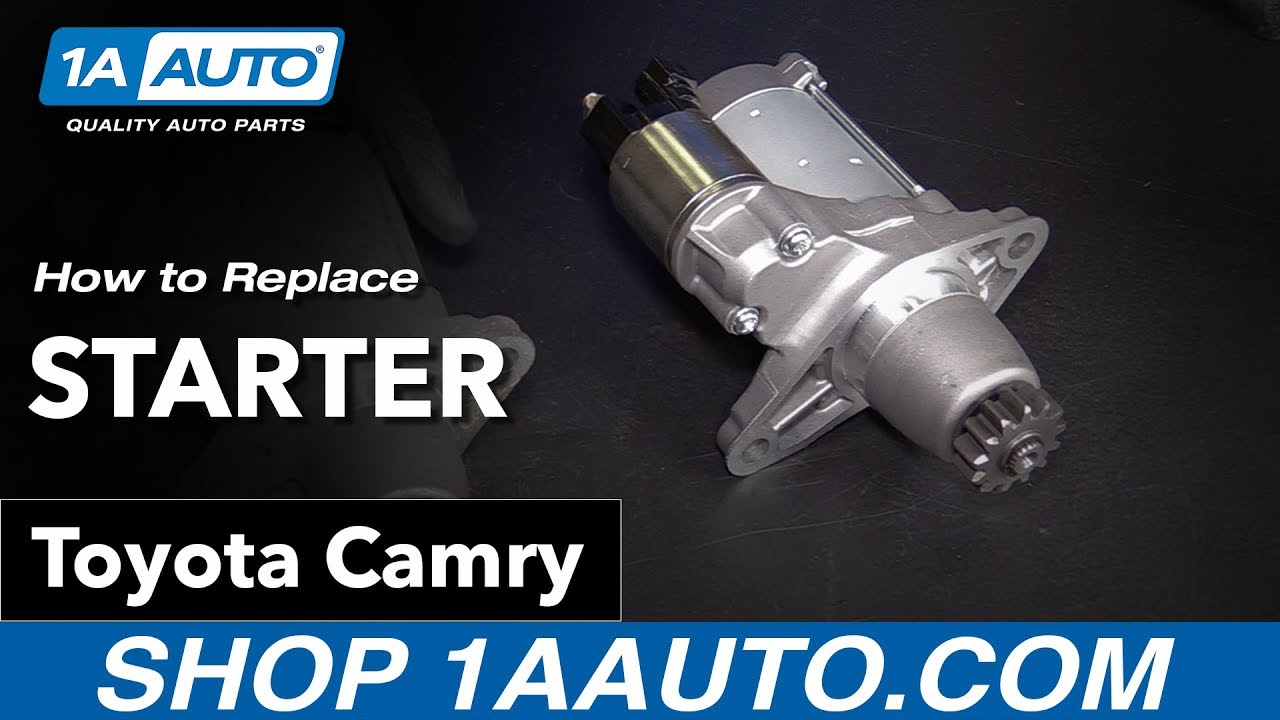
How to Replace Starter 2006-11 Toyota Camry
Created on: 2017-10-09
New Starter from 1AAuto.com How to repair, install, fix, change or replace a broken, damaged, worn or faulty ignition starter switch on 09 Toyota Camry
-
step 1 :Disconnecting the Battery
- Loosen the negative battery terminal with a 10mm wrench
- Remove the negative battery terminal from the negative battery post
-
step 2 :Removing the Air Intake
- Remove the two 10mm bolts from the air intake
- Lift the intake duct up and out
-
step 3 :Removing the Starter
- Disconnect the starter electrical connector
- Remove the 12mm nut from the starter power cable
- Disconnect the power cable from the starter
- Loosen the 14mm bolt at the rear of the starter
- Loosen the 14mm bolt at the front of the starter
- Remove the two 14mm bolts
- Pull the starter off of the transmission and out of the engine bay
-
step 4 :Installing the Starter
- Line up the starter on the transmission
- Start the 14mm bolt at the front of the starter by hand
- Start the 14mm bolt at the rear of the starter with a socket and extension
- Torque the two 14mm bolts to 28 foot-pounds
- Remove the 12mm nut from the starter stud by hand
- Connect the power cable to the starter
- Fasten the power cable nut to the starter stud with a 12mm socket and ratchet
- Push the rubber cap onto the power cable
- Connect the starter electrical connector
-
step 5 :Installing the Air Intake
- Connect the intake duct to the air box
- Fasten the two 10mm bolts that hold the air duct to the radiator support
-
step 6 :Connecting the Battery
- Connect the negative battery terminal to the negative battery post
- Tighten the 10mm nut on the battery terminal
Tools needed
-
12mm Socket
Socket Extensions
Torque Wrench
14mm Socket
10mm Socket
Ratchet
Hi. I'm Mike from 1AAuto. We've been selling auto parts for over 30 years!
Disconnect the negative battery terminal. This is a 10 millimeter nut.
Remove the intake air duct from the radiator support. These are 10 millimeter bolts. These removed, the duct should lift right out. Place that aside.
Before we can unbolt the starter from the transmission, we have to disconnect the electrical connector here, and the electrical, the main power cable here. I’m just going to put that back, push in on the lock. Sometimes you push it in first and then work it out. You might need to use two fingers. Put that plug aside.
Just take this nut off of the starter to remove the power cable. It's a 12 millimeter. Slide the cable right off. With the cables removed, I can sneak a 14 millimeter socket and extension in behind the starter. We'll reach this rear-most bolt. There's two bolts, this will be the rear one. Steady it with one hand and break it free with this one. I've got the rear one loose, so now I'm going to loosen this front one. It's loose enough that I'm just going to pull it out with my fingers. Take the socket and my extension, reach in here. I'll just turn it loose with my fingertips. Snake the bolt out here. With the bolts removed, the starter should pull from the transmission. Pull it right out of the engine bay.
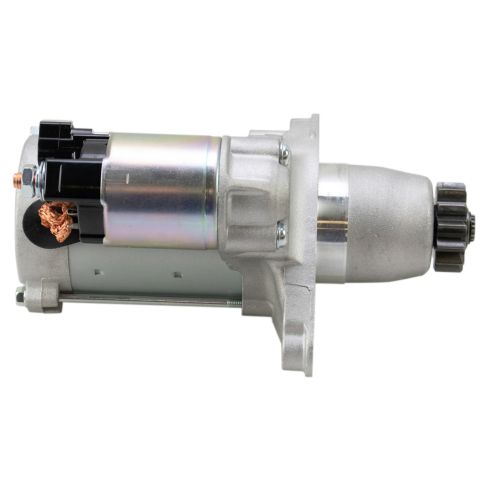
Here's our old starter from our vehicle, and our brand new one from 1AAuto.com. It's no core on this. It is brand new. See they're identical in design. It has the electrical connector here and the same size stud and nut here for the main power cable. So this should fit and get your car started again.
Feed our new starter into the engine compartment back into the transmission. Go under the shift cable, push a little bit farther back. Get this front bolt caught. This one's pretty easy to thread in, so I'm just going to thread it by hand all the way down. The rear bolt's a little trickier to get to, so I'm going to put it in the end of the socket with the extension and then just sort of carefully feed it down in here. Get it over this without dropping it. Get it in place. Just use my fingers to thread it in.
Torque the starter bolts 28 foot-pounds. I’ve got the extension and socket already in there. Just sliding in the torque wrench.
To reinstall the main power cable, the nut is on here from the factory, so we have to take off this nut and washer. Place the cable back over so those little metal tabs kind of lock in place over the square part. Push this rubber cap out of the way. 12 millimeter socket, tighten this nut up. Don't over-tighten it, because you can break the stud off here. So just bring it down. Feel like it tight. Reinstall that rubber cap. That prevents that cable that gets direct battery power from grounding out. Reinstall the electrical connector.
Reinstall your intake tube, sliding it back on to the air box, lining up the holes on the radiator support. Reinstalling the bolts. these are just bolts holding plastic into the sheet metal of the radiator support, so once you feel them get tight, just stop.
Reconnect the negative terminal. Starter installation's complete.
Thanks for watching. Visit us at 1AAuto.com for quality auto parts, fast and free shipping, and the best customer service in the industry.
Shop Products

Toyota Lexus Pontiac Scion Starter TRQ STA03075
Part Details:
- 13
- 1.5 KW
- 12 VDC
- DENSO
- No
- 7.875:1
- Counterclockwise (Left)
- No
- Aluminum
- Yes
- Offset Gear Reduction
- No

How to Replace Direct Drive Starter 1982-91 GMC Jimmy Full Size
Watch this video to learn how to fix a car that won’t start. The experts at 1A Auto show you how to replace the starter on your 83-91 Chevy Blazer or GMC Jimmy.
