
How to Replace Tail Light 1993-97 Ford Ranger
Created on: 2011-10-14
If you have a bad tail light on your 93-97 Ford Ranger, watch this video to see how easy it is to fix yourself! 1A Auto will show you how to do it.
-
step 1 :Removing the Taillight
- Remove the four Phillips head screws from the taillight
- Pull out the taillight
-
step 2 :Servicing the Taillight Bulbs
- Twist the bulb sockets counterclockwise and out
- Pull the bulbs out of the sockets
- Push the new bulbs into the sockets
-
step 3 :Installing the New Taillight
- Twist the bulb sockets clockwise into the new taillight, from bottom to top
- Push the new taillight into place
- Insert the four Phillips screws into the taillight
Brought to you by 1AAuto.com, your source for quality replacement parts and the best service on the Internet.
Hi, I'm Mike from 1A Auto. I hope this how-to video helps you out, and next time you need parts for your vehicle, think of 1AAuto.com. Thanks.
In this video, we're going to show you how to service the tail light on this '96 Ranger, same as a '93 to '97. We're going to show you both replacing the whole assembly, and just changing the bulbs as well, and the only tool you'll need is a Phillips screwdriver.
To replace one of these tail lights on a Ranger, there are four screws. You can see there are two Phillips screws out here, and then also two Phillips screws right in here. I'll speed up as we just remove those two screws from the outboard side of the tail light. Sometimes these inside screws can be a little sticky so you want to make sure you can get some good leverage on the screw driver. Once those are out, the light comes right out.
If you're just looking to change bulbs, all these just turn counterclockwise. The bulb comes straight out of the socket, and back in.
Here's the original and a new one from 1A Auto. Obviously, my original is in pretty good shape, but maybe you backed into something and broke a tail light, or something like that. The new one from 1A Auto is going to go in, just the same as the original one. Push them in. Lock them in clockwise. It's better to do the bottom one first, push it in, and lock it in. Take the middle one. I'm just going to make sure we get all the right ones here lined up correctly. Push it in, lock it in clockwise, put the light into place, and start my two inside ones, first. Now, on these outer ones, you can see right here is the clip where it goes into, so you can put your screw in, and make sure the screw goes into that clip. Start the top one a little bit, and make sure that bottom one goes in. Speed it up here. You want to be careful not to tighten these screws up too much because you could crack your tail light lens.
We hope this video helps you out. Brought to you by www.1AAuto.com, your source for quality replacement parts and the best service on the Internet. Please feel free to call us toll-free, 888-844-3393. We're the company that's here for you on the Internet and in person.
Shop Products


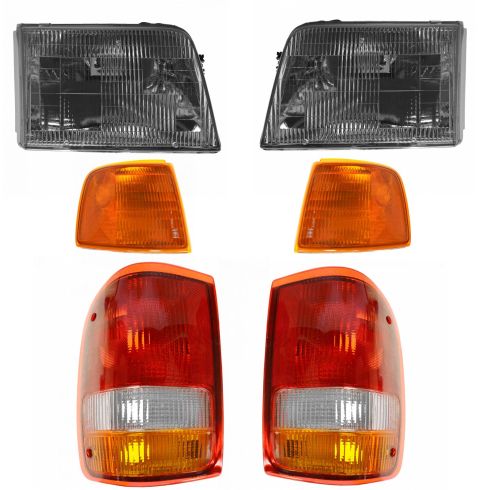
1993-97 Ford Ranger Front & Rear 6 Piece Lighting Kit DIY Solutions LHT10016
Part Details:
- Features and Benefits
- (2) Tail Lights
- (2) Corner Lights
- 6 Piece
- (2) Headlight Assemblies

How to Replace Taillight Bulbs 2007-14 Toyota FJ Cruiser
Check out this video from 1A Auto to learn how to replace the bulbs in the tail light assembly on your 07-14 Toyota FJ Cruiser!
