
How to Replace Tail Light 1998-2002 Toyota Corolla
Created on: 2011-09-23
Need to replace the tail light housing or the tail light bulbs? Check out this video and the 1A Auto experts will show you how to replace them
-
step 1 :Changing a Bulb
- Pry out the upper plug on the panel.
- Turn the Phillips plug out.
- Pull back the insulation.
- Twist the socket out.
- Pull the bulb out.
- Put the new bulb in and twist the socket into place.
-
step 2 :Removing the Taillight Assembly
- Remove the three 10mm nuts from the back of the taillight assembly.
- Pull the taillight out and off.
- Disconnect the harness.
-
step 3 :Replacing the Taillight Assembly
- Reconnect the harness.
- Line up the taillight and press it into place.
- Replace the three 10mm nuts.
- Replace the insulation.
- Replace the two plugs.
Tools needed
-
Phillips Head Screwdriver
10mm Socket
Ratchet
Brought to you by 1AAuto.com, your source for quality replacement parts and the best service on the internet.
In this video we're going to show you taillight replacement, both replacing the bulbs or the entire assembly itself if you broken it backing into something or something like that. The only tools you need are a Phillips screwdriver and a 10mm wrench or socket and ratchet.
Taillights, you know, you wiped out backing into something or whatnot. Okay, on this car, somebody had this apart be before. What you encounter is this little plug, you just pry that out with a screwdriver. Then down low, there's a little Phillips kind of screw plug. Once you take those out, you can just kind of pull that right out. If you're just looking to change the bulbs, you can get your hands in here usually, you want to turn them counterclockwise and pull out, and the bulbs pull right out of the socket. Push right back in. Okay, now there's three 10mm bolts. One, two, and then the 3rd one, right over here. Okay, you can use a 10mm or even an adjustable wrench. Just loosen up the nuts, they came right off.
Once those are off, you kind of break the seal, usually stuck pretty well. Pull it out. Okay, there's a connector right here, push down on the little tab. Disconnect the connector. Okay, a new light from 1A Auto, plugs right in. You start the outside one first and push it in. There's a gasket on it so you'll have to just slowly tight it up. From here, just put those three 10mm nuts back on. Tighten them up with your wrench or socket and ratchet. You want to make them firm but don't over tighten them. Okay, now take your panel, you need to put it underneath. Lift up your carpet, slide the panel underneath, put it back in place, and put your fasteners back on.
We hope this helps you out. Brought to you by www.1AAuto.com, your source for quality replacement parts and the best service on the internet. Please feel free to call us toll-free, 888-844-3393. We're the company that's here for you on the internet and in person.
Shop Products


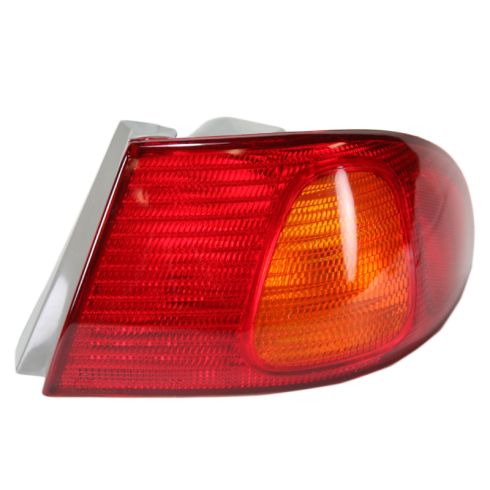
1998-02 Toyota Corolla Passenger Side Outer Tail Light DIY Solutions LHT05863
Part Details:
- Features and Benefits

How to Replace Tail Light 2001-05 Honda Civic
How to install, repair, fix, change or replace a broken, damaged, burned out, cracked, faded, cloudy or chipped tail light / brake light on 01, 02, 03, 04, 05 Honda Civic
