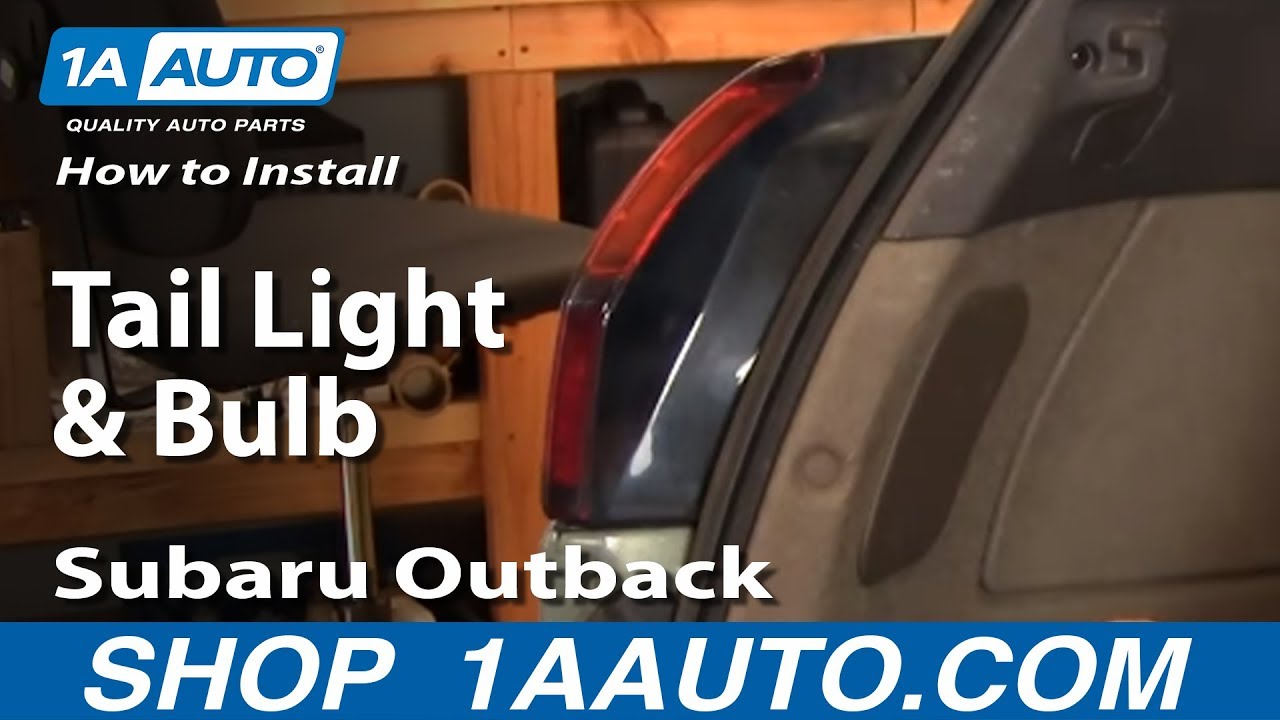
How To Replace Tail Light 2000-04 Subaru Outback
Created on: 2012-09-04
Check out this video for quality and detailed instructions on how to replace or service the tail light and bulbs on your 00-04 Subaru Outback.
-
step 1 :Removing the Tail Light
- Remove the trim panel behind the tail light with a flat blade screwdriver
- Remove the 8mm nut from the tail light
- Pry off the smaller upper trim panel with a flat blade screwdriver
- Remove the 8mm nut from the tail light
- Pull the tail light out
- Disconnect the tail light wiring harness
-
step 2 :Replacing the Tail Light Bulbs
- Turn the base of the bulbs counterclockwise
- Remove the old bulbs
- Insert the new bulbs
- Turn the base of the new bulbs clockwise
-
step 3 :Installing the New Tail Light
- Reconnect the wiring harness to the tail light
- Line up the bolt holes on the tail light bracket to the bolt holes on the vehicle
- Replace the 8mm bolts into the tail light
- Push on the two trim pieces
Tools needed
-
Socket Extensions
Flat Blade Screwdriver
8mm Socket
Ratchet
Brought to you by 1AAuto.com, your source for quality replacement parts and the best service on the Internet.
Hi, I'm Mike from 1A Auto. I hope this how-to video helps you out, and next time you need parts for your vehicle, think of 1AAuto.com. Thanks.
In this video, we're going to show you how to service a taillight on this 2003 Subaru Outback. It's the same as any 2000 to 2004. We'll show you both if you just need to change a bulb, as well as if you need to change the whole assembly, because one of them got broken or something like that. To change the bulb the only tool you'll need is a flat blade screwdriver. If you need to change the whole assembly you'll need a flat blade screwdriver plus an 8mm socket with a ratchet and extension. Preferably that's an 8mm deep socket.
To service a tail light on one of these Outbacks, obviously you'll need to open up the rear hatch first. There are two panels in behind each light. Pry off this larger one here. You can see back in there, there's an 8mm nut right there you'll have to remove. Then there's this one here. It's a little bit harder to get off. Then go in behind it and pry it off.
There's another 8mm nut right there. Okay, to get these out what you'll want is an 8mm socket. Ideally, you want one that's a little bit deeper than this because the studs on these lights are kind of long. Put the socket on there and put your extension and ratchet in. Once you loosen up the nut, usually take the ratchet and socket out and get the nut right off just by hand. Same thing up here. I'm just going to lightly put my socket on there, feed it on, start it out, and then you can actually reach up pretty easily. I just took the socket off with that hand. You can reach right up through here and remove the nut with the fingers. Just be careful as it gets towards the end of the stud. Make sure you don't drop it down in. There it is. Now the light will come right out.
At this point, if you're just looking to change the bulbs, they twist counterclockwise. I'm going to pull the harness out from the clips. Twist counterclockwise and pull out. The bulbs pull out and go back in. Same thing with this one down here: counterclockwise, unlock, comes out. This bulb: push in, twist, and take it out.
Now, depending on it, if you want to get the harness out, the harness connects right here. Push down on the little tab here. Disconnect, then you can push the harness right out through. Obviously my light's in good shape, so I'm just going to put it back in. Reinstall and push the harness through. Has a little dust and wetness protector here. Make sure that goes in securely. Then the light has a little tab over here that locks it in. Put the two studs into place. The studs go in the holes. You want to make sure that tab goes in. Push it in to preliminary install.
Reconnect our harness, then put the two nuts back on. Put them on by hand first. This one I'll reach right up in actually. Do the top one. I'll put it into my socket, and put my socket on my extension. Hold it upright and feed it right onto the stud. Start turning it. Reach up there with my finger and get it tight with my fingers. Then lightly put my socket on the extension. Tighten it until it's firm. Same thing for my lower one: tighten it until it's firm. Put my little shields back on and snap them in place.
We hope this video helps you out. Brought to you by www.1AAuto.com, your source for quality replacement parts and the best service on the Internet. Please feel free to call us toll-free, 888-844-3393. We're the company that's here for you on the Internet and in person.

How to Replace Taillight Bulbs 2007-14 Toyota FJ Cruiser
Check out this video from 1A Auto to learn how to replace the bulbs in the tail light assembly on your 07-14 Toyota FJ Cruiser!
