How to Replace Tail Light 2001-04 Toyota Sequoia
Created on: 2012-03-11
Check out this video for quality and detailed instructions on how to replace or service the tail light and bulbs on your 01-04 Toyota Sequoia.
-
step 1 :Changing a Bulb
- Remove the two 10mm bolts on the taillight.
- Pull the taillight out and off.
- Twist the socket out.
- Pull the bulb straight out.
- Push a new bulb into place.
- Twist the socket back into place.
-
step 2 :Removing the Taillight Assembly
- Switch out the sockets into the new assembly. Or use the following directions on how to remove the harness.
- Remove the six screws in the sill plate.
- Remove the 10mm bolt on the inside panel.
- Pull the plugs out of the inside panel.
- Pull out on the panel.
- Disconnect the harness.
- Pull the taillight out and off.
-
step 3 :Replacing the Taillight Assembly
- Feed the harness into the vehicle.
- Line up the taillight and press it into place.
- Connect the harness.
- Replace the 10mm bolt and two plugs.
- Replace the sill panel and the six bolts.
- Replace the two 10mm bolts in the taillight.
Tools needed
-
Socket Extensions
Phillips Head Screwdriver
10mm Socket
Ratchet
Brought to you by 1AAuto.com, your source for quality replacement parts and the best service on the internet.
Hi. I'm Mike from 1A Auto. I hope this how to video helps you out and next time you need parts for your vehicle think of 1AAuto.com. Thanks.
In this video we are going to show you have to service the taillights on this 2001 Toyota Sequoia. It's exactly the same for 01 to 04. The 05 to 07 the process is the same even though the taillights look a little different. The tools you will need are a Phillips screwdriver and a 10 mm socket with a ratchet and an extension helps out a little bit too. It's a pretty easy process. We show you both just changing the bulb as well as if you need to change out the whole taillight assembly and harness.
On these taillights there are two 10 mm bolts to remove. One here and one here. I suggest a 10 mm socket with a ratchet. The extension is optional. Once you have that off you kind of shake it around a little bit and the lights pull right out the side. If you are just looking to change a bulb you just any one of these sockets you just turn counter clockwise, pull them out, the bulbs pull out, back in and then get them into the right position and lock.
If you're looking at changing the entire assembly you can either just switch out the bulbs and the harnesses and put the new assembly from 1A Auto in or if you want to change the entire harness and everything, sometimes this is necessary because sometimes the sockets get corroded. The next step would be to remove the six screws that hold the sill plate down in the back which I'm fast forwarding through here. This is a 10 mm bolt here to remove. Then on these plugs you grab the outer edge and pull and they come out. Now you can pull out on this panel. Once you get in here you press right on this part of the connection and then pull it apart. As you pull it apart this comes out.
New taillight from 1A Auto. See it's just like the original. Now if you've broken your taillight or whatever it's going to go and fix your problem. What you'll want to do is put your harness in and then put this plug in. You just kind of force it into the whole and lock in place. Put the light in place. Hit it on the side. Reach in here and feel the plug and turn it 180 degrees then plug the light in. Put that back in. Push our little clips back in. Speed it up here as we put the trim back together. Those plugs obviously go in. The 10 mm bolt that holds the top with a little shift. Put the silt plate back down. It snaps in first and then put the six screws in to place. Back here push your taillight over a little bit to put these bolts in.
We hope this helps you out. It was brought to you by www.1AAuto.com your source for quality replacement parts and the best service on the internet. Please feel free to call us toll free 888-844-3393. We are the company here for you on the internet and in person.
Shop Products
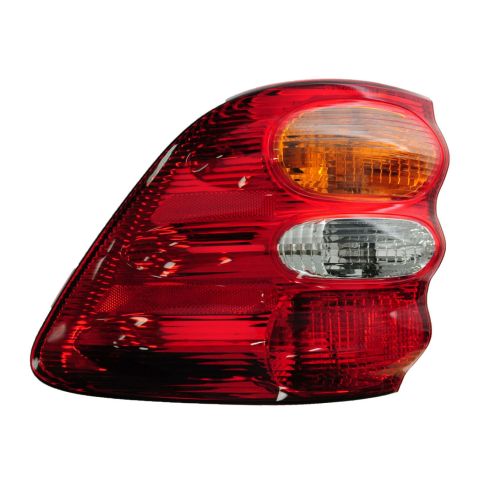
2001-04 Toyota Sequoia Passenger Side Tail Light TYC 11-6103-00
Part Details:
- Features and Benefits

How to Replace Tail Light 2001-05 Honda Civic
How to install, repair, fix, change or replace a broken, damaged, burned out, cracked, faded, cloudy or chipped tail light / brake light on 01, 02, 03, 04, 05 Honda Civic
