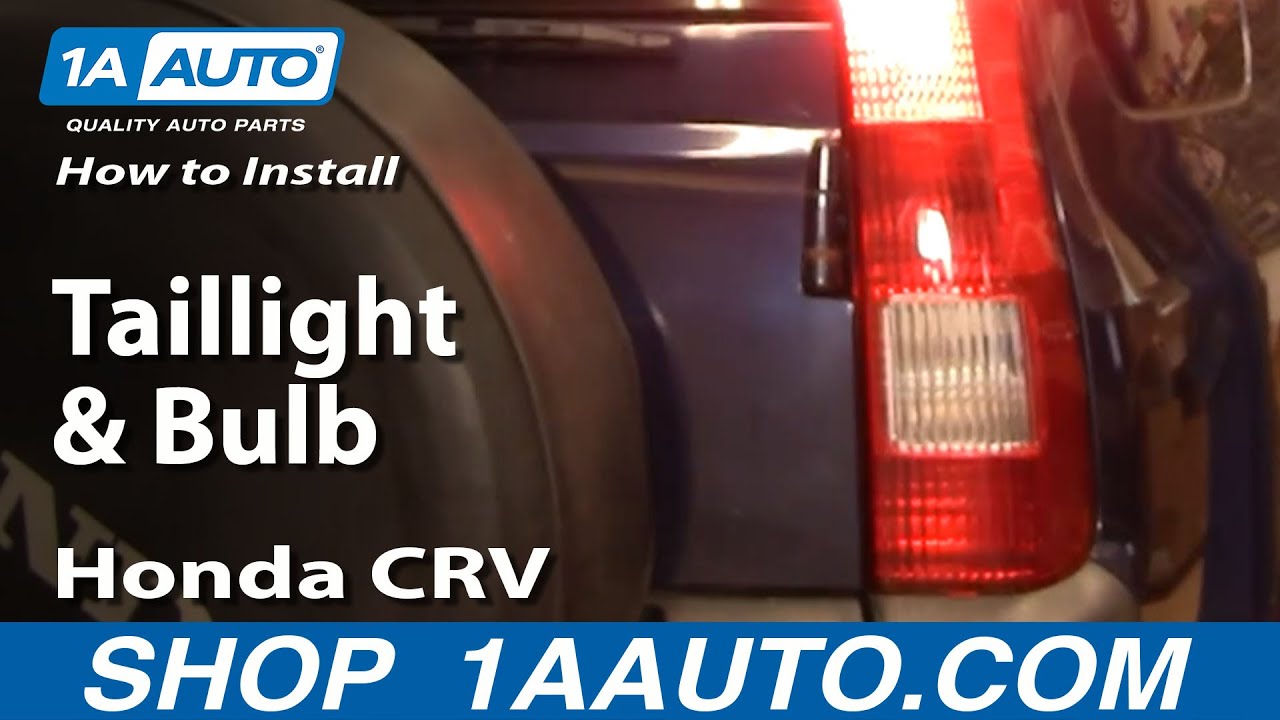
How to Replace Tail Light 2002-04 Honda CR-V
Created on: 2012-05-06
Need to replace the tail lights or just the bulbs? This video will show you how
-
step 1 :Removing the Taillight Assembly
- Pry out the two plugs to uncover the bolts.
- Remove the 8mm bolts.
- Pull the taillight out.
-
step 2 :Replacing a Bulb
- Twist the sockets out counterclockwise.
- Pull the bulb straight out.
- Push a new bulb in.
- Twist the socket back in.
-
step 3 :Removing the Taillight Assembly Continued
- Remove the Panel, table, spare tire and the panel below the spare tire.
- Remove the clips on the panel near the bumper. Remove the Panel.
- Remove the Phillips screw by the taillight.
- Remove the jack cover. Remove the jack.
- Pry out the inner panel.
- Disconnect the taillight harness.
- Pull the grommet out and pull the light off.
-
step 4 :Replacing the Taillight Assembly
- Push in the harness.
- Push the rubber grommet in.
- Line-up and push the light into place.
- Reconnect the harness.
- Replace the inner panel.
- Replace the Phillips screw.
- Replace the jack and the jack cover.
- Replace the lower panel.
- Replace the Spare tire, panels and table.
- Replace the two 8mm bolts.
- Replace the two plugs.
Tools needed
-
Socket Extensions
Flat Blade Screwdriver
8mm Socket
Ratchet
Brought to you by 1AAuto.com, your source for quality replacement parts and the best service on the internet.
Hi, I'm Mike from 1A Auto. I hope this how-to video helps you out, and next time you need parts for your vehicle, think of 1AAuto.com. Thanks.
In this video we're going to show you how to service the tail light on this 2003 Honda CRV. We'll show you both if you just need to change the bulb as well as if you have to change the whole light due to some small mishap, or something like that. Tools you'll need: you'll need a small flat blade screwdriver, and then you can get away with a short, stubby Phillips screwdriver as your only tools, or you could also use a ratchet with an 8mm socket.
We're going to show you replacing the passenger side tail light. The driver side is very similar, I'm just going to show you. There's two plugs, you just use a small screw driver, pry this out. 8mm bolt there, there's one there and then one down lower here. On this passenger side you've got one of those trap doors here, and then you have another 8mm bolt down here. A little fats forward as we remove those two 8mm bolts, just using an 8mm socket with a ratchet and extension.
On the outside of the vehicle there are three pins that hold the light in, one near the bottom, one in the middle, and one at the top. It looks like my bottom one is not even really holding. The top comes right out. There's my light out. If all you're looking to do is change a bulb, right here are your bulbs, and they all turn counterclockwise and come out. The bulbs push in counter clockwise and they come out. It's the same with all these here, counter clockwise and then they pull out.
If you want to replace the whole light assembly, at this point you have to take your rear compartment apart a little bit. Pull your carpet rug out, push down and pull up on this table. If you have a spare tire you'll need to pull that out, then pull this fixture out. Right down in here there are a couple of little pins. Push the center of this through, that allows it to come out. Push the center of this one through to come out. Now you pull this panel up and off. Now we're going to pry off this cap right at the bottom carefully, remove this Phillips screw here. We're going to remove this jack door, the tools, take the jack, turn the thing counter clockwise, the jack lifts out. Use our screwdriver, pry out and pull this panel out.
With the panel out you can see right down here is your connection. Press on the little button right here and disconnect. To get it unplugged just reach in and pull up and free that plug.
Remove the light, pull this grommet out. New light from 1A Auto, an exact replacement, If you had some damage in a little mishap. Put the connector right in, put the rubber grommet it, swing that around. Put the light in place. First, we're going to carefully remove this clip that didn't come out with the other light. Now we're going to put the light in place. You can look right in here and see the pins, make sure they line up. Push it right in. Push this off, and then fish your connection out of here. Put it onto this clip where the old one was. Now plug your light in. Let this go back into place. Push that all back in.
We'll fast forward as I put that hook back in with the Phillips screw, tighten that nice and firm. Put the jack back in, turn the handle so that it expands itself into place, out the tools back in and the door back on. Keep the speed going as I put the sill back in, pop it into place then it has the two clips. What you want to do is push the middle of the clips back through themselves, then put them in place and push the middles flush. That locks it into place. Put the rest of the insert, and the panel/table, and the carpet back in. Put this bolt in, start it with your fingers. The best strategy for this top one, use a Phillips screwdriver and press in, push in while you start it in. Tighten it up nice and firm.
Quick test here, we've got the brake lights working fine, turn the key on and there's the blinker, works great. Hit reverse, in and out a couple times, and everything seems to work fine.
We hope this helps you out. Brought to you by www.1AAuto.com, your source for quality replacement parts and the best service on the internet. Please fell free to call us toll free: 888-844-3393. We're the company that's here for you on the internet and in person.

How to Replace Third Brake Light 2002-09 Chevy Trailblazer
Watch this 1A Auto instructional video to find out how to replace the third brake light on your 02-09 Chevy Trailblazer.
