
How to Replace Tail Light 2003-05 Honda Civic
Created on: 2012-07-23
How to install, repair, fix, change or replace a broken, damaged, burned out, cracked, faded, cloudy or chipped taillight on Honda Civic, years 01, 02, 03, 04, and 05.
-
step 1 :Changing the Bulb
- Twist the socket counterclockwise.
- Pull the bulb out.
- Push a new one in.
- Twist the socket back into place.
-
step 2 :Removing the Inside Taillight Assembly
- Twist out the sockets.
- Remove the three 8mm nuts.
- Pull the light up and off.
-
step 3 :Replacing the Inside Taillight Assembly
- Line up the light and press it down into place
- Replace the three 8mm nuts.
- Twist the sockets into place.
Tools needed
-
8mm Socket
Ratchet
Brought to you by 1AAuto.com, your source for quality auto replacement parts and the bets service on the internet.
Hi, I'm Mike from 1A Auto. I hope this how to video helps you out. Next time you need parts for your vehicle, think of 1AAuto.com.
In this video, we're going to show you how to service the rear inside taillights. That's the one that's mounted to the trunk lid or the or the deck lid. We're going to show you both changing the bulbs. If all you're doing is changing bulbs, you don't need any tools. If you do need to replace the taillight itself because it's been broken, you'll need an 8mm wrench or socket and ratchet.
Open up the trunk. In servicing the bulb, it's really pretty easy. They're right here. This is the backup light bulb. Just twist counterclockwise. Pull it down, the bulb comes out. The bulb just pulls from its socket. Put it back up in, lock it. This one here, the same thing. Counterclockwise, bring it down the, bulb pulls out. Push it back in.
If you need to replace the entire assembly because you got into the lock center or something, you'll need an 8mm wrench or socket and ratchet. I prefer to go to the socket and ratchet method, there's two bolts here or two nuts and one right up in here. Generally, once you get these things started, it comes right off by hand. Now, just fast forward here as I remove those three nuts. It does kind of figure, one of them is so stubborn I have to use the socket and ratchet for most of it.
It comes up and off. Obviously my original's in fine shape so I'm going to reinstall it. One from 1A Auto fit in just like the original, they come with the gasket and everything. Put it back in. okay, I'll start with the nuts. Just fast forward here. Again, like I said, I'll start the three nuts on there first. Then when you tighten them up, you tighten them up till they're seated and then just tighten them up till about a quarter turn more. Bulbs up in. Find a place, turn clockwise to lock.
We hope this helps you out. Brought to you by www.1AAuto.com, your source for quality auto replacement parts and the bets service on the internet. Please feel free to call us toll-free, 888-844-3393. We're the company that's here for you on the internet and in person.
Shop Products


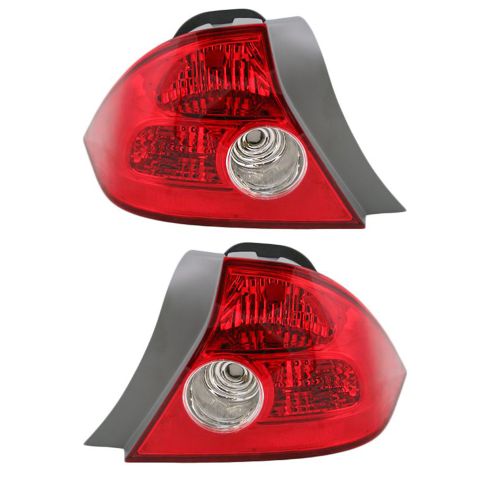
2004-05 Honda Civic 2 Door Coupe Driver & Passenger Side 2 Piece Tail Light Set DIY Solutions LHT07495
Part Details:
- 2 Piece
- (1) Passenger Side Tail Light
- (1) Driver Side Tail Light

How to Replace Taillight Bulbs 2007-14 Toyota FJ Cruiser
Check out this video from 1A Auto to learn how to replace the bulbs in the tail light assembly on your 07-14 Toyota FJ Cruiser!
