
How to Replace Tail Light 2005-10 Pontiac G6
Created on: 2013-07-07
How to install, repair, fix, change or replace a broken, damaged, burned out, cracked, faded, cloudy or chipped tail light / brake light on Pontiac G6, model years 05, 06, 07, 08, 09, and 10.
-
step 1 :Removing the Taillight Assembly
- Unscrew the plastic nut.
- Pull back the carpet.
- Remove the two 10mm nuts.
- Pull the taillight out and off.
- Disconnect the connector.
-
step 2 :Replacing the Bulbs
- Twist the socket counterclockwise.
- Pull the bulb straight out.
- Push the new bulb in.
- Twist the socket clockwise to lock.
-
step 3 :Replacing the Taillight Assembly
- Plug in the connector.
- Line up the taillight.
- Push it into place.
- Replace the two 10mm nuts on the back of the taillight.
- Replace the carpet.
- Replace the plastic nut.
Tools needed
-
10mm Socket
Ratchet
Brought to you by 1AAuto.com, your source for quality replacement parts and the best service on the internet.
Hi, I'm Don, from 1A Auto. I hope this how-to video helps you out, and the next time you need a part for your vehicle, think of 1AAuto.com. Thanks.
In this video, we're going to show you how to replace a tail lamp assembly for a 2007 Pontiac G6. It's fundamentally the same for model years 2005 through 2010. You'll need a 10mm socket and socket wrench and a new tail lamp from 1A Auto.
On the inside edge of the trunk compartment, you're going to find a big plastic nut. You're going to go ahead and unscrew that and then pull the carpet down out of the way. Once that's down and out of the way, you're going to see two posts with 10mm nuts on them. Using the 10mm socket and socket wrench, you're going to remove the two nuts. I'll fast forward as I remove those.
Pull out the assembly. If you're just looking to service the bulbs, this is where you'll do it. They are screw type, so you unscrew them, and then, for this particular bulb, a small bulb, then just pull it in and pull it out and push it back in. Twist lock it again. Same goes for the other ones. You twist them. Pull them out. The bulbs just pull straight out, and they pop right back in and twist back in to lock them together. If you're looking to replace the assembly, pull up on the tab and pull out the connector.
We've got the old part, and we've got the new part from 1A Auto. It's direct-replacement fit. We're going to go ahead and install our connector. Find the locating pin on the end of the tail lamp and then the hole that corresponds with it in the body. Make sure that all lines up, and then the holes for your two 10mm studs line up, as well. Now, reinstall the two 10mm nuts that hold the tail lamp assembly in place. I'll fast forward as I tighten those up. Now, go ahead and push your carpet back into place and make sure it goes over the stud that your big plastic nut goes on. Go ahead and press the nut back in. Give it a good push.
We hope this helps you out. Brought to you by www.1AAuto.com, your source for quality replacement parts and the best service on the internet. Please feel free to call us toll-free 888-844-3393. We're the company that's here for you on the internet and in person.
Shop Products


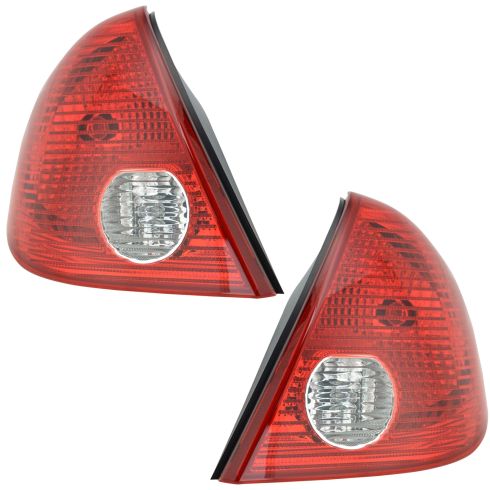
2005-10 Pontiac G6 Sedan Driver & Passenger Side 2 Piece Tail Light Set DEPO 1ALTP00382
Part Details:
- 2 Piece
- Features and Benefits
- (1) Passenger Side Tail Light
- (1) Driver Side Tail Light

How to Replace Taillight Bulbs 2007-14 Toyota FJ Cruiser
Check out this video from 1A Auto to learn how to replace the bulbs in the tail light assembly on your 07-14 Toyota FJ Cruiser!
