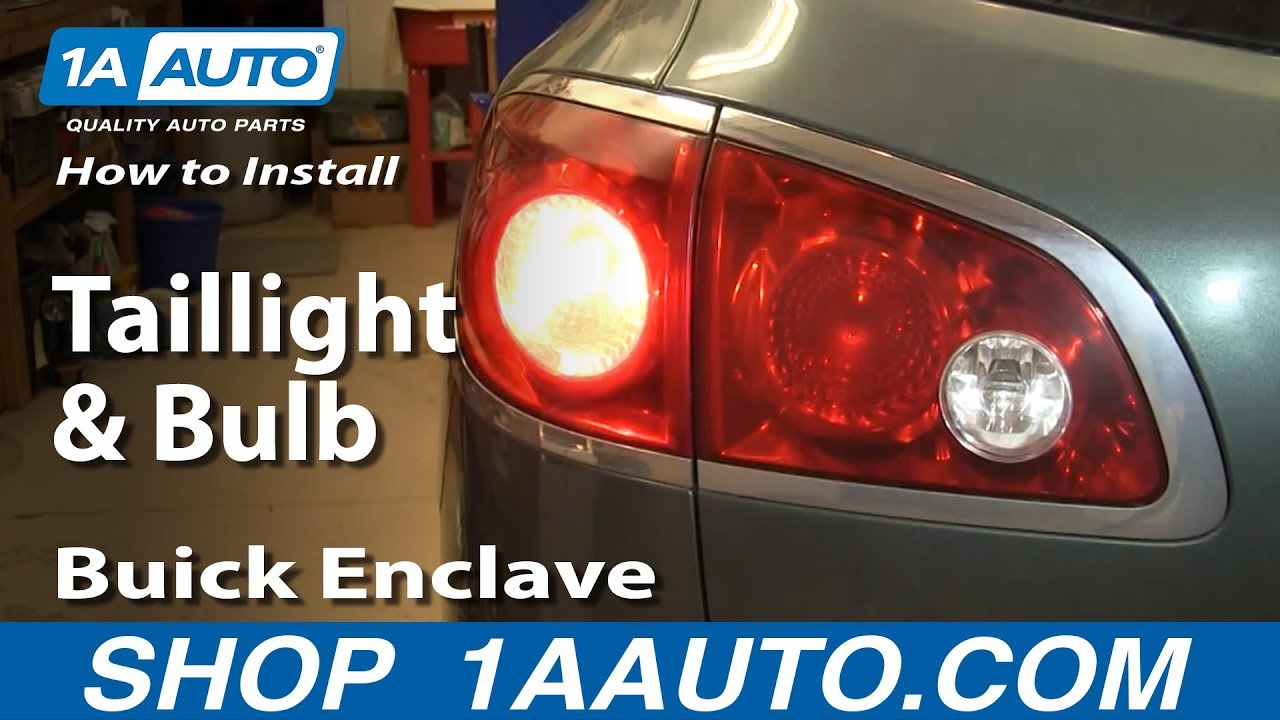
How to Replace Tail Light 2008-12 Buick Enclave
Created on: 2014-12-03
How to install, repair, fix, change or replace a broken, damaged, burned out, cracked, faded, cloudy or chipped tail light / brake light on 08, 09, 10, 11, 12, 13, 14 Buick Enclave
-
step 1 :Removing the Tail Light
- Pry open the covers from the tail light bracket
- Remove the 7mm bolts
- Pull the tail light out
- Disconnect the tail light wiring harness
-
step 2 :Servicing the Bulbs
- Twist the bulb socket counterclockwise out of the light
- Pull the bulb off of the socket
- Push on the new bulb
- Twist the bulb clockwise into the light
-
step 3 :Installing the New Tail Light
- Remove the T25 Torx bolts from the tail light bracket
- Insert the panel to the new tail light
- Insert the T25 Torx bolts to the new tail light bracket
- Reconnect the wiring harness to the tail light
- Line up the bolt holes on the tail light to the bolt holes on the vehicle
- Replace the 7mm bolts into the tail light bracket
- Push on the trim pieces on the tail light bracket
Tools needed
-
Flat Blade Screwdriver
7mm Socket
T25 Torx Driver
Brought to you by 1AAuto.com, your source for quality replacement parts and the best service on the Internet.
Hi, I'm Mike from 1A Auto. I hope this how-to video helps you out, and next time you need parts for your vehicle, think of 1AAuto.com. Thanks.
In this video, we're going to show you how to service the bulbs as well as replace the entire tail light assembly on this 2010 Buick Enclave. We show you on the passenger side, but the driver side is the same procedure. The items you'll need for this are new tail lights from 1AAuto.com, flat blade screwdriver, 7mm socket, and a T25 Torx bit or driver.
Open up your trunk. There's two covers right here. Using your flat blade screwdriver, just pry them open and slide the cover up. It'll flip down. Behind those covers there are two 7mm bolts. Just go ahead and remove both of those. We'll fast-forward as Mike does that. Pull the tail light out and service your bulbs.
You just push in on the tab on this and twist it counterclockwise. Pull the bulb out, push your new bulb in, twist the socket back in clockwise, and lock it. For this one up here, the same thing. Twist it counterclockwise, pull the bulb out, push your new bulb in, and twist it back in clockwise. You do have to line up your tabs as you push it back in.
Next, we'll show you how to replace your whole assembly if it's broken. Just pull the tab on that harness and pull the assembly free. Remove this T25 and these two T25s. We'll fast-forward as Mike removes those three screws. Once you've removed all three of them, this panel pulls free.
Put the panel on your new tail light. Once you have it lined up, replace those three T25 screws. Connect the harness to your tail light and line up this tab into here. Once you've got the tail light lined up, push it back into place. Replace those two 7mm bolts. We'll fast-forward as Mike tightens those up. Once they're tightened up, take your cover, pull it up, and push it back down into place. Push it in until it clicks. Once they're both pushed in, you're all set.
We hope this video helps you out. Brought to you by www.1AAuto.com, your source for quality replacement parts and the best service on the Internet. Please feel free to call us toll-free, 888-844-3393. We're the company that's here for you on the Internet and in person.
Shop Products

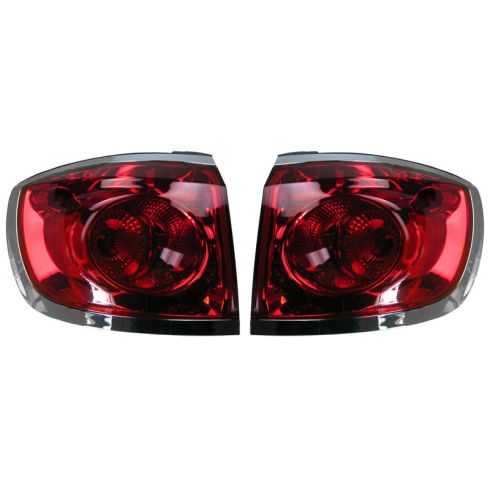
2008-12 Buick Enclave Driver & Passenger Side Outer 2 Piece Tail Light Set DIY Solutions LHT07697
Part Details:
- 2 Piece
- (1) Passenger Side Outer Tail Light
- (1) Driver Side Outer Tail Light

How to Replace Back up Reverse Light 1998-2005 Volkswagen Beetle
This video shows how to change the reverse light bulbs and remove and install the reverse light housings yourself on the 98-05 Volkswagen Beetle
