
How to Replace Tail Light Assembly 2003-08 Honda Pilot
Created on: 2015-06-10
How to install, repair, fix, change or replace a broken, damaged, burned out, cracked, faded, cloudy or chipped tail light / brake light on 03, 04, 05, 06, 07, 08 Honda Pilot
-
step 1 :Removing the Tail Light
- Remove the two screws from the tail light
- Pull the tail light out
- Disconnect the tail light wiring harness
- Remove the wires from their clips in the tail light
-
step 2 :Servicing the Bulbs
- Twist the bulb socket counterclockwise out of the light
- Pull the bulb off of the socket
- Push on the new bulb
- Twist the bulb clockwise into the light
-
step 3 :Installing the Tail Light
- Clip the wires to the tail light
- Connect the tail light wiring harness
- Insert the tail light into place
- Tighten the screws to the tail light
Tools needed
-
Phillips Head Screwdriver
8mm Socket
Ratchet
Brought to you by 1AAuto.com, your source for quality replacement parts and the best service on the Internet.
Hi, I'm Mike from 1A Auto. I hope this how-to video helps you out, and next time you need parts for your vehicle, think of 1AAuto.com. Thanks!
In this video, we're going to show you how to service your taillight. This is a 2003 Honda Pilot. This is the same for any 2003 to 2008 Pilot. You only need new taillights from 1AAuto.com. We sell good replacements if you've broken one of your rear taillights. You also need an 8mm socket and ratchet or a Phillips screwdriver.
Start out by opening the tailgate, and there are either two 8mm or Phillips screws. We'll remove those. Once those are out, there are two pins to hold it to the body, so pull it out and then pull back at the top and then back at the bottom to pull those pins out. To change bulbs, just turn the sockets counterclockwise to pull them out and then the bulbs come right out just by pulling.
To change the whole taillight assembly, pull the wires from the little clips in the taillight.
Here's the new taillight from 1A Auto. Remove the covers, these little shipping covers, and then just put the harnesses back in place. As you're putting the harnesses back in place, clip the wires back into the clips that are in the taillight. You just have to look at each one, kind of line it up correctly, put it in, and twist it clockwise to lock it in place.
Then you want to line up the two pins with the holes in the body. Once you get them lined up, push it in to lock those pins. Then replace your two screws. Obviously it's the same for both the passenger side and driver's side.
Thanks for tuning in. We hope this video helped you out. Next time you need parts for your car, please visit 1AAuto.com. Also check out our other helpful how-to and diagnosis videos.
Shop Products


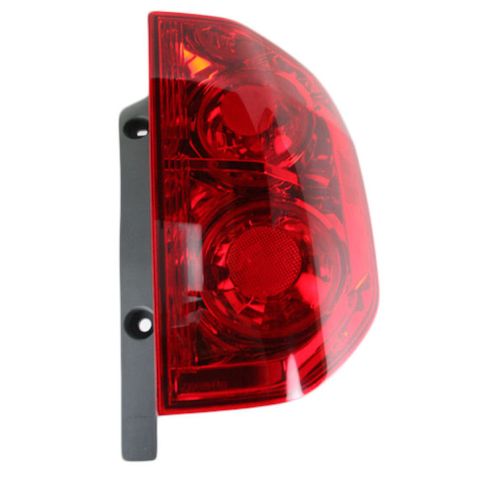
2003-05 Honda Pilot Passenger Side Tail Light TRQ LTA79183
Part Details:
- Features and Benefits

How to Replace Inner Tail Light 2011-16 Chevy Cruze
For one reason or another, you may find yourself needing to replace more than just a bulb. Broken or hazy tail lights reduce your visibility to other drivers. TRQ direct fit tail light assemblies are an affordable option that’s easy to do yourself! How to replace the inner tail light housing on your 2011-16 Chevy Cruze.
