How to Replace Tail Light Bulb Socket 1998-2012 Ford Ranger
Created on: 2016-09-28
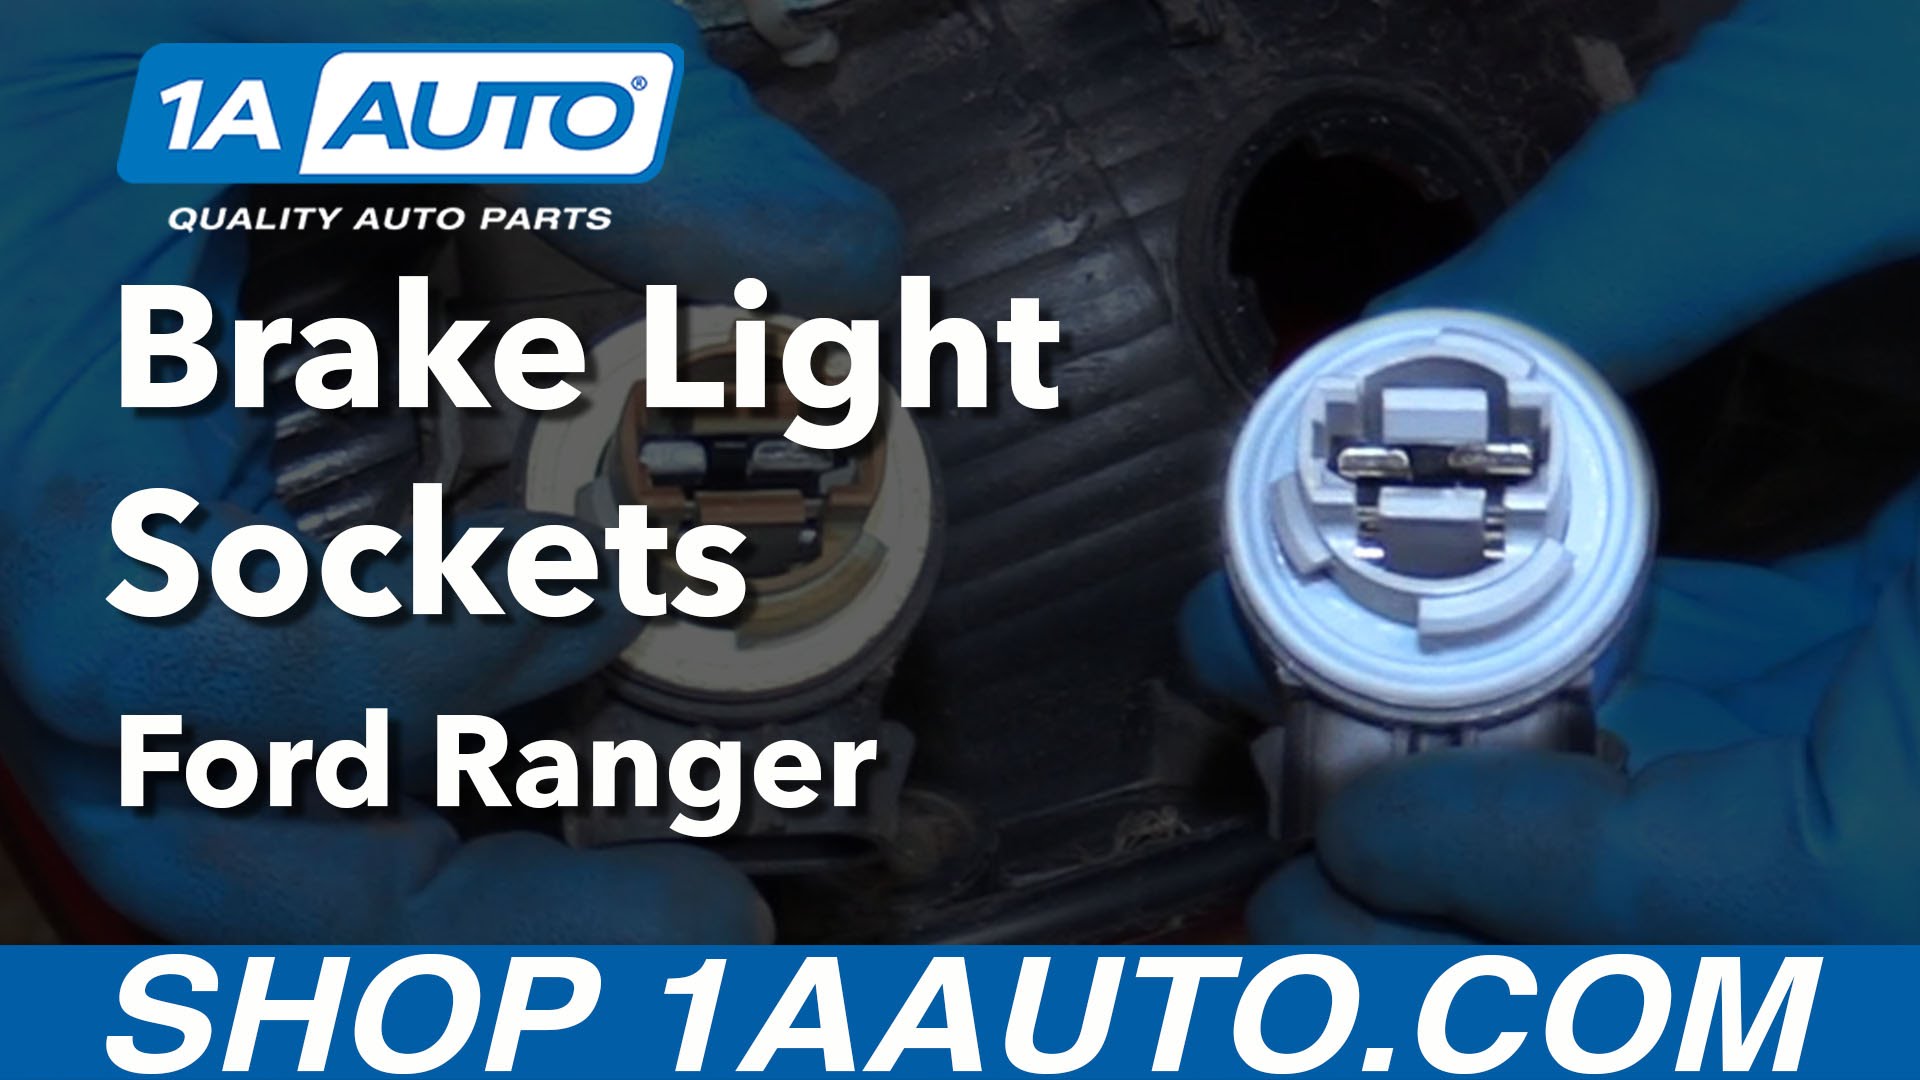
New Bulb Socket from 1AAuto.com How to install, repair, fix, change or replace a broken, damaged, burned out, tail light / brake light bulb socket on 01 Ford Ranger
-
step 1 :Removing the Tail Light
- Remove the four Phillips screws from the tail light bracket
- Pull the tail light out
- Disconnect the tail light wiring harness
-
step 2 :Replacing the Bulbs
- This step is only necessary if you are replacing the headlight bulbs
- Turn the base of the bulbs counterclockwise
- Remove the old bulbs
- Disconnect the wiring harnesses from the old bulbs
- Connect the new bulb to the wiring harness
- Insert the new bulbs
- Turn the base of the new bulbs clockwise
-
step 3 :Installing the New Tail Light
- Reconnect the wiring harness to the tail light
- Line up the bolt holes on the tail light bracket to the bolt holes on the vehicle
- Replace the four Phillips screws into the tail light bracket
Brought to you by 1AAuto.com, your source for quality replacement parts and the best service on the Internet.
Hi, I'm Mike from 1A Auto. I hope this how-to video helps you out, and next time you need parts for your vehicle, think of 1AAuto.com. Thanks!
In this video, we're going to be working with our 2001 Ford Ranger Flare side. We're going to show you how to remove the tail light assembly, so you can access the break light and turn signal bulb socket. This get corroded from moisture getting into them and they can dim the bulbs or stop them from working completely. This information will be very similar for the style or fleet side bed which is the smooth bed side. The tail light itself is shaped just a little bit differently, but everything is going to come apart and look the same once it's off. We're working on the passenger side here, but the information is going to be the same from the driver's side.
If you like this video, please click subscribe, we have a ton more information on this truck, as well as many other makes and models. If you need this part for your vehicle, you can follow the link down the description over 1AAuto.com.
Here are the items you'll need for this repair: Phillips screwdriver.
Open the tail gate. Remove the four Philip head screws securing the tail light. Once the screws are out, you can remove the taillight assembly from the truck.
The break light bulb is located on the bottom of the housing where the reverse is at the top. We'll remove the connector with these two tabs here. Simply lift up, slide the connector off the socket. Twist the socket counter clockwise and remove it from the housing. Grab our bulb, and work it out of the socket.
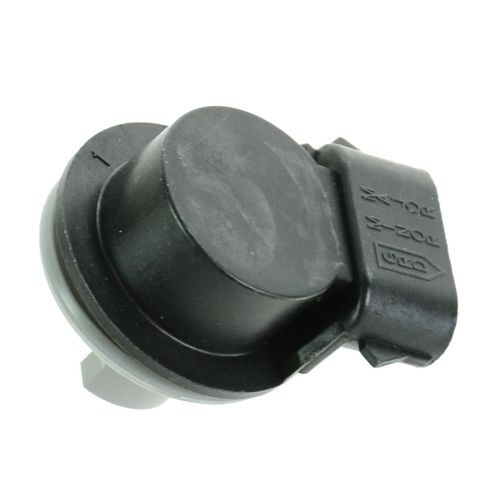
Here we have our old bulb socket that we removed from my tail light and our new part from 1AAuto.com. As you can see, they're exactly the same. You have the same socket receptacle, and same grip and connect in the bottom.
What can happen with this is: the seal can be installed in correctly, or the inside of the connector can wear out and allow moisture in, which corrodes the pins or the socket terminals. Making our light dim or inoperative. Fortunately, this new socket from 1AAuto is a direct fit part. It's good to go in just like our original socket in. We simply up the bulb back into the socket.
Reinstall it into our housing. Turn it clockwise to lock it into place. Reconnect our connector, and our light would be nice and bright, function like it should restore that visibility and safety to our vehicle. Reinstall the tail light housing on to the truck. I'm going to lean on it here to keep it in place while we reinstall our Philips head screws. Once we have on screw in, they'll hold it in place. We can install the remaining three. Close your tail gate, and you're good to go.
Thanks for tuning in. We hope this video helped you out. Next time you need parts for your car, please visit 1AAuto.com. Also check out our other helpful how-to and diagnosis videos.
Shop Products

How To Replace Parking Light 1992-98 Chevy Suburban
How to repair, install, fix, change or replace a broken, damaged, cracked, faded, cloudy, or chipped signal light or parking light. This procedure is the same for most 92, 93, 94, 95, 96, 97, or 98 Chevy Silverado and GMC Sierra Pickup Trucks, plus Suburban, Tahoe, and Yukon.
