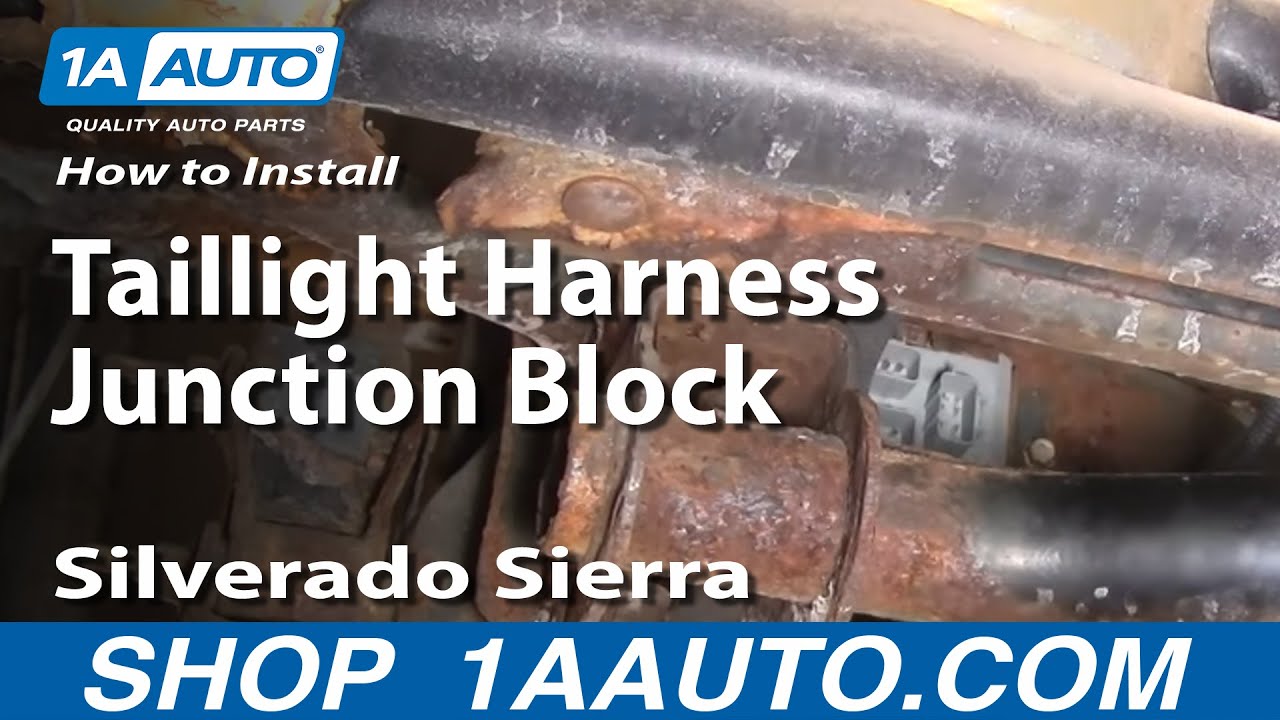
How to Replace Tail Light Combination Junction Block 1999-2004 GMC Sierra 2500
Created on: 2011-01-17
Watch to see how you can replace the taillight harness junction block on a 99-04 GMC Sierra 2500 as well as on many other GM trucks.
-
step 1 :Removing the Taillight Harness Junction
- Disconnect all of the harnesses from the junction block.
- Remove the 13mm bolt that secures the block to the frame.
- Pull the bracket free.
- Pry out the tab on the back of the bracket and slide the junction out of the bracket.
-
step 2 :Replacing the Taillight Harness Junction
- Slide the junction into the bracket.
- Feed the bracket back up into place.
- Replace the 13mm bolt.
- Reconnect the harnesses
Tools needed
-
13mm Socket
Flat Blade Screwdriver
Rust Penetrant
Ratchet
Brought to you by 1AAuto.com, your source for quality replacement parts and the best service on the internet.
Hi, I'm Mike Green. I am one of the owners of 1A Auto. I want to help you save time and money repairing and maintaining your vehicle. I am going to use my 20+ years' experience, restoring and repairing cars and trucks like this, to show you the correct way to install parts from 1AAuto.com. The right parts, installed correctly - that's going to save you time and money. Thank you and enjoy the video.
In this video, I am going to show you how to replace tail light harness junction on this 2002 GMC Sierra. The only tools you'll need are a 13mm wrench, screwdrivers, and some penetrating oil. This is the same for a lot of different GM trucks.
Okay, if you are having some problems with your rear lights. The another place that can go bad is this junction block. This is the back frame, you can see here is my spare tire. Okay and there's four connectors and basically, each connector has a little tab and you can see that one right there. Push on the tab and then work the connector off and do that for each of them. Right here, where my finger is pointing, there is a 13mm bolt. You want to remove that bolt and then the plate comes off with that connector. Just a quick tip; we did spray the back of this bolt with penetrating oil. It actually appears to come out pretty easily. There it is out. Now to get this out of the bracket, we are going to take one screwdriver and put it in here - actually in right next to that slot, so that slot is now unlocked. That tab right there that is part of the plastic. Okay, the metal is not holding anymore. And then use another screwdriver and kind of pry it into there. Once you move it a little bit, you can take this screwdriver out and then with this screwdriver, just force it out of the bracket.
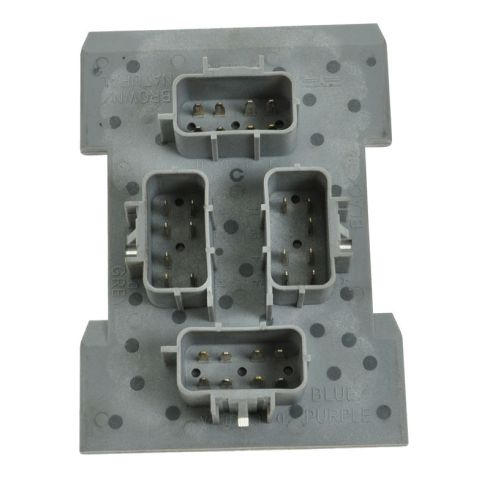
And the new one from 1A Auto, you can see that it is exactly the same. They are all - labeled: brown, grey, blue, and the black. Okay and also these tabs make it so you can't connect them incorrectly anyway. So you just place it back into this, okay. Clip it back in place and you are ready to reinstall. You are going to hook your, you have to hook these tabs in first, which means you have to put them in like that and then turn it. Then start your bolt. And I am going to cheat a little bit and bring in the air ratchet, the blue one is up here and it goes on the left, the black one, the gray one goes on top, okay brown or red on the right side and the black one on the bottom.
We hope this helps you out. Brought to you by www.1AAuto.com, your source for quality replacement parts and the best service on the internet. Please feel free to call us toll free 888-844-3393. We are the company that serves you on the internet and in person.
Shop Products

How to Replace Third Brake Light 2002-09 Chevy Trailblazer
Watch this 1A Auto instructional video to find out how to replace the third brake light on your 02-09 Chevy Trailblazer.

