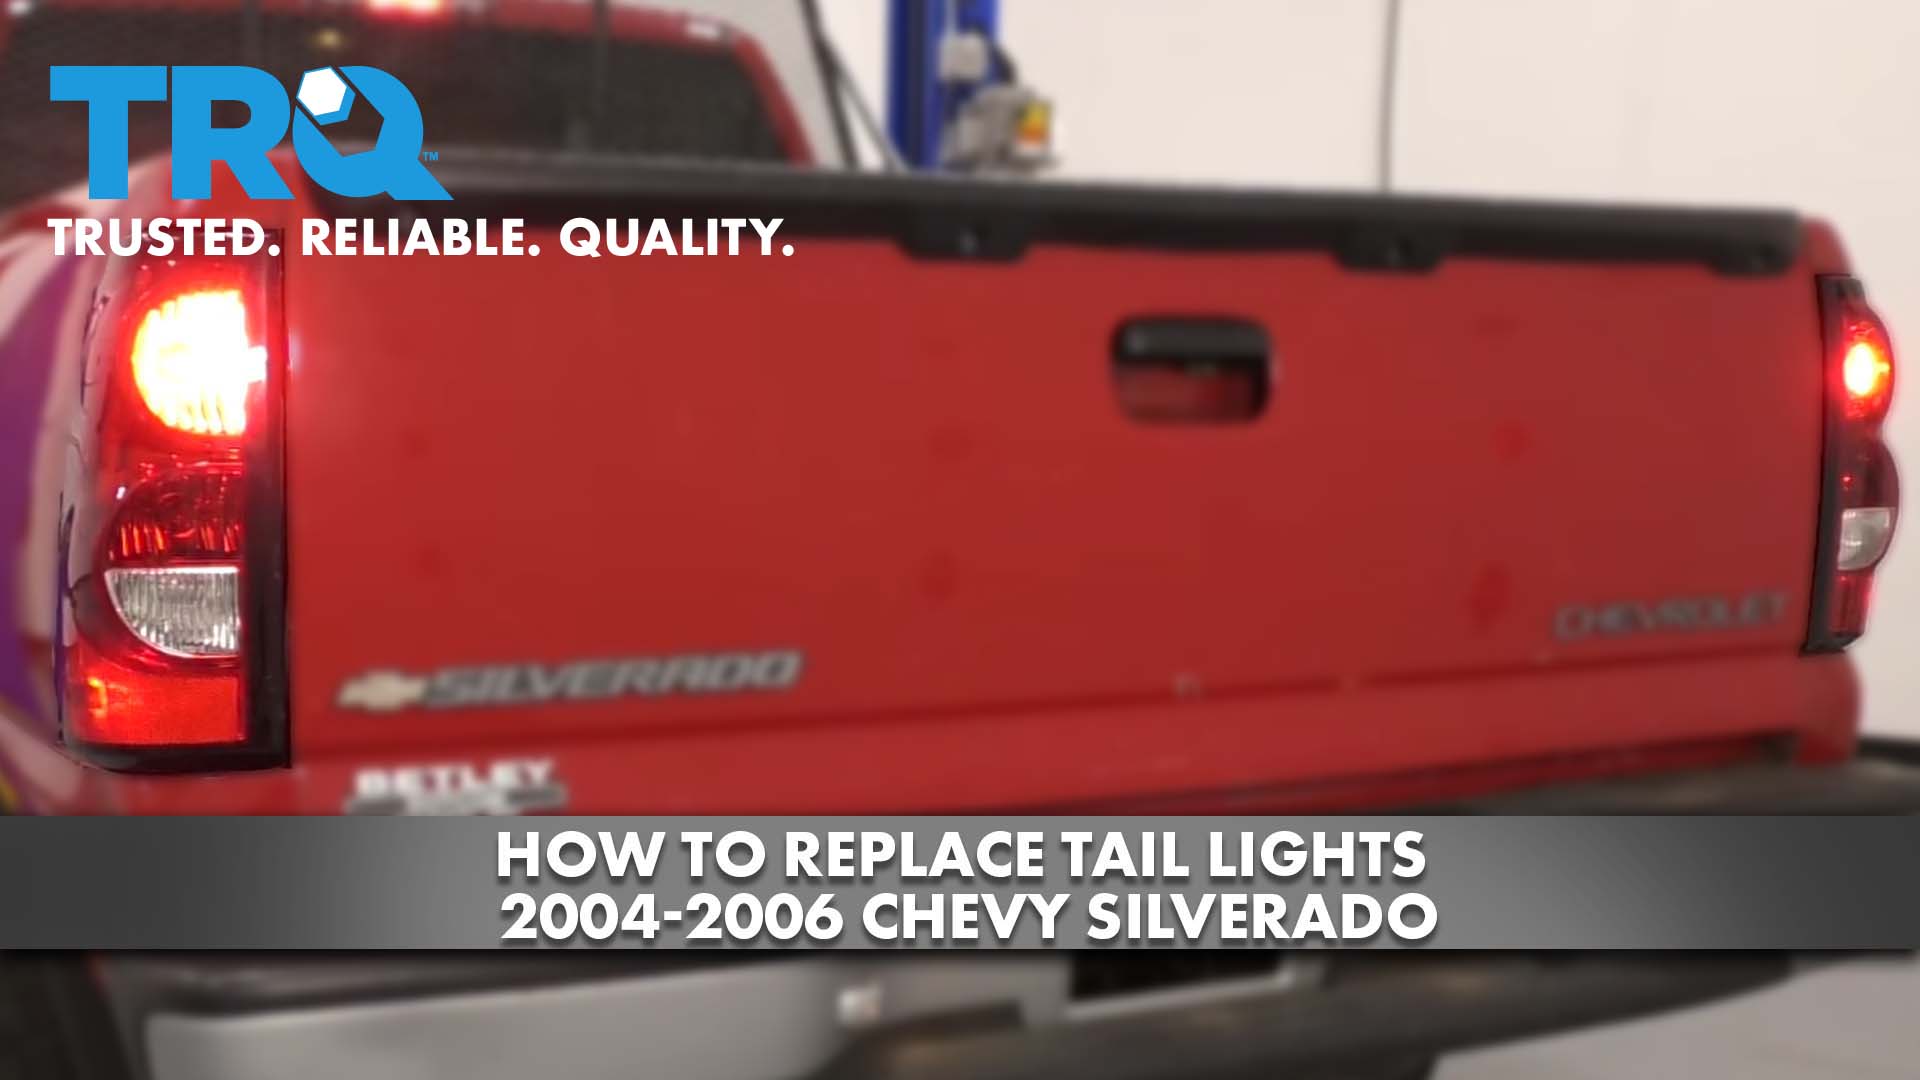
How to Replace Tail Lights 2004-06 Chevy Silverado
Created on: 2020-06-08
Watch this video to learn how to install a new tail light assembly on your 1999-2007 Chevy Silverado.
Tools needed
-
Electrical Tape
Phillips Head Screwdriver
Drill
Pocket Screwdriver
Now to get started on working on this taillamp, it's important to make sure that you have your tailgate down because the mounting bolts for it are located right here and right there. Remove those with a Phillips head screwdriver. There we are. Now we have a nice clear view of the backside here. Let's go ahead and release these. It's always a good idea to take a peek at your bulbs, make sure they're in good condition. If it looks like the filaments on the inside are burnt or cooked, or they're not even connected in any way, just go ahead and replace that bulb.
All right, so now we have all this nice and free, go ahead and take all this and push it right down through this hole right here. Once you have it down in there, we're gonna get underneath the vehicle. One of the first things I always like to do is start with some nice new bulbs. Once you have some of them in there. Go ahead and plug these into the lens. Just got to get it lined up. Perfect. Now we're just gonna take this little tie off of here, we have our wiring. At this point, just take this and put it right down in there and go ahead and let it go right down to the ground if that's where it wants to go. If you wanted to, it's probably a great idea to tape off any of this wiring that might be flapping around just to try to make it nice and neat. We'll worry about that after. For now just gonna get all this wiring down in there. We'll just put our lens up here. Now I'm gonna start in a couple of those mounting screws just to hold the lens so it can't fall out.
Now we made our way underneath the vehicle. And if you grab onto that wiring harness, you're gonna notice it secured in several places. If you were to look right up here, you can see one of the supporting points. Just take a nice small pocket screwdriver or whatever you might have, get in between here and separate the two pieces. This should come right down. Do the same right on down the line all the way until you get to the end. Gonna keep on following that, it leads to this one right here. Go ahead and squeeze this tab and then draw it off. Let's get it out of here.
Now we'll just take this one and put it right back up through. Check your connector, make sure you don't see any funny colors inside there. If you see any corrosion, you need to either clean it or replace the unit. Let's go ahead and connect this in. Listen for a click and then give it a nice little tug just to make sure it's completely secured. Come up along here. We're gonna start reattaching all this in now. Go ahead and line it up, squeeze it, it should lock in. You don't want to leave this hanging.
Let's get this back off of here. Carefully pull it away. I'm just gonna go ahead and wrap up this wiring. At least just try to make it a little bit nicer. With that all set the way that it is, we're gonna carefully reset this back inside of here, should fit right in. You can see the bolt holes are lined up perfectly. Let's go ahead and install those bolts. All right, let's snug them up. Nice and tight. It's completely secured. Let's test it.
Go ahead and turn on your running lights. Make sure that works, step on the brake. That's great as well. And of course try your directionals you want to go left, want to go right, just to make sure all those lights work. Don't forget about reverse. Assuming all those looks good, you're good to go.
Shop Products

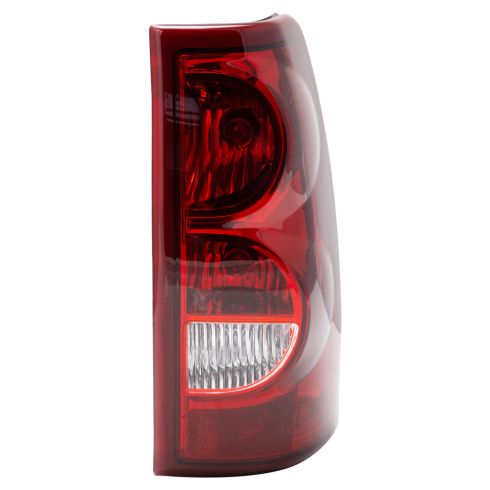
2003 Chevrolet Passenger Side Tail Light DIY Solutions LHT09939
Part Details:
- Features and Benefits

How to Replace Cargo Light Assembly 2010-16 Cadillac SRX
How to replace a cargo light to the 10, 11, 12, 13, 14, 15, 16 Cadillac SRX


