
How to Replace Tail Lights 2007-13 Chevy Silverado
Created on: 2013-10-07
If the taillights need to be replaced or the taillamp bulbs are burnt out and need to be changed, follow the steps in this how-to video and do it yourself!
-
step 1 :Removing the Tail Light
- Remove the two Phillips head screws from the tail light
- Pull the tail light out
-
step 2 :Servicing the Tail Light bulbs
- Unclip the wiring harness from the tail light
- Twist out the bulb sockets
- Pull the bulb out of the socket
- Push the bulb into the socket
- Twist the socket into place
-
step 3 :Disconnecting the Tail Light Wiring Harness
- Disconnect the tail light wiring harness underneath the truck bed
- Unclip the wiring
- Pull the wiring harness through the truck
-
step 4 :Installing the Tail Light
- Feed the wiring harness into the truck
- Push the tail light into place using the locating pins
- Insert the two Phillips screws into the tail light
- Clip the wiring harness into place
- Connect the wiring harness
Brought to you by 1AAuto.com, your source for quality replacement parts and the best service on the Internet.
Hi, I'm Mike from 1A Auto. I hope this how-to video helps you out, and next time you need parts for your vehicle, think of 1AAuto.com. Thanks.
In this video, we show you how to service a taillight on this 2011 Chevy Silverado 1500. This is pretty much the same for all 2007 to 2013 Silverados, as well as the Sierras. We're going to show you both changing the bulbs, as well as changing the whole assembly and harness, if you need to.
You want to start off by removing these two Phillips screws right here. We'll just fast forward as he removes those. Once those screws are removed, you can just pull the taillight right out.
Now this is where you would change out the bulbs. You twist the socket, pull the bulb out, push the new one in, twist it back. The middle one is pretty much the same as the top one. The bottom bulb is a little bit different. You twist it the same and pull it out the same, but you have to unclip the harness from the taillight so that you can do that. It's just a small little hook that it hooks into, and then the bulb change is the same.
To change the assembly, you want to follow the harness. It leads underneath the truck here, you can see there's a clip right there you're going to need to remove. Right here, the bottom one is your passenger taillight, and the one above it is the driver's taillight. You're going to want to disconnect that harness.
After you disconnect the harness, you want to remove that clip I mentioned, and then you want to feed that harness through the truck until you get to your taillight. Once you have that all set, you can just pull the harness right up and out, and your taillight assembly is free.
On the left, is the new taillight from 1A Auto. On the right is the old one. You can see they're exactly the same, same mounting points, same harness, even with the clip on the harness, and identical clips. Since our truck's only a couple years old, we're actually going to install the old one back in.
You want to start off by just feeding that harness back down into the truck, and then line up your taillight. There are two pins on the taillight, and you want to line them up with the holes on the truck and just push those in. Then replace your two Phillips screws. We'll just fast forward as he replaces these. Now, you want to feed that harness back through the bottom of the truck, and you want to make sure you push in that black clip that's on the harness back up into the bottom of the truck, and then plug your connector back in, and you're all set.
We hope this video helps you out. Brought to you by www.1AAuto.com, your source for quality replacement parts and the best service on the Internet. Please feel free to call us toll-free, 888-844-3393. We're the company that's here for you on the Internet and in person.
Shop Products
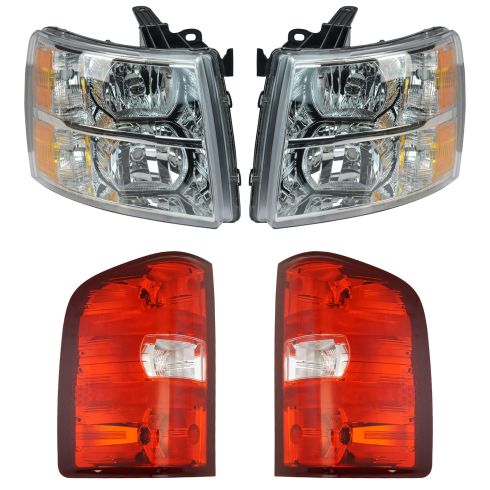
Chevrolet 4 Piece Lighting Kit DIY Solutions LHT04318
Part Details:
- (2) Tail Lights
- Features and Benefits
- 4 Piece
- (1) Headlight Set

How to Replace Third Brake Light 2002-09 Chevy Trailblazer
Watch this 1A Auto instructional video to find out how to replace the third brake light on your 02-09 Chevy Trailblazer.
