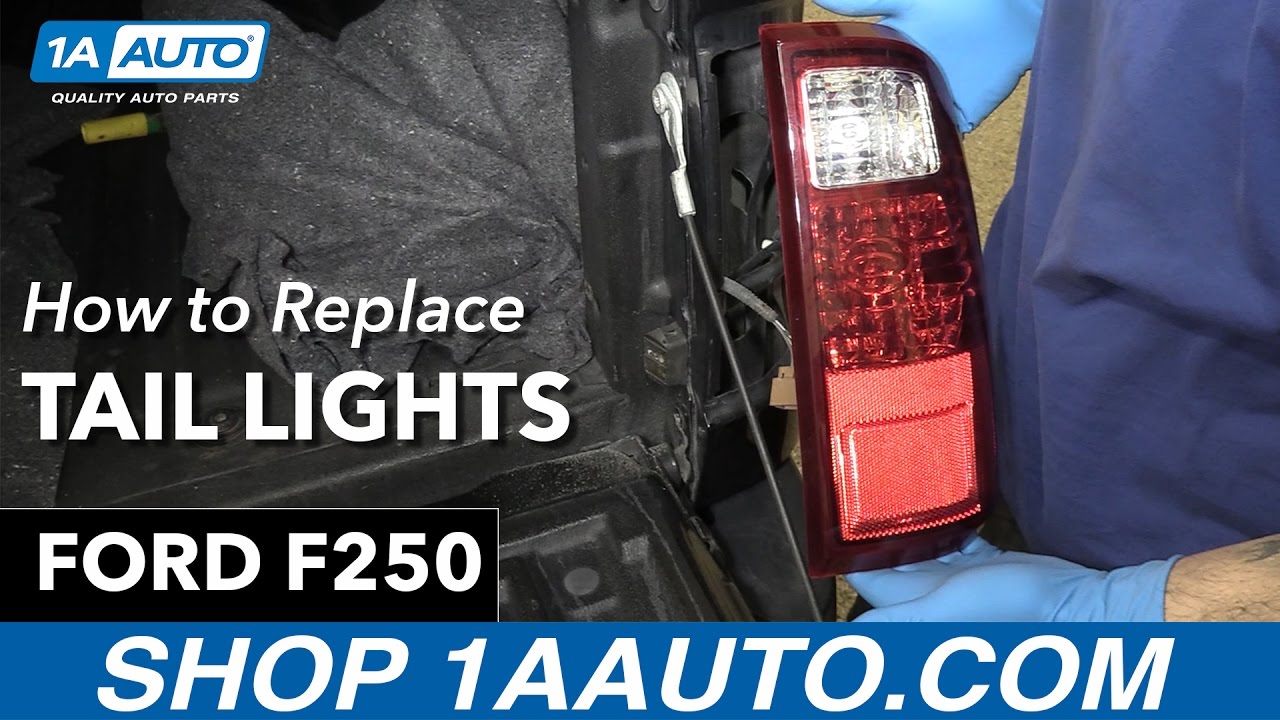
How to Replace Tail Lights 2011-16 Ford F250
Created on: 2017-04-25
How to install, repair, fix, change or replace a broken, damaged, burned out, cracked, faded, cloudy or chipped tail light / brake light on 13 Ford F-250
-
step 1 :Removing the Tail Light
- Remove the two 8mm bolts on the backside of the housing
- Pull the tail light out
- Disconnect the connectors
-
step 2 :Installing the Tail Light
- Connect the connectors
- Press the tail light into the bed
- Tighten the two 8mm bolts to the tail light
Tools needed
-
Flat Blade Screwdriver
8mm Socket
Ratchet
Hi, I'm Mike from 1AAuto. We've been selling auto parts for over 30 years! We're dedicated to delivering quality auto parts, expert customer service, and fast and free shipping, all backed by our 100% satisfaction guarantee. So visit us at 1AAuto.com, your trusted source for quality auto parts.
In this video, we're going to be working with our 2013 Ford F-250. We're going to show you how to remove and replace your vehicle's taillight assemblies.
If you like this video, please click subscribe. We have a ton more information on this and many other vehicles. If you never need parts for your truck, you can follow the link down in the description over to 1AAuto.com.
Here are the items you'll need for this repair: 8mm socket, ratchet, flat head screwdriver
Remove the two eight millimeter bolts on the backside of your taillight housing with a eight millimeter socket and ratchet. Now pull the taillight out toward you.
To remove the tail light, unplug both electrical connectors and remove your taillight assembly from the vehicle.
Plug in your connectors. You'll then line up the tabs with the appropriate retainers in the bed. Pop the assembly back in and reinstall your two eight millimeter screws.
Thanks for watching. Visit us at 1AAuto.com for quality auto parts, fast and free shipping, and the best customer service in the industry.
Shop Products

2008-16 Ford Driver & Passenger Side 2 Piece Tail Light Set TRQ LTA87609
Part Details:
- 2 Piece
- (1) Passenger Side Tail Light
- (1) Driver Side Tail Light

How to Replace Third Brake Light 2002-09 Chevy Trailblazer
Watch this 1A Auto instructional video to find out how to replace the third brake light on your 02-09 Chevy Trailblazer.
