
How To Replace Taillight and Bulb 2006-10 Chevy HHR
Created on: 2011-10-07
Our experts show how to remove and install the tail light to replace the housing or change the bulbs. Follow along and DIY!
-
step 1 :Servicing the Tail Light Bulbs
- Pry off the access panel with a flat blade screwdriver
- Twist the stop light bulb socket counterclockwise and out
- Pull the bulb off of the socket
- Push on the new bulb
- Twist the backup light bulb socket counterclockwise and out
- Pull the bulb off of the socket
- Push on the new bulb
-
step 2 :Removing the Tail Lights
- Remove the three 10mm nuts from the stop light
- Pull the stop light out from the outside
- Rest the plastic mounting piece inside the frame
-
step 3 :Installing the New Tail Lights
- Push the new stop light into place with the locating pins while holding the mounting piece
- Fasten the three 10mm nuts onto the light
- Repeat Steps 2 and 3 for the backup light
- Twist the upper bulb clockwise into the stop light
- Twist the lower bulb clockwise into the backup light
- Push on the access panel
Tools needed
-
Flat Blade Screwdriver
10mm Wrench
Brought to you by 1AAuto.com, your source for quality replacement parts and the best service on the Internet.
In this video were going to show you how to service the tail lights on this 2008 HHR , same as any `06 to `10 HHR. We`re going to show you both changing the bulbs if that's all you need to do, or also changing the entire assembly if you need to get a new one from 1AAuto and replace a broken one or something like that. The only tool you'll need to change the bulbs is a small flat blade screwdriver. If you are going to change the whole tail light assembly or backup light assembly, you'll need both the small screwdriver and a 10mm wrench.
It's pretty easy. Use a screwdriver and pry out this little access panel. If you're just looking to change the bulbs, you can see the back of the lights are right in there. Reach in, twist them counterclockwise and pull out. See the bulb right there. These bulbs just pull straight out, and go back in. Do the same thing here. Pull straight out, push back in.
If you're looking to change a tail light because it's broken, you can see that on each one there are three 10mm nuts. I'll change out the stop light. You'll need a 10mm wrench and just put it in there and loosen one of the nuts. You can use your fingers and once they're loose get them. So my experience on this car is once you loosen the nuts with the wrench, it's easy to reach in there with your fingers and take them right off. The light comes right out. Pull the light out. There is a plastic piece in behind here. Be careful not to drop it down in. Just rest it down like that.
Here is our original and a new one from 1A. Obviously, our original is in perfectly usable shape, but we'll just take this as an opportunity to try out our new one, make sure it fits good. We'll just put it in here, and make sure the tabs go in fine. Pop it in on the back. I'm going to spare you all the putting the nuts and everything back on. Put the nuts on and use the wrench to tighten them up. Pulls the light in quite nicely and you'll see the finished result in a second. It fits nicely and looks good. Now we'll put the bulbs in. The smaller bulb is the backup light. It goes down the bottom. Push it in. You might have to turn it a little bit to get the teeth to go into the socket correctly. Turn it clockwise, lock it in, and then do the same thing for the upper bulb which is the stop light and turn signal bulb. Put it in, get everything to fit, and then turn it clockwise to lock it.
We hope this video helps you out. Brought to you by www.1AAuto.com, your source for quality replacement parts and the best service on the Internet. Please feel free to call us toll-free, 888-844-3393. We're the company that's here for you on the Internet and in person.
Shop Products


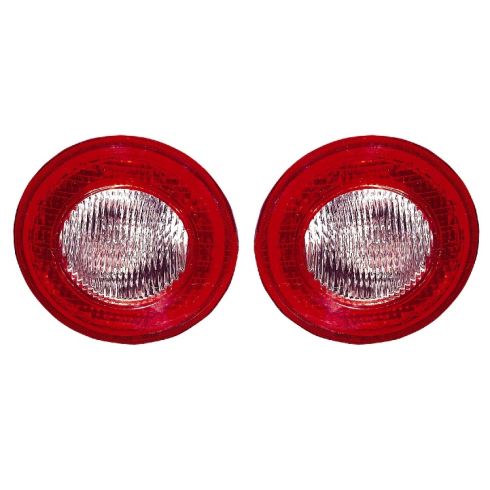
2006-11 Chevrolet HHR Rear 2 Piece Back Up Light Set 2 Piece Set DEPO 1ALTP00758
Part Details:
- 2 Piece Set
- (2) Back up / Reverse Lights
- 2 Piece

How to Replace Tail Light 2001-05 Honda Civic
How to install, repair, fix, change or replace a broken, damaged, burned out, cracked, faded, cloudy or chipped tail light / brake light on 01, 02, 03, 04, 05 Honda Civic
