How to Replace Third Brake Light 1994-2005 Chevy Blazer S10
Created on: 2011-01-27
Find out how to remove and reinstall the third brake light housing with this how-to video
-
step 1 :Remove the third brake light.
- Remove the two Phillips screws on either side of the brake light
- Use a cloth and a putty knife to pry up the light.
- Unplug the wiring harness.
- Unclip the plastic panel on the inside ceiling of the vehicle to do this.
-
step 2 :Install the new third brake light.
- Thread the wiring harness up through the roof of the vehicle.
- Clean up the area with some glass cleaner or household cleaner.
- Remove the rubber grommet carefully with a pair of wire cutters.
- Connect the brake light to the wiring harness and tuck the wires back down into the vehicle.
- Have a helper depress the brake pedal to ensure the light is working properly.
- Clip the plastic cover back up into place on the interior of the vehicle.
- Remove the backing on the adhesive seal of the brake light.
- Line the brake light up and press firmly into place.
- Secure with the two Phillips screws.
Tools needed
-
Razor Blade / Gasket Scraper
Flat Blade Screwdriver
Phillips Head Screwdriver
Putty Knife
Brought to you by 1AAuto.com, your source for quality replacement parts and the best service on the Internet. Hi, I'm Mike Green. I'm one of the owners of 1A Auto. I want to help you save time and money repairing and maintaining your vehicle. I'm going to use my 20 plus years experience restoring and repairing cars and trucks like this to show you the correct way to install parts from 1A Auto.com. The right parts installed correctly. That's going to save you time and money. Thank you and enjoy the video.
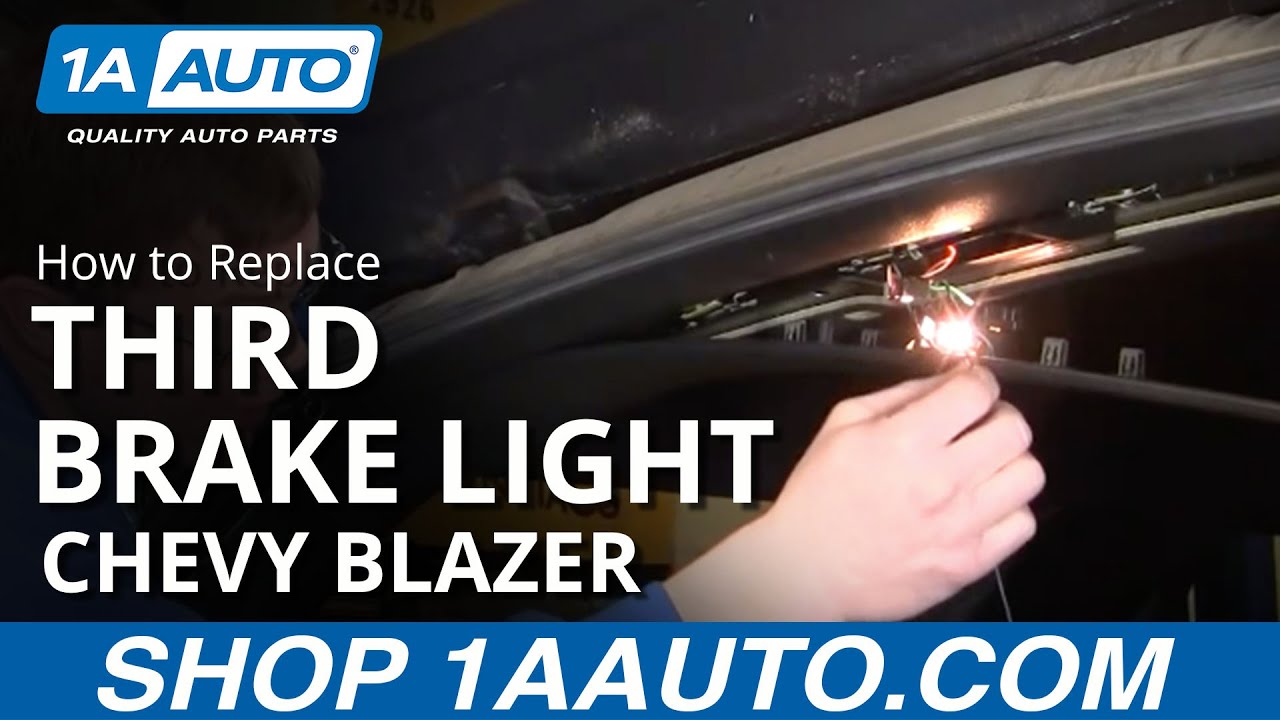
In this video we're going to show you how to replace the third brake light on this 2000 Chevy S-10 Blazer. It's similar for many different GM vehicles. Tools you will need for this vehicle are a Phillips screwdriver, a regular screwdriver or a putty knife and possibly some type of wire cutters or razor blade or something to cut a rubber grommet. We do apologize a little bit in advance as we're doing this in winter so you can hear the heat in the background in the garage. Obviously the third brake light is right up on top of your vehicle. You can see I'm standing right on the back bumper. There are two Phillips screws. Remove those screws. I'm going to take a sock here and put it down so I'm less likely to scratch my paint. I'm going to use a putty knife. I'm fast forwarding a little bit. Just use that putty knife to break the seal between the light and the body of the car.
You can see here's the harness. To unplug your harness I'm going to start from the outside and pull down on this trim panel. Then you can see this is pull down on this. This red right here is my connection for the third brake light. Here's the connection. See our red and black wire. I'm just going to take a screwdriver, pry that tab up and disconnect it. Now I'm going to take a piece of thin gauge wire and just wrap it right around here. You can use string or whatever for this part. You just want to put something on there to follow it up so as I pull my harness out it pulls the wire with it. Back up on top here, lightly pull through. There's my wire out. Now I'm going to use that sock and a little household cleaner like some Windex or whatever, a paper towel.
Here's our new light and the old light. The new light all the same; a little shinier. The new light is designed to fit a number of different applications so it actually comes with adapter harnesses so you basically want to choose the correct one which for this vehicle it would be this one. Then for some applications there is a rubber grommet installed. This vehicle does not require this so I'm going to use a pair of wire cutters and actually cut this grommet off carefully. I'm going to fast forward through this. There's a number of ways you can cut this off. These wire cutters are probably the safest, but obviously you could use a razor blade or even a serrated house knife. Obviously be very careful not to cut your fingers or the wires.
Now I'm just going to take these two, wrap my piece of wire around them just like before and put them down into the hole. I'm going to slowly, carefully pull them through. Now I can put on my harness. Plug it in. Then remove the guide wire. Put all that up inside. Before we install we want to remove the adhesive. Tear it to get around the wiring right there. Then what I like to do is put the screws through and make sure that the wire goes down in there and the screws hit there and the screw first and put it down in. Then tighten up your screws.
We hope this helps you out. It was brought to you by www.1AAuto.com your source for quality replacement parts and the best service on the internet. Please feel free to call us toll free 888-844-3393. We are the company with you on the internet and in person.


Chevrolet GMC Olds Hummer Center High Mount Third Brake Light TRQ LTA83229
Part Details:
- Yes
- Yes
- No

How To Replace Third Brake Light Bulbs 1996-2007 Ford Taurus
This video from 1A Auto shows you how to replace the third brake light bulbs on your 96-07 Ford Taurus. Save money and do it yourself!
