How to Replace Throttle Body 2005-10 Chrysler 300
Created on: 2016-12-30
How to repair, install, fix, change or replace rusted, corroded, or stuck throttle body on 05, 06, 07, 08, 09, 10 Chrysler 300
-
step 1 :Removing the Throttle Body
- Open the hood
- Loosen the intake hose clamp with a flat blade screwdriver
- Pull the coolant hose out of its bracket
- Remove the MAP sensor from the air intake
- Disconnect the throttle body wiring harness
- Pull the intake hose off the throttle body
- Remove the two 10mm nuts from the throttle body
- Remove the two 15mm bolts from the throttle body bracket
- Remove the bracket from the throttle body
- Remove the four 10mm bolts from the throttle body
- Pull the throttle body off the intake manifold
-
step 2 :Installing the Throttle Body
- Put the throttle body onto the intake manifold using the locating tabs
- Insert the two studded 10mm bolts onto the firewall side of the throttle body
- Insert the two regular 10mm bolts onto the grille side of the throttle body
- Connect the throttle body wiring harness
- Put the throttle body bracket into place
- Fasten the two 10mm nuts onto the throttle body
- Insert the two 15mm bolts into the throttle body bracket
- Connect the air intake hose to the throttle body
- Tighten the intake hose clamp with a flat blade screwdriver
- Push the coolant hose onto its bracket
- Push the MAP sensor into the intake hose
- Close the hood
Tools needed
-
Socket Extensions
Flat Blade Screwdriver
15mm Socket
10mm Socket
Ratchet
Hi, I'm Mike from 1A Auto. We've been selling auto parts for over 30 years. We're dedicated to delivering quality auto parts, expert customer service, fast and free shipping, all backed by our 100% satisfaction guarantee. Visit us at 1AAuto.com, your trusted source for quality auto parts.
In this video, we're going to be working with our 2006 Chrysler 300, 3.5 liter V6. We're going to show you how to remove and replace your engine’s throttle body. This also contains the stepper motors responsible for opening the throttle body in correspondence with your vehicle’s gas pedal and how far you're pushing it down as opposed to using a mechanical cable method. If you like this video, please click subscribe. We have a ton more information on this car as well as many other makes and models. If you need this part for your vehicle, you can follow the link down in the description over to 1AAuto.com. Here are the items you'll need for this repair.
Open the hood latch on your vehicle. Open it fully. We'll loosen the clamp at the throttle body with a flat-blade screwdriver. You may want to disconnect this sensor. It looks like ours has been glued on because the clip is broken, so you can also simply pop it out of the boot. Disconnect the connector from the throttle body. Again, we have one of those little red safety tabs we have to push down and we'll push down the tab, and remove the connector.
We'll remove the two 10 millimeter nuts from the throttle body. Remove the two 15 millimeter bolts at the bottom of the throttle body bracket. We're doing this with a 15 millimeter socket and ratchet. Remove the bracket from the throttle body. Remove the four 10 millimeter bolts on your throttle body with a 10 millimeter socket and ratchet. Remove the last bolt. Remove your throttle body from the intake.
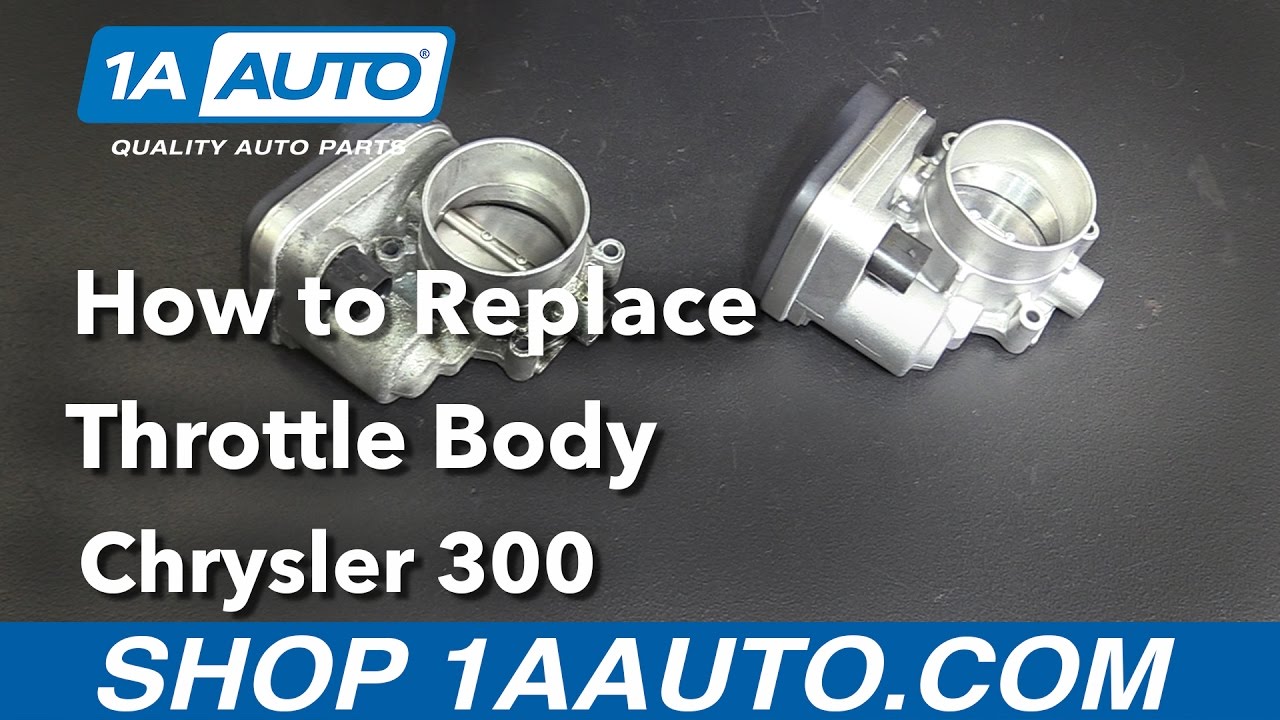
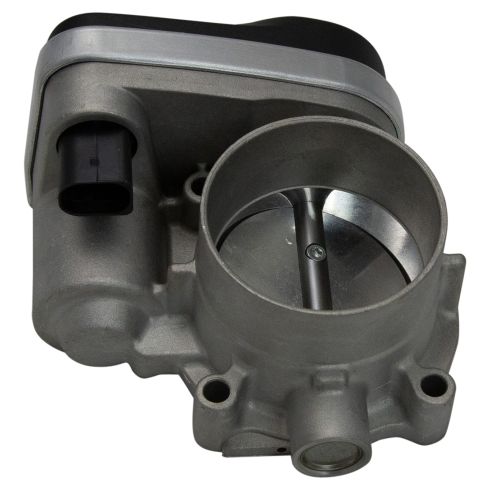
Here we have our old part that we removed from the vehicle and our new part from 1AAuto.com. This is actually an OEM replacement piece that we carry. You can see that they are exactly the same with the same four bolt mounting location. We have the same size throttle body bore and blade, the same unit on the end here, which is actually your throttle position sensor as well as the stepper motor, which moves the throttle body according to how you put your pedal down. This vehicles throttle is controlled be an electric sensor as opposed to a cable like older vehicles.
The real reason we're going to be changing this out is carbon build up on the back side. This is in normal condition however if left uncleaned and untreated can really gum up this throttle body and cause it to fail. These are cleanable but ours is pretty nasty here. We're going to see what we can do with it. But if not this new part from 1A Auto is going to go in direct fit just like our original equipment and fix you up right.
There are alignment tabs for when you set the throttle body back on to the intake manifold, be sure to utilize those. Once the throttle body is set into place, reinstall your 10 millimeter hardware. The studded ones go on the outside here, while the regular bolts will go into the two inside ones. Reconnect the electrical connector onto the throttle body. Lock the safety tab back into place.
You can now set the support bracket back over the throttle body bolts. Make sure it doesn't get caught up in any of the wiring down below. We'll spin our two 10 millimeter nuts on at the top by hand, just to keep that in place. Reinstall the two 15 millimeter bolts at the bottom of the bracket by hand. Tighten up the two 15 millimeter bolts at the bottom of the bracket with your socket and ratchet. Tighten up the two 10 millimeter nuts at the top. Install the other end of the intake boot onto the throttle body. Tighten it up with your flat-blade screwdriver. Reinstall the cooling tank line bracket on the side of the intake tube. Reinstall the MAP sensor into the intake tube. Earlier, when we removed our intake, I wanted to wait until we had the intake tube reinstalled to make sure this all lined up properly. Now that we've got it where it needs to be, we'll go ahead and tighten that down.
Thanks for watching. Visit us at 1AAuto.com for quality auto parts, fast and free shipping, and the best customer service in the industry.
Shop Products

Dodge Chrysler Throttle Body Assembly TRQ TBA09559
Part Details:
- Highest Quality Materials
- Direct Fit Replacement - Guaranteed to fit and function for your specific application
- Throttle Position Sensor
- Quality Tested - built to a strict level of product standards.
- Electric
- Gasoline
- No
- No

Top 5 Problems Ford Explorer SUV 5th Generation 2011-19
Top 5 Problems on the 5th Generation Ford Explorer, 2011-2019

