
How to Replace Valve Cover Gasket 2000-06 Chevy Tahoe
Created on: 2020-07-20
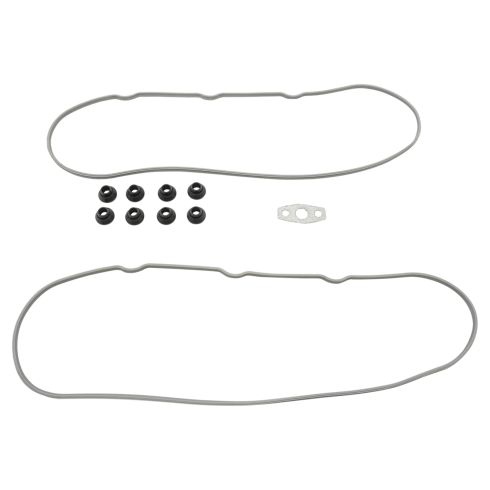
This video shows you how to install a new valve cover gasket set on your 2000-06 Chevy Tahoe.
Tools needed
-
Razor Blade / Gasket Scraper
Torque Wrench
Socket Extensions
Flat Blade Screwdriver
Socket Driver
Paper Towels
8mm Wrench
8mm Socket
10mm Socket
Ratchet
Swivel
Brake Parts Cleaner
All right. We wanna disconnect the battery, disconnect the negative cable. Use an 8-millimeter ratchet wrench or a wrench and slide that out of the way. Now, first, I'm gonna pull these heater hoses out of the way, out of that bracket. You don't have to take them off, just slide them out of the way. And this wiring harness right here, there's some clips. Just take a straight blade screwdriver, just pop those clips open. Those are for the fuel injectors. There's another clip over here, and just slide that out of the way. And there's an electrical connector right here, pull this little lock tab out, and then disconnect the connector. Just slide that tab up. Pull the connector out like that. Now, we'll disconnect all the coil wires. Just grab the wire, just twist it. You don't have to disconnect it from the sparkplug, just let it hang just like that.
Now, I need to take the bracket off. The bracket is gonna come with the coils with it, so you don't have to take the bolts out of the coils. So, there's a stud that you take out right here, use a 10-millimeter socket. There's another one right here. I'm gonna take this one out first. So, I'm gonna take this nut off for this bracket. And then there's a stud underneath, take that one out. One right here, and one right here. And the last one is not that easy to get to. I'm just gonna use a ratchet wrench, do it by hand, and take that out. Now, I can grab this whole coil pack assembly rail and take that right out. And there's a vacuum line that goes to the intake right here, just slide that off. And now I'm gonna take these four bolts out. I'm going to use... Well, at least loosen them up. You don't have to take them out completely. I'm gonna use an 8-millimeter socket. It should be caged in there, you don't have to pull them out. All right. Pull that out. Now, you can just grab it. Be careful, don't pull the fill tube too hard and just slide it up and slide it out.
Now, I'll just take the old gasket out. I'm gonna use a pick tool, slide that out like that. You can clean it up in a parts washer or use some brake parts cleaner. Clean it up a little bit and wipe it with a rag. I'll just pull these bolts and the seal is out just like that. So, I'm gonna replace this seal that goes around the bolt. Just try to slide this off with that or you can use a screwdriver. And the new seal, I'm actually gonna take. Make sure this is dry. Push the seal into the valve cover just like that. Then you can take the bolt and just try to work it in there. You could use a little soapy water to help. And slide that back in like that. Do the same for the other ones. So, make sure this surface is nice and dry. And take the gasket and just line it up and press it in. It should hold in there. Good. Now, I'm just gonna take a little brake parts cleaner and just clean this surface. This doesn't look too bad. If it's really caked up with stuff, then you might wanna get a scraper out and scrape it. So, that looks good. And I'll just slide it in position. Just make sure the gasket doesn't fall out. Looks good. Get the bolts started.
Now, we're gonna torque these bolts to 106 inch-pounds. Make sure you're on inch-pounds and not foot-pounds. Do the same with the other ones. Now, take the bracket with the coil packs on it and line it up. The wire is out of the way. And take these studs and get them all started. And then you can tighten those all down and just put this vacuum hose back over right there. Then you can start connecting the wiring harness into these hold-downs and plug the harness in. And this little lock is gonna go through here just to prevent it from coming out. And then get that other hold-down in right there and take this bracket for the heater hoses. Put that over that stud and put the nut on it and snug it down. And put the hoses back in position. Good to go. Now, just take the wire and slide it over the coil, lock it down. Then you can do the same with the other ones. Now, we can hook up the battery. Just line it up and get it started and snug it up. Just make sure it's not loose. That's good.
Shop Products

How to Replace Intake Manifold Gaskets 2002-14 Chevy Suburban 1500
How to replace the intake manifold gaskets on a 02, 03, 04, 05, 06, 07, 08, 09, 10, 11, 12, 13, 14 Chevy Suburban 1500
