How to Replace Variable Valve Timing Solenoid 2-4L 2002-09 Toyota Camry
Created on: 2017-11-14
If the variable valve timing solenoid needs to be replaced, our experts in this short video will show you how to replace it yourself
-
step 1 :Removing the Variable Valve Timing Solenoid
- Remove the 10mm bolt from the vacuum line bracket
- Remove the vacuum line from the bracket
- Disconnect the solenoid electrical connector
- Remove the 10mm bolt from the solenoid
- Remove the solenoid
-
step 2 :Installing the Variable Valve Timing Solenoid
- Insert the solenoid
- Tighten the 10mm bolt to the solenoid
- Connect the electrical connector
- Tighten the 10mm bolt to the vacuum line bracket
Tools needed
-
Gloves
Socket Extensions
Ratchet
Cloth Rags
Hi, I’m Mike from 1A Auto. We’ve been selling auto parts for over 30 years!
The variable valve timing solenoid is located here at the back of the head, passenger side of the engine, towards the firewall. We have to slide this out of the head to give us enough space. I'm going to loosen this bolt that's holding this bracket on for the vacuum line. It's a 10mm bolt. Pull that bolt out of there. Move this vacuum line down and out of the way. Disconnect the electrical connector from the solenoid while it's still attached to the head. It’ll make it easier to play with because this can get kind of stuck on here. Really, push down on this tab to unlock it. Sometimes if you push in, it helps. Then pull it back off. Put the harness to the side.
We need to remove the 10mm bolt that's underneath it. I've got that loose enough with the ratchet, use my fingertips to remove it the rest of the way. Set that bolt aside. I'm going to have a rag just handy in case some oil comes out with this. You have to grab onto it and just kind of work it back and forth, you can move it out of the head. It's got an O-ring—you have to get it over the O-ring. I'm just going to keep working it back and forth to break it free of the O-ring. It's got a really tight seal on it so it doesn't leak oil. There it is. Pull it straight out. You have a variable valve timing and solenoid.
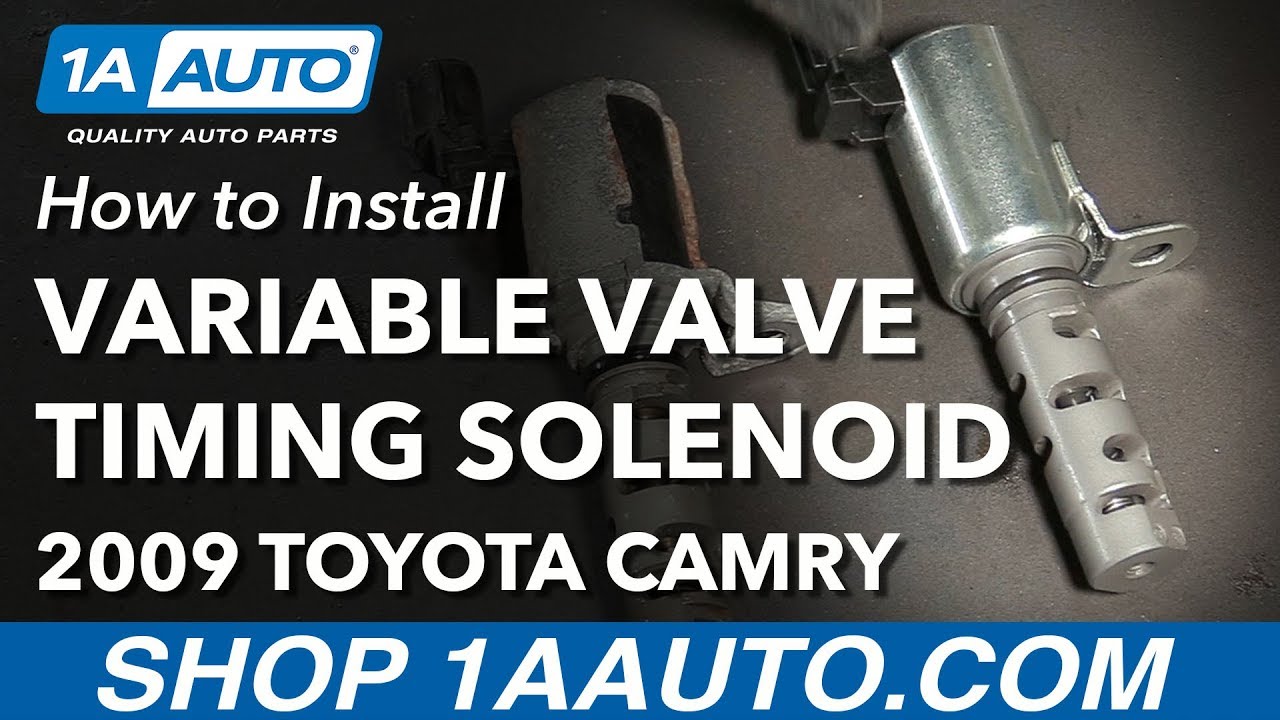
Here's our original variable valve timing solenoid from our vehicle, and our brand new one from 1AAuto.com. Similar design, same style connector, same mounting hole. It's got a new O-ring on it. Now if yours has become dirty and clogged, it's not working right, this one should fit and work great for you.
I'm just going to take a little bit of oil that's right here on our old one, or you can take some fresh oil from a bottle and just put some on the O-ring before you install it. It'll help slide into place.
Before I install the new one, I'm going to just pop this little rivnut off the intake. This'll give me just a little bit extra clearance to slide this solenoid in. Take our new one, line it up with the opening, slide it in, get it lined up with the bolt hole, and install the original bolt.
I'm just going to gently tighten it and stop once I feel it gets tight. It's a very small bolt going into aluminum, you don't want to strip it. Reconnect the electrical connector. Push it in place, it should lock. Install this little rivnut. Replace our brackets and reinstall the bolt. Once that's tight, I will stop. Solenoid is replaced.
Thanks for watching. Visit us at 1AAuto.com for quality auto parts, fast and free shipping, and the best customer service in the industry.
Shop Products

Toyota Lexus Scion Variable Valve Timing Solenoid TRQ VTA93419
Part Details:
- No
- 1
- Female
- 2
- Blade

How to Replace VVT Solenoids 2007-12 BMW X3
This video shows you how to install new VVT solenoids in your 2007-10 BMW X3.
