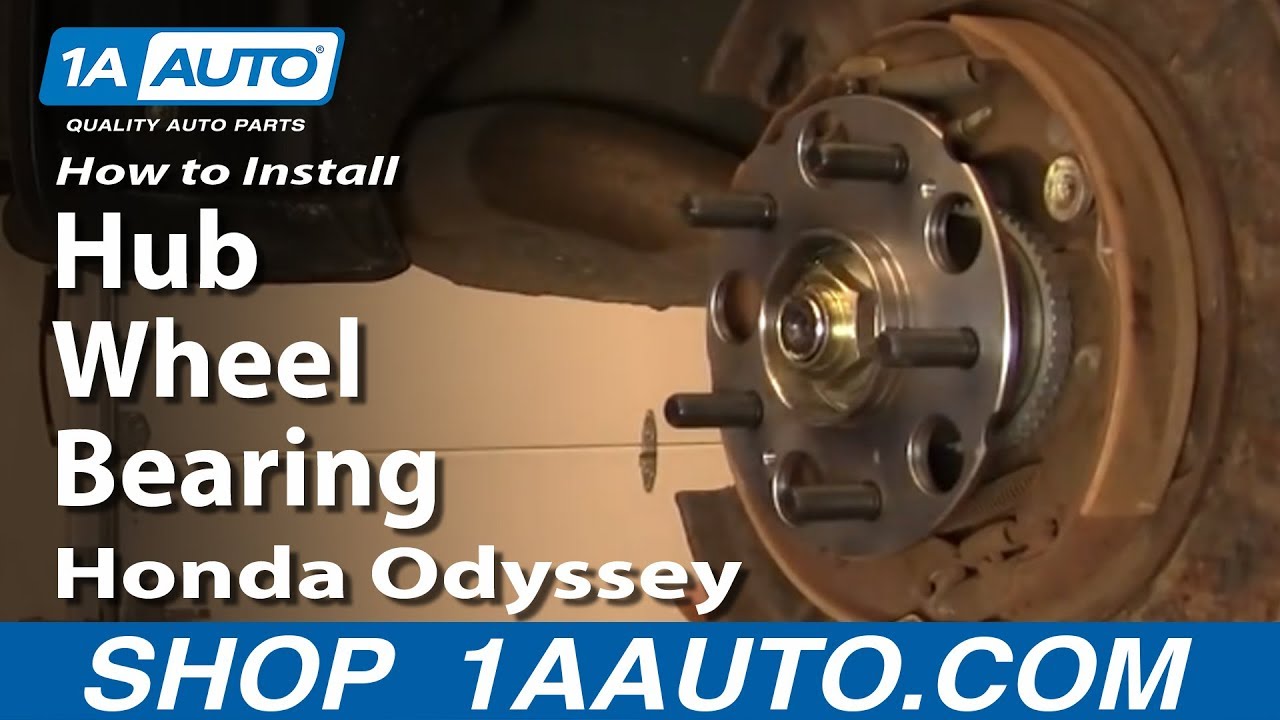
How to Replace Wheel Bearing Hub Assembly 1999-2004 Honda Odyssey
Created on: 2013-01-31
Check out this video to learn how you can replace the wheel hub and bearing assembly on your 99-04 Honda Odyssey. 1A Auto will show you how!
-
step 1 :Removing the Wheel
- Loosen the lug nuts with the vehicle on the ground
- Raise the vehicle with a floor jack
- Secure the vehicle on jack stands
- Remove the lug nuts
- Pull off the wheel
-
step 2 :Removing the Brake Pads
- Remove the two 12mm bolts from the brake caliper
- Pull the caliper toward the outside of the vehicle to push in the pistons
- Pull the caliper aside
- Pull the brake pads off by hand
-
step 3 :Removing the Brake Rotor
- Remove the two 14mm bolts from the brake caliper bracket
- Pull off the brake caliper bracket
- Remove the two screws from the rotor with an impact screwdriver and a hammer
- Pull the rotor off
- If the rotor will not come off, strike it with a hammer
-
step 4 :Removing the Wheel Hub
- Remove the dust cover with a hammer and chisel
- Straighten the hub nut with a hammer and chisel
- Remove the 36mm hub nut
- Pull the hub off
-
step 5 :Installing the New Hub
- Push the new hub on
- Start the 36mm hub nut
- Tighten the hub nut to 181 foot-pounds of torque
- Serrate the nut with a hammer and punch
-
step 6 :Installing the New Brake Rotor
- Slide the rotor on
- Insert the two screws into the brake rotor
- Remove the rubber plug from the old brake rotor
- Push the rubber plug into the new brake rotor
- Clean the brake pad slides with a wire brush
- Check that the caliper slides move freely
- If the caliper slides do not move freely, apply grease to the slides
- Put the bracket back into place
- Start the 14mm bolts by hand
- Tighten the 14mm bolts to 45 foot-pounds of torque
-
step 7 :Installing the New Brake Pads
- Install the new brake pads into the bracket
- Put an old pad in the caliper
- Use a large C-clamp and the old pad to push the pistons back
- Put the caliper on
- Thread the 12mm bolts by hand
- Tighten the 12mm bolts to 20 foot-pounds
- Put on the hub dust cover
- Tap on the dust cover with a hammer
-
step 8 :Reattaching the Wheel
- Slide the wheel into place
- Start the lug nuts by hand
- Tighten the lug nuts preliminarily
- Lower the vehicle to the ground
- Tighten the lug nuts to between 90 - 100 foot-pounds in a crossing or star pattern
- Reattach the center cap
-
step 9 :Testing the Brakes
- Pump your brakes repeatedly until they feel firm
- Test your brakes at 5 miles per hour and then 10 miles per hour
- Road test the vehicle
Tools needed
-
14mm Wrench
12mm Socket
Large C-Clamp
Torque Wrench
14mm Socket
Hammer
Jack Stands
19mm Socket
Impact Screwdriver
Bearing Grease
Flat Blade Screwdriver
Phillips Head Screwdriver
Center Punch
Chisel
Ratchet
Floor Jack
1/2 Inch Breaker Bar
12mm Wrench
36mm Socket
Brought to you by 1AAuto.com, your source for quality replacement parts and the best service on the Internet.
Hi, I'm Mike from 1A Auto. I hope this how-to video helps you out, and next time you need parts for your vehicle, think of 1AAuto.com. Thanks.
In this video, we show you how to replace a rear hub on this 2003 Honda Odyssey, it's pretty much the same procedure for any 1999 to 2004 Odyssey. We show you the right hand or passenger side. The procedure is the same for the left hand driver's side. To get the job done you'll need a new hub from 1AAuto.com, some jack and jack stands, a 19mm socket with a racket and breaker bar or your lug wrench will work. You'll need 36mm socket. Put that by itself because it's something that's not always in a regular toolbox. You'll need 12mm and 14mm wrenches or sockets and ratchet, impact driver, a hammer, a sharp cold chisel or an old screwdriver, a torque wrench and a large C-clamp.
First raise and support the vehicle. Then use a 19mm socket and breaker bar. If you're just using hand tools, actually, you want to loosen the lug nuts when the wheel's on the ground and the vehicle is in park. Loosen the lug nuts, first. Then, raise and support the vehicle. Remove the five lug nuts and remove the rear wheel.
In around behind the rotors, you've got two bolts. They're 12mm: here and here. I'm going to put a wrench on them, hook another wrench on there for some extra leverage, and loosen them. Just fast forward as we take them the rest of the way out. Now, we're going to grab on the caliper and pull it toward the outside of the vehicle. As we pull it out, that forces the piston back into the caliper and then loosens it up and it comes right off and then we can prop it up in behind. Then we take the pads out just by pulling them out of their brackets.
Now, we're putting a wrench on this 14mm bolt here. So, we want to remove this one and then this one up here. These two bolts hold the caliper bracket on. Just put a 14mm wrench on there and then hook a larger wrench onto it or use a larger handle socket and ratchet to loosen up those bolts and then remove them and remove the caliper. Fast forward here a little bit. Now, we're going to use an impact driver. We're going to load that into the screw and then you turn it counterclockwise, use a hammer and give it a good whack and it loosens up the bolt. Just fast forward as we remove the screws the rest of the way. Then hopefully your rear rotor comes off as well. If not, you can use a hammer.
Now use a sharp chisel, or you could use an old screwdriver, and remove the cap. The nut is speared here. So, we're just going to use our chisel again. Now, it's straightened out. Now, we're using a 36mm socket and an impact wrench to remove that nut. A note here: not everybody has air tools so you will need the 36mm socket but there's really no way to get around that but you could also use a large breaker bar to loosen it. It should pull off.
Make sure when you unwrap the hub that you take the keeper out and then just put the hub in and make sure the outer bearing goes in and seats correctly. Now, the new hub from 1A Auto is on there. Then, just thread on the bolt. Now, set your torque wrench to 181 foot-pounds and torque the nut on. Now, we're going to use a dull punch and serrate the nut.
Now install your new brake rotor from 1A Auto and then use the two screws. I'll fast forward as we put those back in to hold it in place. There's a small rubber plug, you want to force it out of the old rotor and then just put it into the new rotor and press in by hand, first. Then, grab a screwdriver and push it in the rest of the way.
Before you reinstall the brackets, you want to use a wire brush and clean the stainless steel slides. Some brake pads actually come with new ones. So, you either replace them or clean them up. Then, you make sure that your bolt slides are free and if they're not free or have too much or they're too sticky, pull them right out, clean them up and grease them.
Now, take your brackets and put them into place. Start the two bolts on. In a minute here, I'm just going to fast forward as I basically just get those bolts started and seated. Set your torque wrench to 45 foot-pounds. Now, you slide the outer pad in. It goes right into the slides. Then the inner one goes in the exact same way. Now, you'll want to take your caliper, use a large C-clamp and make sure you reset the piston. As you tighten it up, the piston gets pushed back into the caliper. Usually, just by pulling on it at the beginning, you're able to reset the piston, but you just want to make sure. Then you can slide the caliper right on. Now put your 12mm bolts back in. Set your torque wrench to 20 foot-pounds and tighten them up. Now put the dust cap back on. Put it in place and just tap it with a hammer.
Now, I'm going to fast forward, put the wheel back in place, start all five lug nuts on by hand first and then just preliminarily tighten them and then lower your vehicle to the ground. Now, set your torque wrench to 90 to 100 foot-pounds and torque the wheel using a star pattern.
Whenever you've had the brakes apart, just make sure that you pump the pedal a few times. Make sure it's nice and firm, and then, before you road test your vehicle just do test stops from five and 10 miles an hour, just to make sure the brakes are working properly.
We hope this video helps you out. Brought to you by www.1AAuto.com, your source for quality replacement parts and the best service on the Internet. Please feel free to call us toll-free, 888-844-3393. We're the company that's here for you on the Internet and in person.
Shop Products


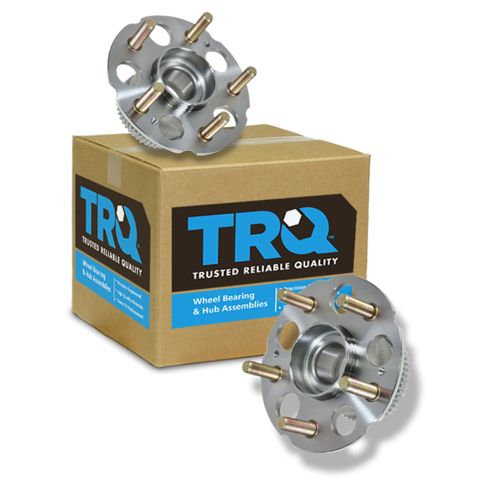
Honda Odyssey Isuzu Oasis Rear Driver & Passenger Side 2 Piece Wheel Bearing & Hub Assembly Set TRQ BHA53545
Part Details:
- 2 Piece
- (1) Rear Passenger Side Wheel Bearing & Hub Assembly
- (1) Rear Driver Side Wheel Bearing & Hub Assembly
- Ball

How To Replace Rear Wheel Bearing Hub 2000-05 Buick LeSabre
Watch this video to learn how to replace the rear hub and bearing on your 00-05 Buick LeSabre.
